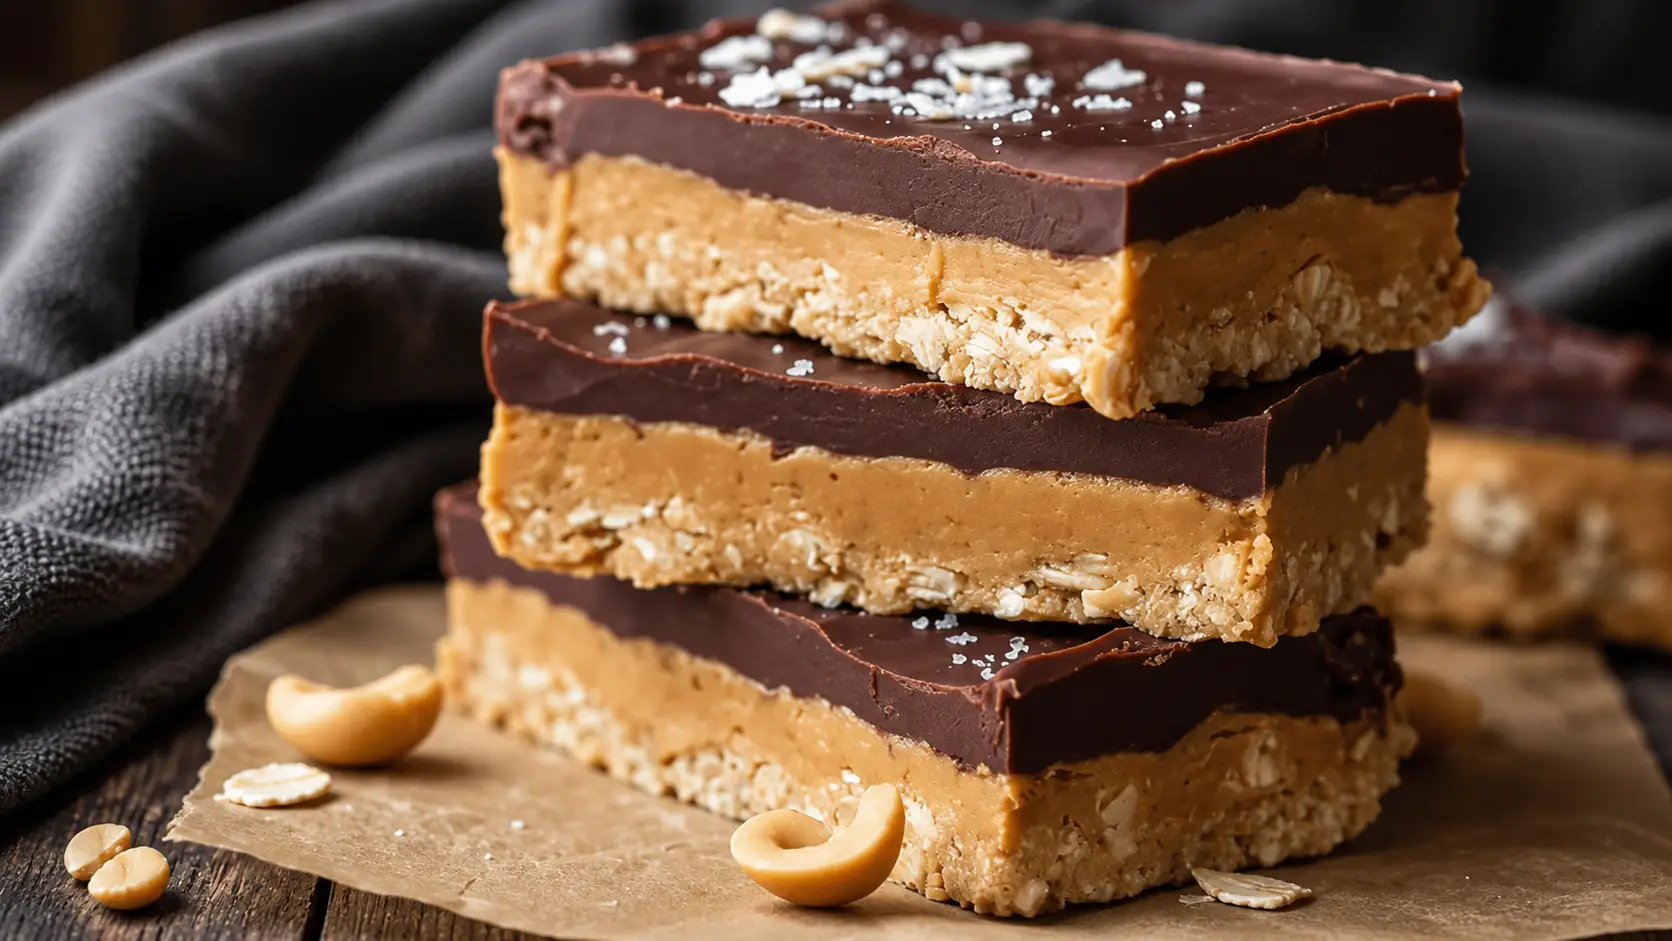
No-Bake Peanut Butter Protein Bars
Learn how to prepare rich and chewy no-bake peanut butter protein bars topped with smooth chocolate using everyday ingredients. They’re an easy, satisfying snack for busy days, post-workout recovery, or whenever you need a protein boost.

Whenever someone in my family says a snack tastes “too healthy,” I know it probably won’t last long in our kitchen. That’s exactly why I started making these no-bake peanut butter protein bars. After trying countless store-bought bars that were either overly sweet or disappointingly dry, I wanted something that actually tasted homemade.
These bars have become a regular staple in our refrigerator. The creamy peanut butter base comes together without turning on the oven, making the recipe quick and convenient. Everything is mixed in one bowl, pressed into a pan, topped with melted chocolate, and chilled until firm. The result is a soft, chewy protein bar that feels more like a treat than a health snack. I always keep a batch ready for afternoon cravings, busy mornings, or a quick energy boost after exercise.
Ingredients for No-Bake Peanut Butter Protein Bars
For the best texture, I prefer using natural creamy peanut butter with minimal ingredients. It blends easily and helps create bars that stay soft while holding their shape. Vanilla protein powder provides a classic flavor, while chocolate protein powder creates an extra-rich chocolate experience. Allow the peanut butter to sit at room temperature before mixing to make preparation easier.
- 1½ cups creamy natural peanut butter
- ¾ cup vanilla or chocolate protein powder
- ¼ cup honey or pure maple syrup
- 1 cup rolled oats
- ¼ cup dark chocolate chips
- Sea salt, optional
Step-by-Step Instructions
Using room-temperature peanut butter helps all ingredients combine smoothly. If the mixture looks dry at first, continue stirring until everything comes together evenly.
Step 1
Add the peanut butter, protein powder, honey or maple syrup, and rolled oats to a large mixing bowl. Stir thoroughly until the ingredients are fully combined and no pockets of dry protein powder remain. The mixture should become thick, sticky, and easy to press together. If it feels too crumbly, add a small amount of additional sweetener and mix again until the texture improves.
Step 2
Line an 8×8-inch square pan with parchment paper, allowing extra paper to hang over the sides for easy removal later. Transfer the mixture into the pan and spread it evenly. Press down firmly using the back of a spatula or your hands to create a compact, level layer. Firm pressure helps the bars stay intact after slicing.
Step 3
Place the chocolate chips in a microwave-safe bowl. Heat in short intervals, stirring after each round, until the chocolate becomes completely melted and smooth. Pour the melted chocolate over the peanut butter layer and spread it evenly across the surface. Work quickly to ensure a neat finish before the chocolate begins to set.
Step 4
Sprinkle a small amount of sea salt over the top if desired. Refrigerate the pan for at least one hour or until the chocolate layer has hardened and the bars are fully set. Lift the chilled slab from the pan using the parchment paper, transfer it to a cutting board, and slice into 12 to 16 bars with a sharp knife.
What to Serve with No-Bake Peanut Butter Protein Bars
These bars pair well with a variety of wholesome foods, making them suitable as a snack, breakfast addition, or post-workout option.
Fresh Berries
Strawberries, blueberries, and raspberries add natural sweetness and a refreshing contrast to the rich peanut butter and chocolate flavors. They also provide fiber and antioxidants.
Greek Yogurt
A serving of plain Greek yogurt complements these bars perfectly. The additional protein and creamy texture create a balanced snack that keeps you satisfied longer.
Banana Slices
Bananas naturally pair well with peanut butter. Their sweetness and soft texture make them an excellent addition before workouts or during busy afternoons.
Green Smoothie
Enjoy these bars alongside a fruit and spinach smoothie for a more complete meal. The combination offers protein, healthy fats, and extra nutrients.
Apple Slices
Fresh apple slices provide a crisp texture that contrasts beautifully with the chewy bars. The combination is both refreshing and filling.
Protein Coffee or Shake
For an extra protein boost, serve these bars with your favorite protein shake or high-protein coffee drink. It’s a convenient option for active lifestyles.
Storage & Serving Tips
Store the bars in an airtight container in the refrigerator for up to one week. Place parchment paper between layers if stacking to prevent sticking. Chilling helps the bars maintain their texture and keeps the chocolate topping firm.
For the best consistency, serve them directly from the refrigerator or allow them to sit at room temperature for about 10 minutes before eating. Wrapping individual portions in parchment paper makes them easy to grab throughout the week.
If you want to store them longer, freeze the bars in a freezer-safe container for up to three months. They thaw quickly at room temperature and are ideal for meal prep. Making a double batch is a great way to ensure healthy snacks are always available when needed.
Conclusion
These no-bake peanut butter protein bars are proof that simple ingredients can create a delicious and satisfying snack. With minimal preparation, no baking required, and plenty of protein in every bite, they’re a convenient option for busy schedules. Prepare a batch once, and you’ll likely find yourself making them again and again.