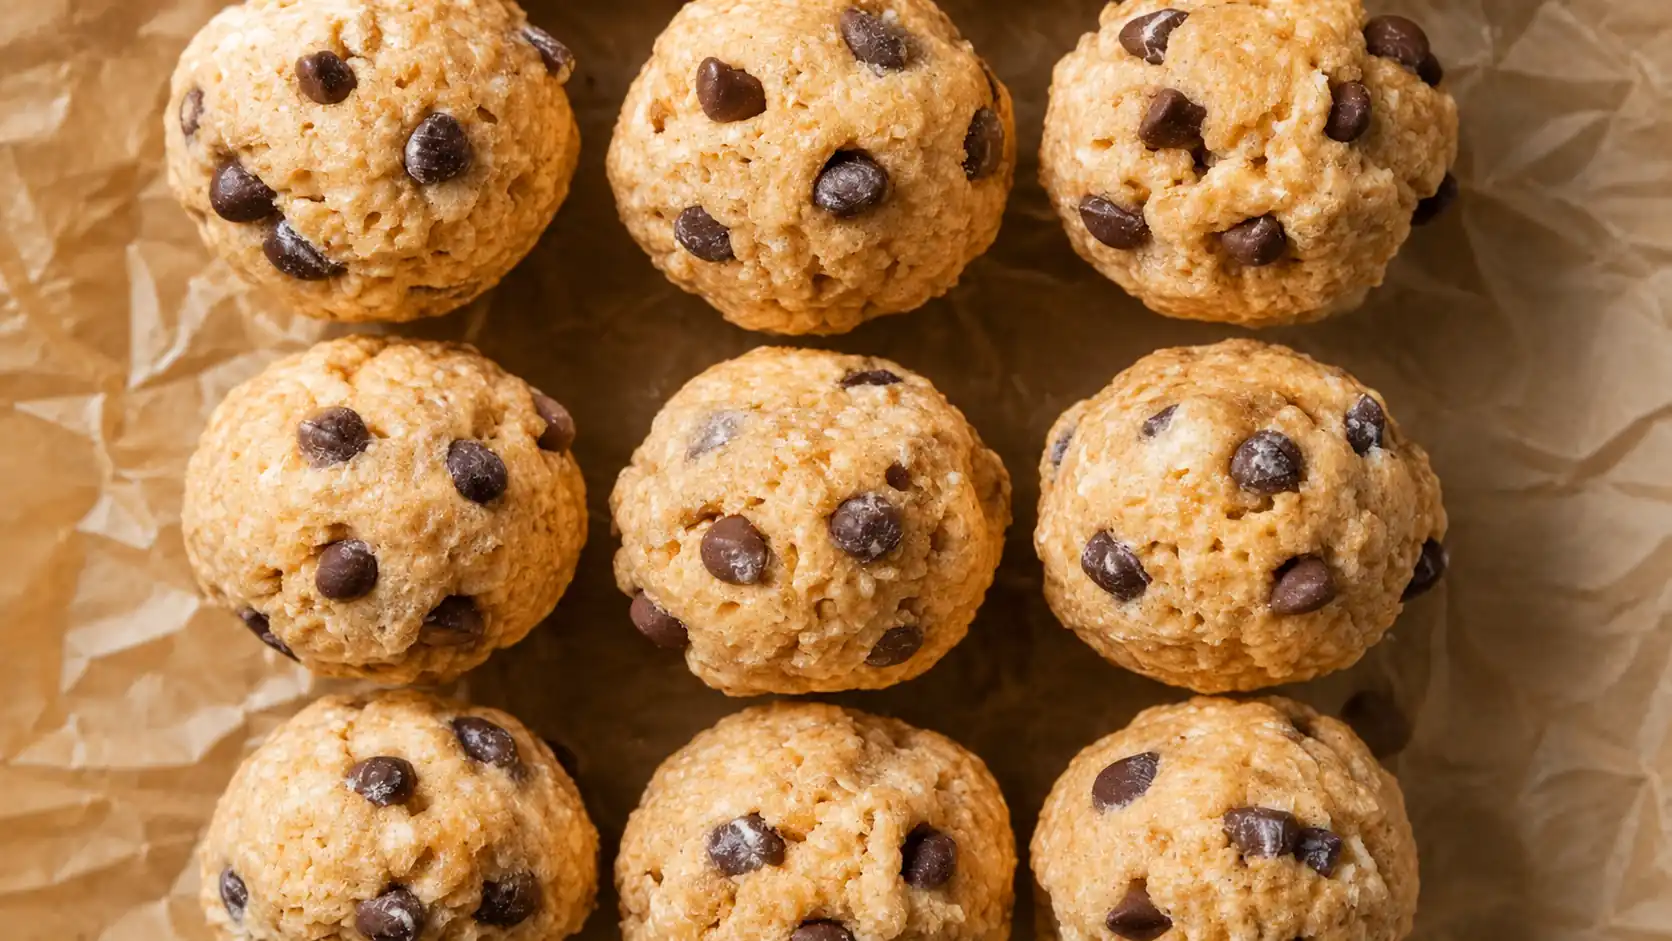
Rice Krispies Protein Balls
Crunchy and Protein Packed Rice Krispies Protein Balls You’ll Want Every Day. Need a quick snack that tastes amazing and keeps you energized? Rice Krispies Protein Balls are the perfect solution. These no bake treats combine the light, crispy texture of Rice Krispies cereal with protein rich ingredients to create a snack that is both satisfying and nutritious.
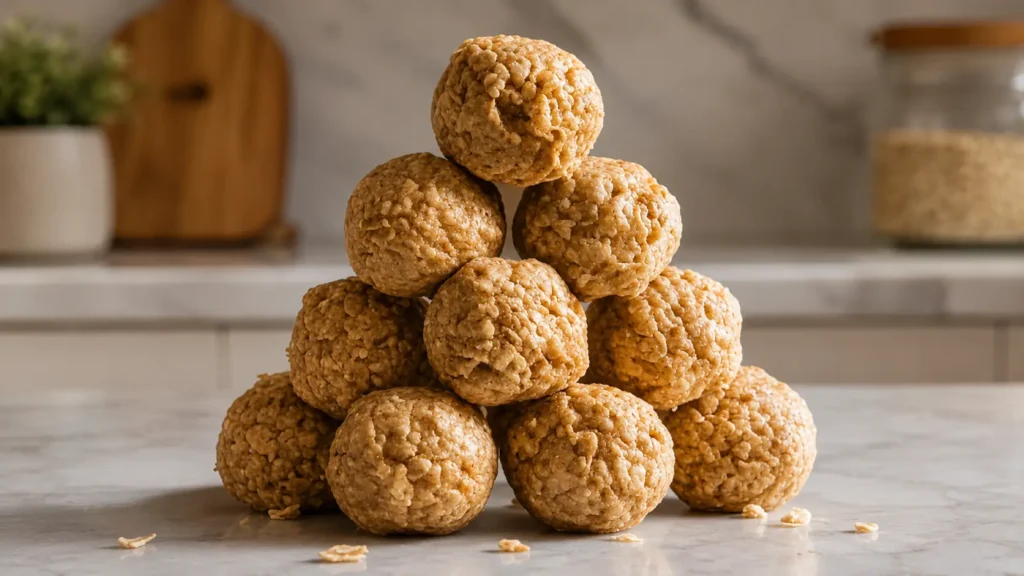
Whether you need a post workout bite, a midday energy boost, or a grab and go snack for busy mornings, these protein balls fit seamlessly into any routine. They come together in minutes, require no baking, and are ideal for weekly meal prep. Each bite delivers a delicious combination of crunch, natural sweetness, healthy fats, and protein. Best of all, they are easy to customize with your favorite mix ins and flavors. Let’s get started!
Serving Size and Preparation Time
Serving Size
This recipe yields approximately 12 to 15 protein balls, depending on the size you make them. A typical serving is 2 to 3 protein balls.
Preparation Time
Preparation takes around 15 minutes. After mixing and shaping, allow the protein balls to chill in the refrigerator for about 30 minutes. In less than an hour, you will have a batch of delicious snacks ready to enjoy.
Nutritional Information Per Serving
- Calories: 150 to 200
- Protein: 8 to 10 grams
- Fat: 8 to 10 grams
- Carbohydrates: 15 to 18 grams
These Rice Krispies Protein Balls provide a balanced mix of protein, carbohydrates, and healthy fats. The protein powder and nut butter help support muscle recovery and satiety, while the cereal and natural sweetener provide quick energy. They are an excellent option before a workout, after exercise, or whenever you need a nutritious snack.
Equipment Needed
- Large mixing bowl
- Spatula or wooden spoon
- Measuring cups
- Measuring spoons
- Baking sheet or plate
- Parchment paper (optional)
- Refrigerator
- Airtight storage container
- Freezer safe container or storage bag (optional)
Ingredients You’ll Need for Rice Krispies Protein Balls
- 1½ cups Rice Krispies cereal
- ½ cup protein powder
- ½ cup nut butter
- ¼ cup honey or maple syrup
- ¼ cup mini chocolate chips (optional)
- 1 teaspoon vanilla extract
Step 1: Combine the Wet Ingredients
Add the nut butter, honey or maple syrup, and vanilla extract to a large mixing bowl. Stir until the mixture becomes smooth and fully blended.
Step 2: Mix in the Dry Ingredients
Add the protein powder and Rice Krispies cereal to the bowl. Stir thoroughly until all ingredients are evenly coated and combined.
Step 3: Fold in the Chocolate Chips
If using mini chocolate chips, gently fold them into the mixture. This adds little bursts of sweetness and texture throughout the protein balls.
Step 4: Shape the Protein Balls
Using your hands or a small cookie scoop, roll the mixture into bite sized balls. Aim for about 1 inch in diameter, although you can adjust the size based on your preference.
Step 5: Chill Until Firm
Arrange the protein balls on a plate or baking sheet. Place them in the refrigerator and chill for at least 30 minutes so they can firm up properly.
Step 6: Serve and Enjoy
Once chilled, your Rice Krispies Protein Balls are ready to eat. Store any leftovers in an airtight container in the refrigerator and enjoy throughout the week. These crunchy, protein packed bites are simple to make and perfect whenever hunger strikes.
Creative Ways to Customize Rice Krispies Protein Balls
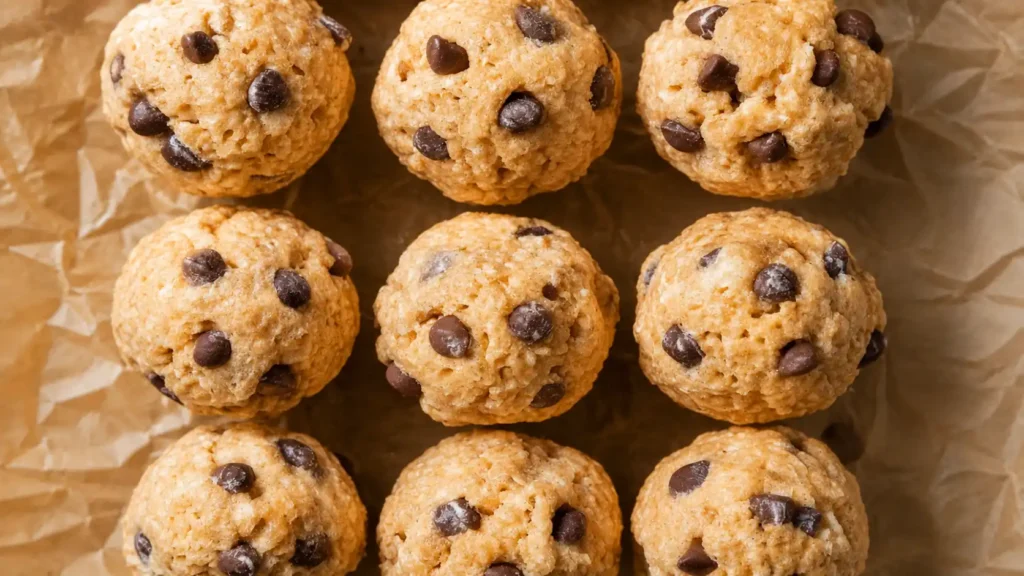
One of the best things about Rice Krispies Protein Balls is how versatile they are. Here are some easy ways to switch up the flavors and make them your own.
Chocolate Delight
Mix 1 to 2 tablespoons of cocoa powder into the mixture for a deeper chocolate flavor. Chocolate protein powder also works wonderfully for an extra rich taste.
Coconut Crunch
Add ¼ cup shredded coconut to the mixture. You can also roll the finished protein balls in coconut flakes for extra texture.
Berry Burst
Mix in crushed freeze dried strawberries, blueberries, or raspberries. This adds natural fruit flavor and a beautiful pop of color.
Peanut Butter Chocolate Combo
Add chopped peanuts and a few extra chocolate chips for a flavor combination inspired by classic peanut butter cups.
Superfood Upgrade
Boost the nutrition by adding chia seeds, flaxseeds, or hemp hearts. These ingredients provide extra fiber, healthy fats, and plant based protein.
Matcha or Turmeric Twist
For a unique flavor profile, add a teaspoon of matcha powder or turmeric. Both ingredients offer antioxidants and a subtle earthy taste. Feel free to experiment with different combinations until you find your favorite version.
How to Store Rice Krispies Protein Balls?
To maintain freshness, place the protein balls in an airtight container and store them in the refrigerator. They will stay fresh for up to one week. If stacking them, place a sheet of parchment paper between layers to prevent sticking. This helps preserve their shape and texture.
Can You Freeze Rice Krispies Protein Balls?
Absolutely. These protein balls freeze exceptionally well. Place them in a freezer safe container or storage bag and freeze for up to three months. When ready to enjoy, thaw them in the refrigerator for a few hours. Some people even enjoy them straight from the freezer for a colder, crunchier texture. Because they store so well, they are an excellent meal prep snack to keep on hand for busy days.
Final Thoughts
Rice Krispies Protein Balls are an easy, delicious snack that delivers the perfect balance of crunch, protein, and natural sweetness. They require minimal ingredients, come together quickly, and can be customized in countless ways.
Whether you are looking for a healthy afternoon snack, a convenient post workout treat, or something the whole family can enjoy, these no bake protein balls are a fantastic choice. Make a batch today and discover just how simple healthy snacking can be.