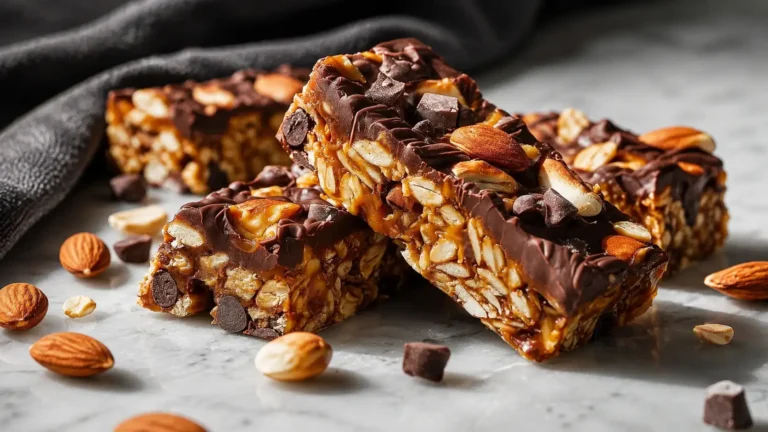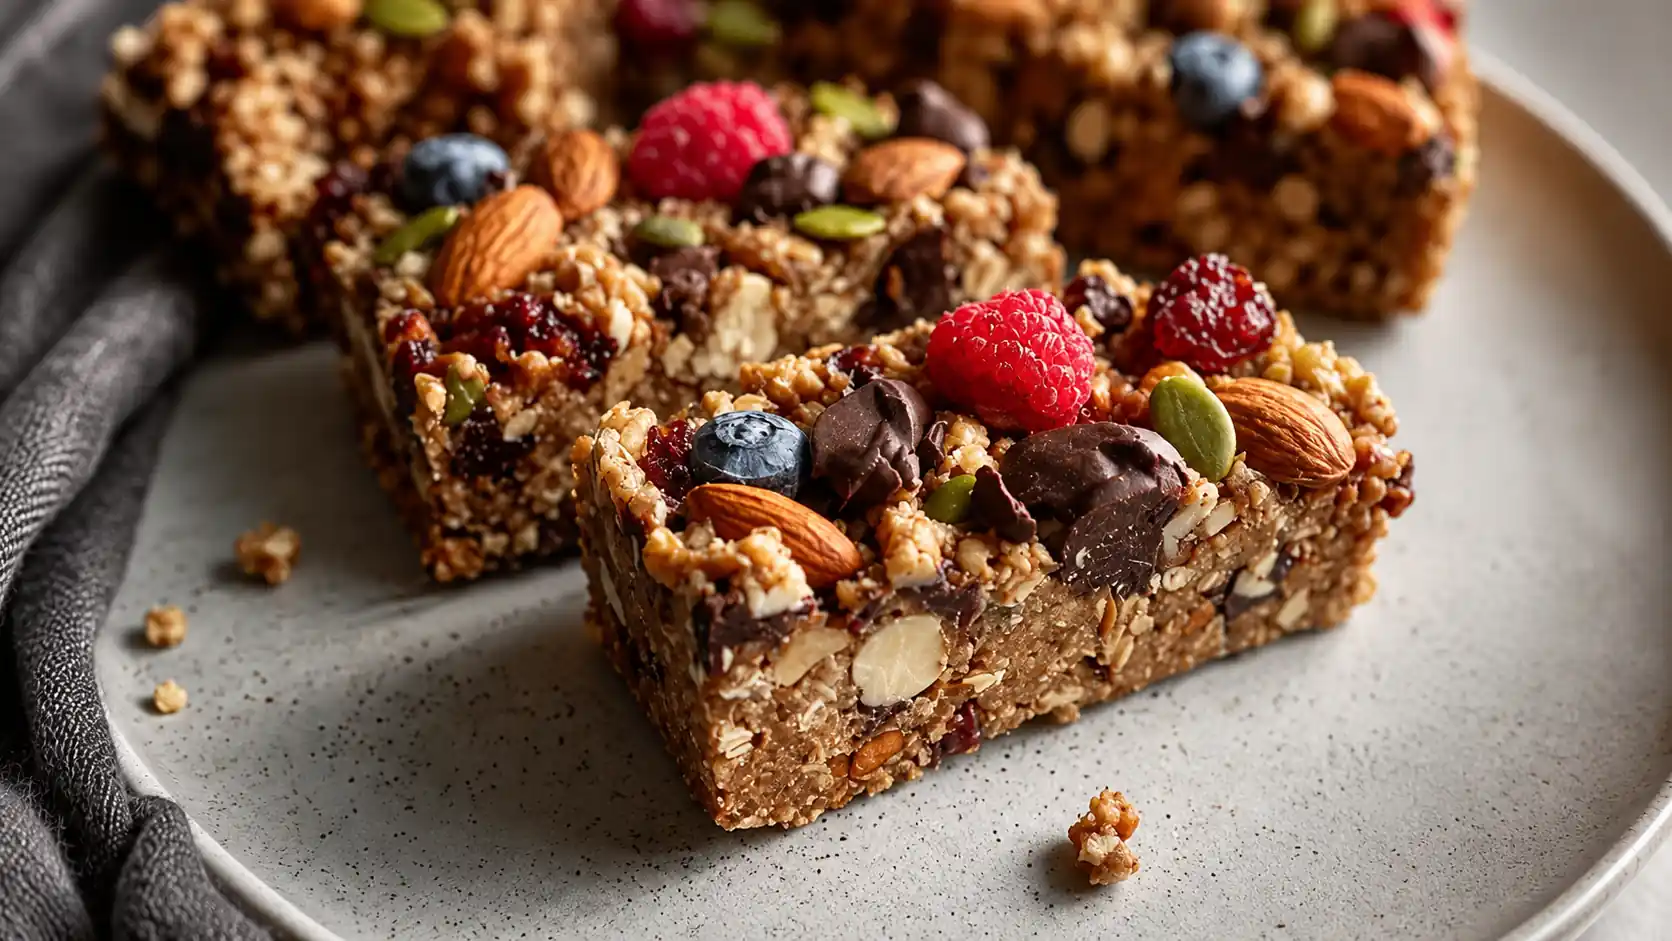
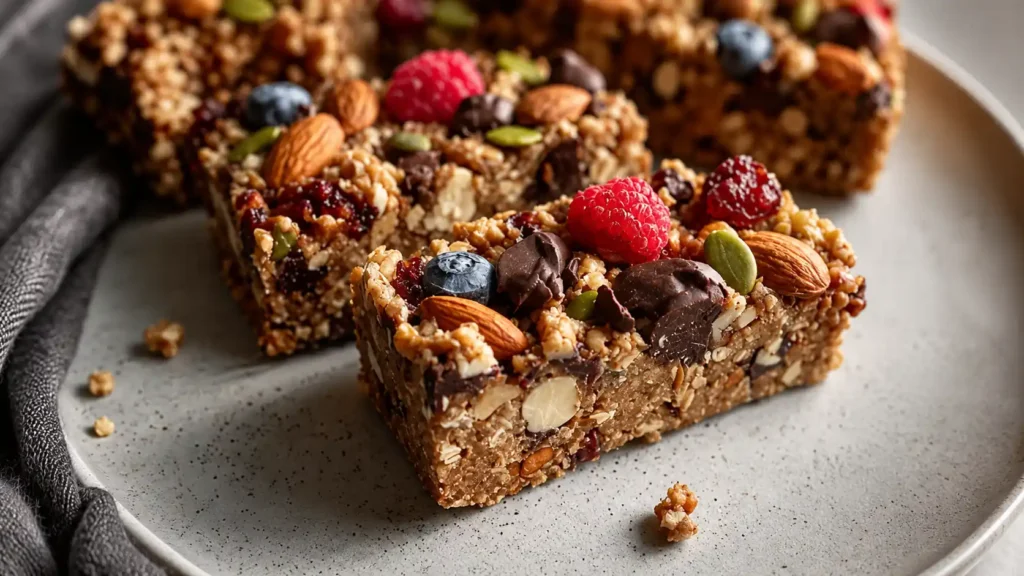
No-Bake Vegan Protein Bars (High Protein)
Learn how to make chewy and delicious no-bake vegan protein bars packed with 10+ grams of plant-based protein, rich chocolate flavor, and wholesome ingredients using only 15 minutes of prep time.
Ingredients for Vegan Protein Bars High Protein
Natural peanut butter with separated oil works best for this recipe because it creates the perfect sticky texture that helps the bars stay firm without becoming dry. I always choose the drippy type that needs stirring before use instead of processed peanut butter spreads. Vanilla protein powder gives these bars a smooth flavor that pairs perfectly with nuts, fruit, and chocolate.
- ¼ cup natural peanut butter (drippy texture with oil separation)
- ⅓ cup pure maple syrup (or honey if not fully vegan) – Maple syrup gives the cleanest flavor
- 2 tablespoons coconut oil
- 1 teaspoon vanilla extract
- 1 scoop vanilla protein powder (around 30g with 20–25g protein, vegan or whey)
- ¾ cup certified gluten-free oats
- ¾ cup gluten-free crispy rice cereal – Adds the perfect crunchy texture
- ¼ cup ground flaxseed
- Pinch of salt
- 1 teaspoon cinnamon
- ½ cup mixed nuts (¼ cup almonds, ⅛ cup cashews, ⅛ cup pumpkin seeds, roughly chopped) – Rough chopping creates better texture throughout the bars
- ½ cup dried fruit (¼ cup cranberries and ¼ cup raisins)
- ⅓ cup vegan chocolate chips – Save a few tablespoons for topping if desired
Step-by-Step Instructions
I recommend preparing all ingredients before melting the wet mixture because it begins to thicken quickly as it cools. Working fast keeps the bars easy to mix and shape.
Step 1:
Line a 9×5-inch loaf pan with parchment paper, leaving extra paper hanging over the sides for easier lifting later. This keeps the bars from sticking and makes slicing cleaner.
Step 2:
Add peanut butter, maple syrup, and coconut oil to a microwave-safe bowl. Microwave in 30-second intervals, stirring between each round, until the mixture becomes smooth and pourable. This usually takes about 60–90 seconds total. Stir in vanilla extract while the mixture is still warm.
Step 3:
In a large mixing bowl, combine protein powder, oats, crispy rice cereal, flaxseed, salt, and cinnamon. Whisk everything thoroughly to remove any clumps from the protein powder. Fold in chopped nuts, dried fruit, and chocolate chips until evenly mixed.
Step 4:
Pour the melted peanut butter mixture over the dry ingredients. Using a sturdy spatula, stir everything together for about 2 minutes until completely coated. The mixture should look thick, sticky, and well combined. If it feels too dry, add water one teaspoon at a time.
Step 5:
Transfer the mixture into the prepared loaf pan. Press it down very firmly using the back of a measuring cup or your hand covered with plastic wrap. Compress the mixture until it feels dense and evenly packed because this step prevents crumbly bars later. Sprinkle extra chocolate chips, nuts, or dried fruit on top and gently press them into the surface.
Step 6:
Place the pan in the refrigerator for at least 4 hours or overnight until fully firm. Once chilled, lift the block out using the parchment paper and cut into 8 regular bars or 4 larger bars. For cleaner slices, rinse your knife with hot water between cuts.
Troubleshooting Tip:
If the bars fall apart while slicing, they likely were not pressed firmly enough. Return the mixture to the pan, press harder using a flat-bottomed glass, and chill again for another hour before cutting.
What to Serve with Vegan Protein Bars High Protein
These protein bars work perfectly for breakfast, post-workout snacks, or quick afternoon energy boosts. Their chewy texture pairs well with fresh and creamy sides.
Fresh Fruit Smoothie
A cold fruit smoothie balances the dense and chewy texture of the bars while adding vitamins and hydration to your snack.
Black Coffee or Espresso
The slight bitterness of coffee balances the sweetness of the bars beautifully, making this combination perfect for busy mornings.
Greek Yogurt or Coconut Yogurt
Serve the bars with yogurt and berries for a protein-packed breakfast bowl loaded with probiotics and antioxidants.
Sliced Apples with Almond Butter
Fresh apple slices add crunch and fiber while almond butter provides extra healthy fats and richness.
Herbal Tea or Green Tea
A lighter drink option that complements the flavor of the bars without overpowering their nutty sweetness.
Storage & Serving Tips
Keep these vegan protein bars in an airtight container at room temperature for up to 5 days if the weather stays cool. In warmer temperatures, refrigeration works best and keeps the chocolate from softening too much. When eating chilled bars, let them rest at room temperature for about 10 minutes so the texture becomes softer and chewier again.
For longer storage, wrap each bar individually in parchment paper and freeze them in a freezer-safe container for up to 3 months. I usually slice the entire batch before freezing so I can grab one bar anytime without thawing everything.
These bars are also easy to customize depending on what ingredients you already have at home. You can swap peanut butter for almond butter or sunflower seed butter, use pecans or walnuts instead of almonds, or replace raisins with chopped dates or apricots. Adding mini chocolate chips throughout the mixture is another favorite variation in my kitchen.
Conclusion
These no-bake vegan protein bars show that healthy snacks can still taste rich, chewy, and satisfying without complicated steps or baking. Each bar contains over 10 grams of protein and only requires a few simple ingredients plus minimal prep time. Making them at home saves money compared to packaged protein bars while giving you complete control over every ingredient. Once you try them, you’ll want to keep a batch ready in the fridge every week.