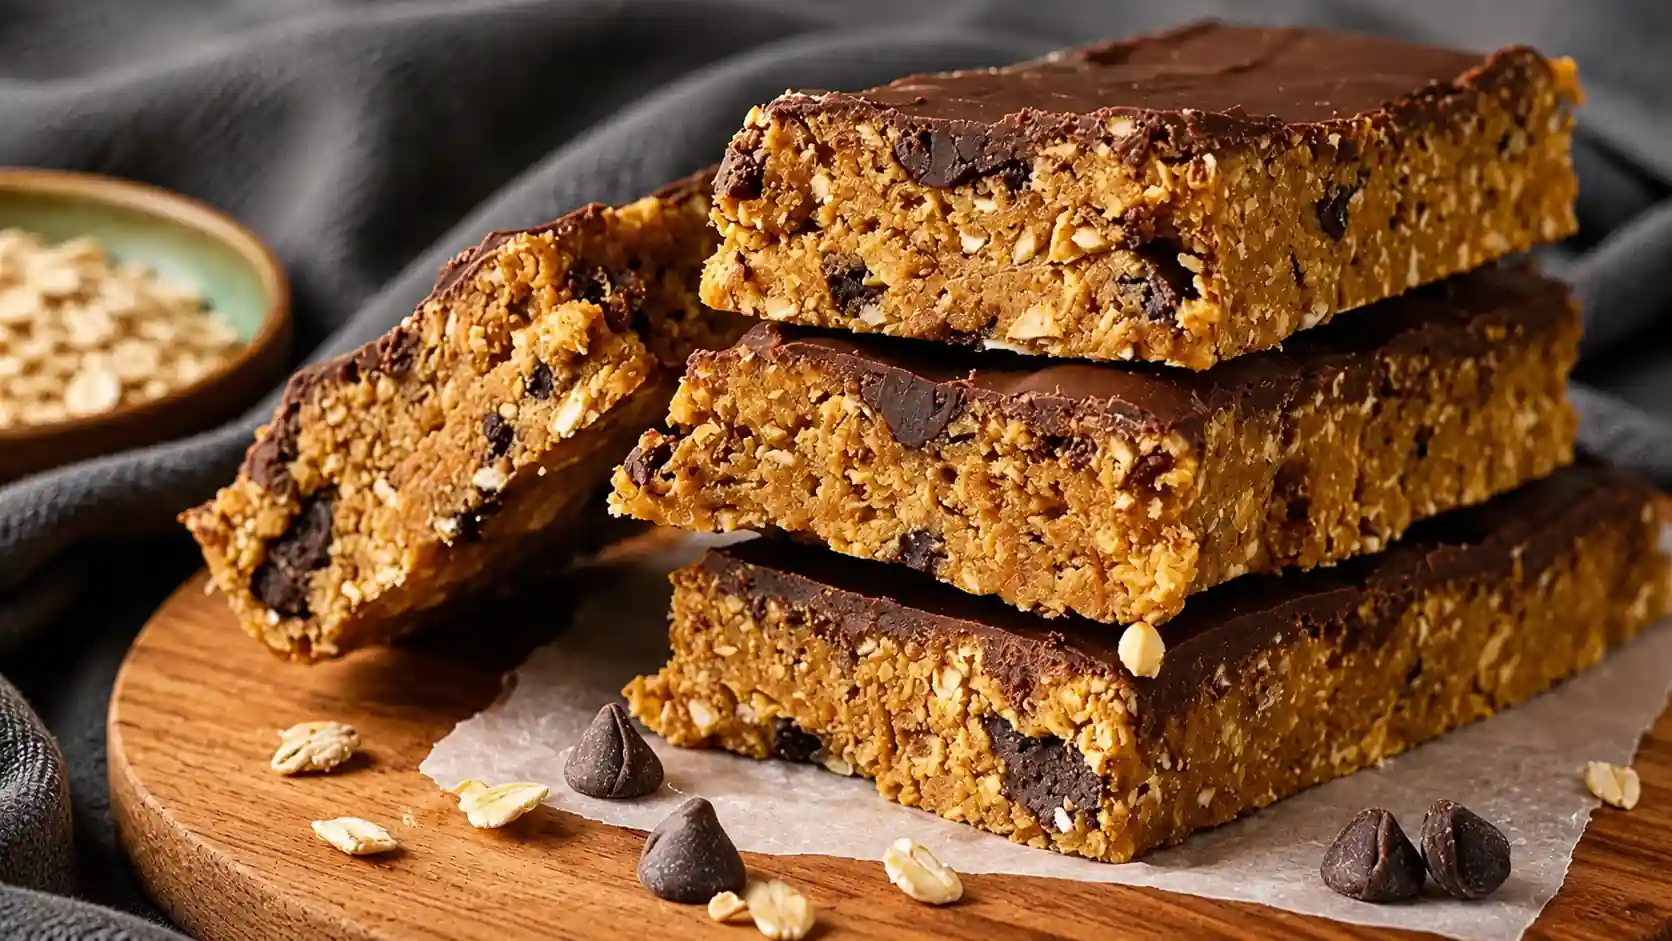
No-Bake Chickpea Protein Bars
How to Make High-Protein Chickpea Bars Without Protein Powder.
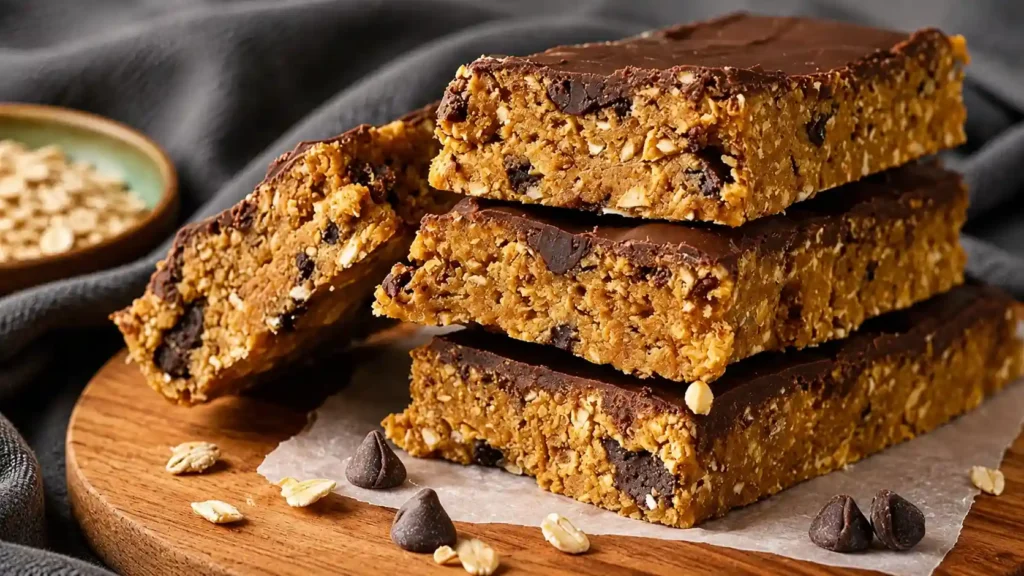
Looking for a simple way to make protein-rich snack bars without using protein powder? These no-bake chickpea protein bars are packed with wholesome ingredients, naturally sweetened, and incredibly satisfying. They offer a delicious combination of protein and fiber while tasting more like a dessert than a healthy snack.
After trying countless homemade protein bar recipes, I discovered that chickpeas create the perfect soft and chewy texture. Combined with peanut butter, oats, and chocolate, they blend into a flavorful dough that holds together beautifully. Best of all, there’s no chalky texture or artificial flavor often found in store-bought protein bars.
Ingredients for Chickpea Protein Bars
For the best texture and flavor, use natural peanut butter with a pourable consistency. It blends easily and helps create a smooth dough without making the bars oily.
For the Bars
- 1 can (15 oz / 400g) chickpeas, drained and rinsed
- ¼ cup natural unsalted peanut butter
- 1⅓ cups rolled oats
- ⅓ cup pure maple syrup
- 1 tablespoon vanilla extract
- 3 tablespoons ground flaxseed
- ⅓ cup mini chocolate chips
For the Chocolate Topping
- ¼ cup dark chocolate chips or chopped dark chocolate
- ½ teaspoon coconut oil
Step-by-Step Instructions
A food processor works best for this recipe because it creates a smooth and consistent dough. Before blending, make sure the chickpeas are drained well and lightly dried.
Step 1
Place the drained and rinsed chickpeas on a clean towel or paper towels and remove excess moisture. Add them to a food processor along with the peanut butter, oats, maple syrup, vanilla extract, and flaxseed.
Step 2
Blend the mixture for about 20 seconds until the ingredients begin breaking down. Pause and scrape the sides of the bowl using a spatula to ensure everything mixes evenly.
Step 3
Continue processing for another 30 to 45 seconds. The mixture may appear crumbly initially, but keep blending and scraping the sides as needed. Repeat this process several times until a thick dough forms and holds together when pressed. If the mixture feels too soft, add a small amount of extra oats or flaxseed.
Step 4
Add the mini chocolate chips and pulse a few times until they are evenly distributed throughout the dough.
Step 5
Transfer the dough onto a sheet of parchment paper. Place another sheet on top and press the mixture into a rectangle approximately ½ inch thick. Aim for a shape around 7 x 9 inches.
Step 6
Remove the top layer of parchment paper. In a microwave-safe bowl, combine the dark chocolate and coconut oil. Heat in short intervals, stirring between each round, until completely melted and smooth.
Step 7
Pour the melted chocolate over the pressed dough and spread it evenly across the surface. Carefully transfer the entire slab onto a plate or small tray using the parchment paper underneath.
Step 8
Place the tray in the freezer for about 15 minutes or until the chocolate has set. Remove and allow the bars to rest for a couple of minutes before slicing into 7 equal portions using a sharp knife.
What to Serve with Chickpea Protein Bars
These bars are excellent on their own, but they can also be paired with other nutritious foods to create a more balanced snack or recovery meal.
High-Protein Overnight Oats
Enjoy one bar alongside overnight oats for a filling breakfast packed with protein, fiber, and long-lasting energy.
Fresh Fruit
Serve with berries, apple slices, or other fresh fruit for added vitamins, hydration, and natural sweetness.
Brown Sugar Protein Oats
Pairing these bars with protein-rich oats creates a satisfying combination of textures and nutrients.
Greek Yogurt
A serving of plain Greek yogurt increases the overall protein content of your snack and supports muscle recovery after exercise.
Iced Coffee or Green Tea
Both beverages complement the sweetness of the bars while providing a refreshing boost throughout the day.
Storage & Serving Tips
Store the bars in an airtight container in the refrigerator. Place parchment paper between layers to prevent sticking. They will remain fresh for up to five days.
These bars can also stay at room temperature for several hours, making them ideal for lunchboxes, gym bags, or office snacks. However, avoid exposing them to direct heat because the chocolate topping can soften quickly.
For a different texture, crumble a bar over yogurt or warm one briefly in the microwave. Chilling them longer creates a firmer texture that many people enjoy during warmer months.
Final Thoughts
These no-bake chickpea protein bars are proof that nutritious snacks do not require expensive protein powders or complicated ingredients. With a handful of pantry staples and minimal preparation time, you can create delicious homemade bars that deliver both protein and fiber. Whether you enjoy them after workouts, as an afternoon snack, or as part of breakfast, they provide a convenient and satisfying way to fuel your day.