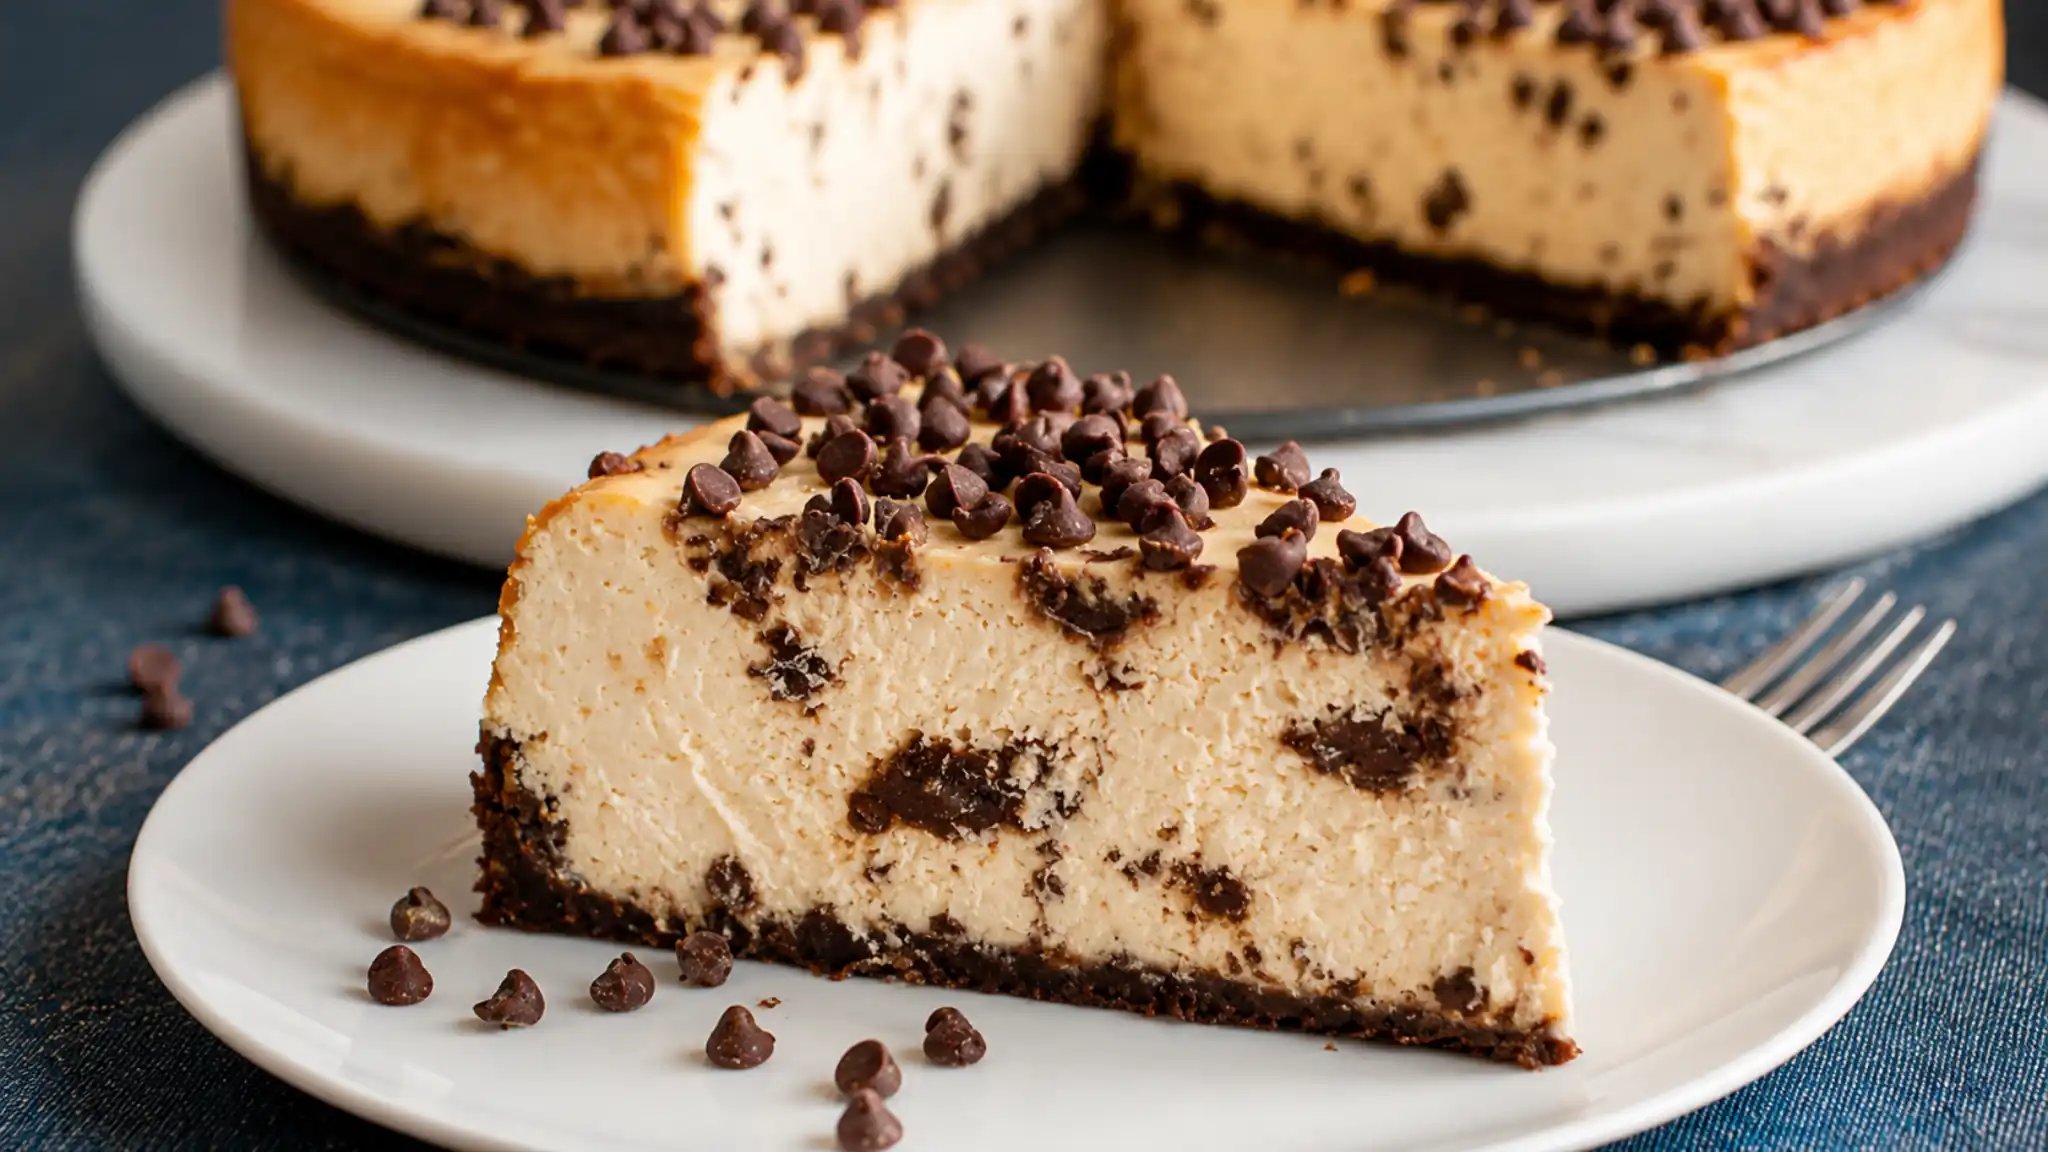
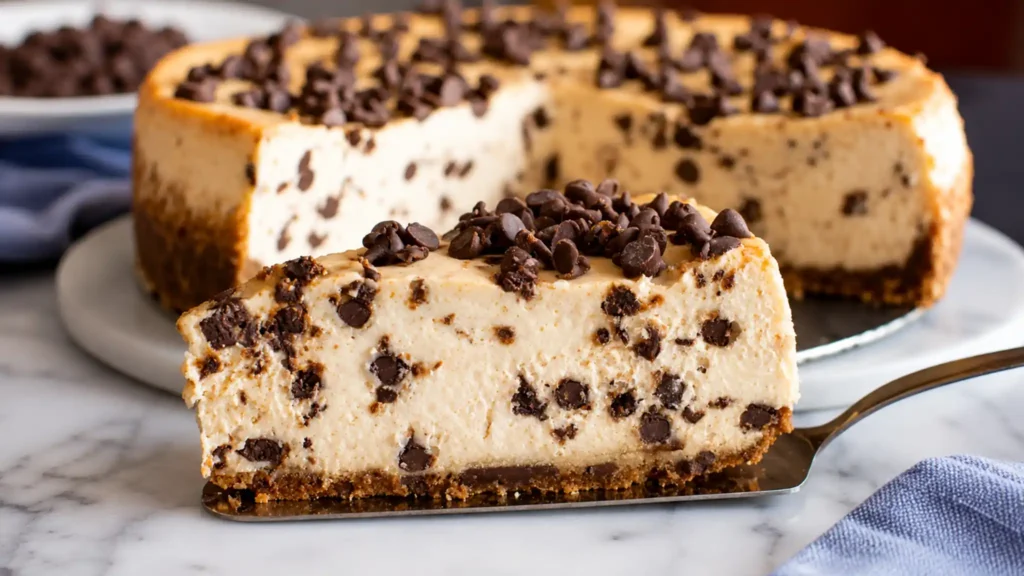
Protein Cheesecake
How to make a smooth, creamy protein cheesecake that tastes indulgent while helping you hit your daily protein goals.
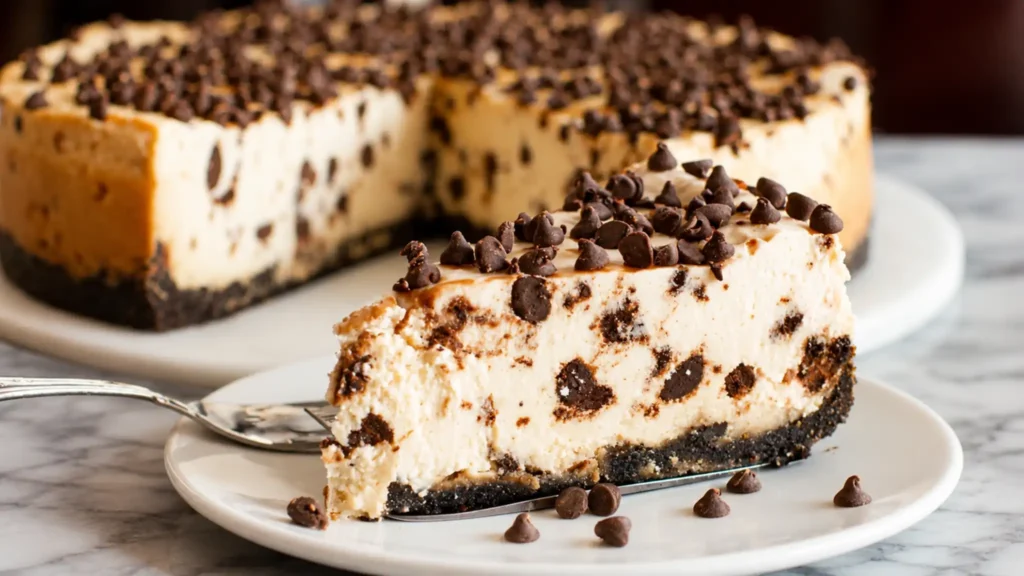
Protein cheesecake quickly became one of my favorite desserts after I started focusing on high-protein recipes. I honestly never expected a healthier cheesecake to taste this rich and creamy, but this recipe completely changed my mind. Every slice delivers that classic cheesecake flavor while packing in extra protein to keep you satisfied longer.
I still remember serving this cheesecake during a weekend family gathering. Everyone grabbed a slice without knowing it was made with protein powder and Greek yogurt. Within minutes, people were already asking for another piece before I even shared the ingredients. That was the moment I realized this recipe was truly worth keeping. It is simple, delicious, and surprisingly easy for beginners to make.
Ingredients for Protein Cheesecake

After testing several different versions, these ingredients created the perfect creamy texture every single time. I personally prefer using full-fat Greek yogurt because it gives the filling a much smoother and richer consistency than low-fat alternatives.
For the Crust:
- 1 1/2 cups almond flour (finely ground for a smoother crust)
- 3 tbsp granulated sweetener or regular sugar
- 3 tbsp melted coconut oil or butter (coconut oil adds a subtle nutty flavor)
For the Filling:
- 1 1/2 cups plain full-fat Greek yogurt
- 1 cup low-fat cottage cheese (blended until completely smooth)
- 1/2 cup vanilla or unflavored protein powder
- 1/4 cup granulated sweetener or sugar
- 1 tsp vanilla extract
- 1 pinch salt
- 2 tbsp lemon juice (optional for extra freshness)
Step-by-Step Instructions
From my experience, patience makes all the difference when baking cheesecake. Allowing the cheesecake to cool slowly helps create a perfectly smooth texture without cracks on top.
Step 1:
Preheat your oven to 350°F (175°C). Lightly grease an 8-inch springform pan and place it aside.
Step 2:
Prepare the crust by mixing almond flour, sweetener, and melted coconut oil inside a medium bowl. Stir until the mixture resembles damp sand, then firmly press it into the bottom of the prepared pan.
Step 3:
Bake the crust for 10 to 12 minutes until lightly golden around the edges. Remove it from the oven and let it cool completely. Lower the oven temperature to 325°F (160°C).
Step 4:
Make the filling by adding Greek yogurt, cottage cheese, protein powder, sweetener, vanilla extract, salt, and optional lemon juice into a blender or food processor. Blend until the mixture becomes completely smooth and creamy. If you still notice graininess, continue blending until silky.
Step 5:
Pour the cheesecake filling over the cooled crust and evenly smooth the surface using a spatula.
Step 6:
Bake the cheesecake at 325°F for 35 to 45 minutes. The outer edges should appear set while the center remains slightly jiggly. Avoid overbaking because it can create a dense and rubbery texture.
Step 7:
Turn off the oven and leave the cheesecake inside with the oven door slightly open. Allowing it to cool gradually helps prevent cracks from forming on top.
Step 8:
Once the cheesecake cools to room temperature, cover it tightly and refrigerate for at least 6 hours or overnight. This chilling time is essential for the perfect texture.
Step 9:
Slice and serve chilled. The recipe requires about 15 minutes of preparation, 45 minutes of baking time, and at least 6 hours for chilling.
What to Serve with Protein Cheesecake
This cheesecake tastes incredible on its own, but adding simple toppings or side treats can make it even more satisfying for parties, meal prep, or dessert nights.
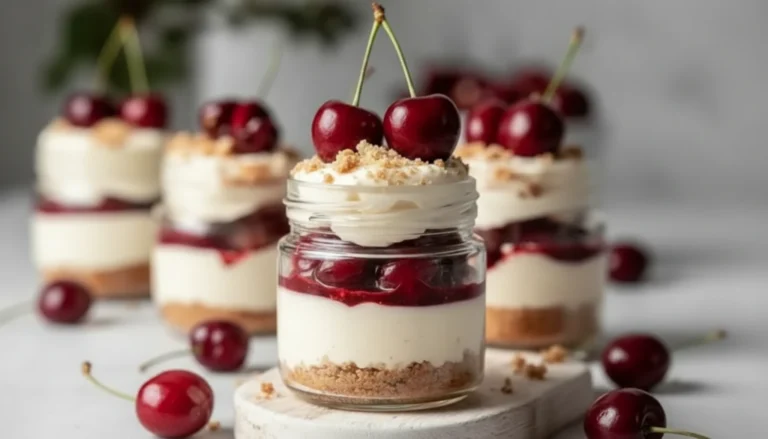
Fresh Berries
Strawberries, raspberries, and blueberries add natural sweetness and a refreshing contrast to the creamy cheesecake filling.
Coconut Whipped Cream
A light spoonful of whipped coconut cream creates an airy topping without overpowering the cheesecake flavor.
Dark Chocolate Drizzle
Melted dark chocolate or sugar-free chocolate syrup adds richness and makes every slice feel extra indulgent.
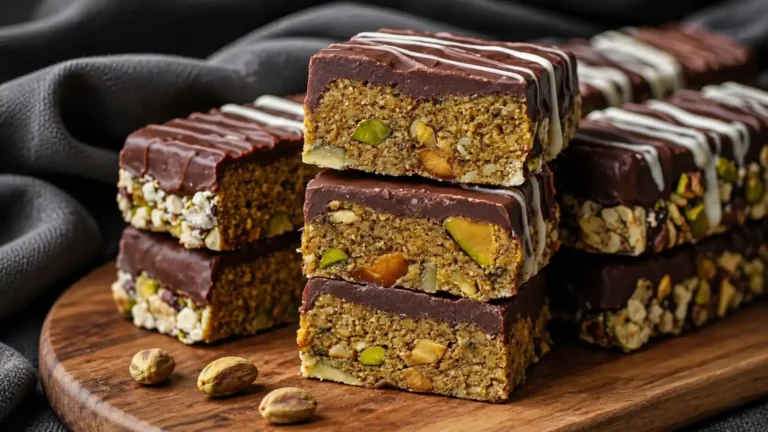
Protein Energy Bites
Serving protein bites alongside cheesecake creates a fun high-protein dessert platter everyone will enjoy.
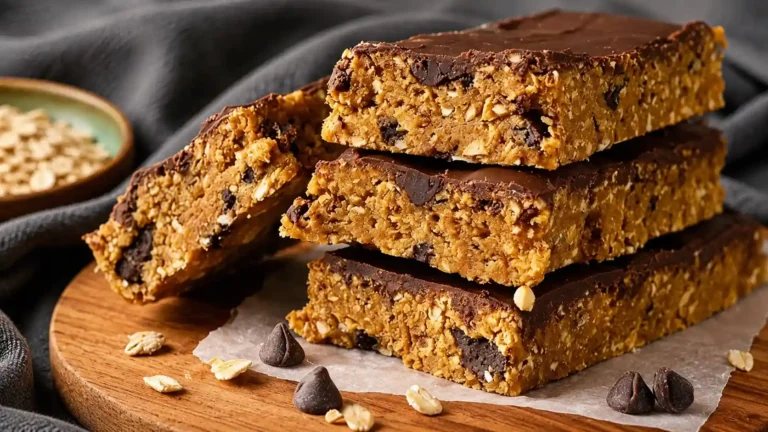
Strawberry Protein Balls
These no-bake treats pair perfectly with the creamy cheesecake and add extra texture to dessert tables.
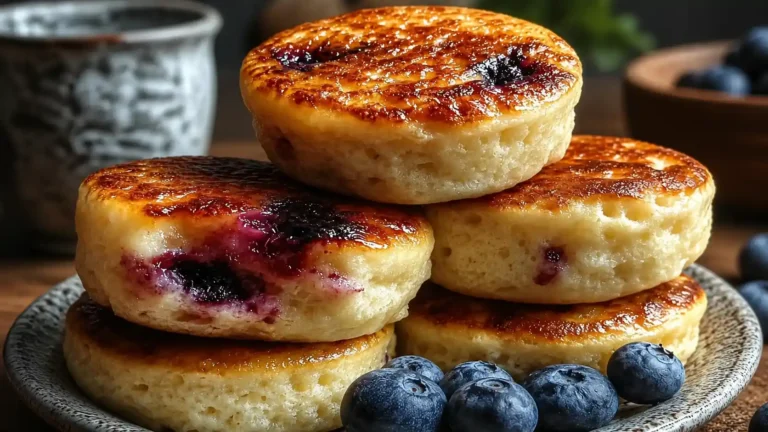
Creamy Protein Pudding
A small serving of protein pudding works wonderfully if you want an even higher-protein dessert combination.
Coffee or Espresso
Strong coffee balances the richness of cheesecake beautifully and creates the perfect dessert pairing.
Storage and Serving Tips
Store the cheesecake covered inside an airtight container in the refrigerator for up to 5 days. The texture actually becomes even creamier after chilling overnight because the filling continues setting properly.
For freezing, cut the cheesecake into slices and wrap each piece tightly with plastic wrap before storing them in a freezer-safe bag or container. The slices can stay frozen for up to 2 months. Transfer them to the refrigerator overnight before serving. Avoid thawing in the microwave because it may ruin the texture.
For the best flavor and texture, always serve this cheesecake chilled. Letting each slice sit at room temperature for a few minutes before serving helps create cleaner cuts and a creamier bite.
Conclusion
This protein cheesecake shows that healthier desserts can still taste rich, creamy, and completely satisfying. It is easy enough for beginners while still impressive enough for special occasions and family gatherings. Whether you are preparing high-protein meals for the week or simply craving a better-for-you dessert, this recipe delivers delicious results every single time. Try it once and it may easily become your new favorite cheesecake recipe.