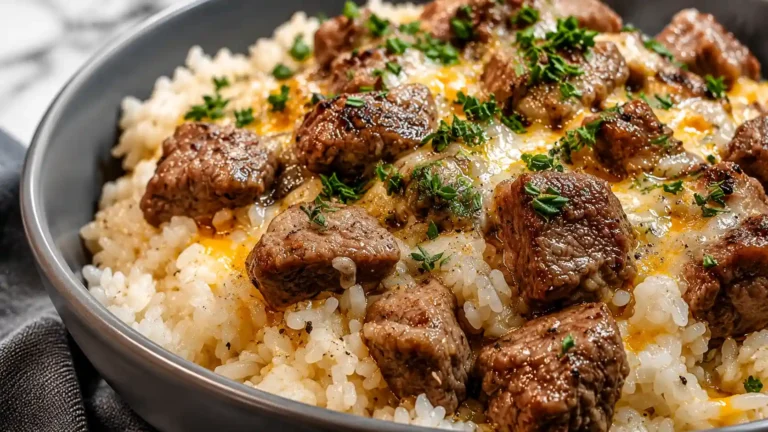
High Protein Low Calorie Mongolian Chicken – A Lighter Take on a Takeout Favorite
How to make flavorful Mongolian chicken that’s packed with protein, lower in calories, and ready in under 30 minutes with a rich homemade sauce.
I started making this lighter Mongolian chicken whenever I wanted something comforting without ordering greasy takeout. It quickly became one of those recipes I could throw together using simple fridge ingredients and pantry staples. The sauce turns thick, glossy, and packed with savory flavor, while the chicken stays juicy and tender. It satisfies those takeout cravings without all the extra oil and sugar.
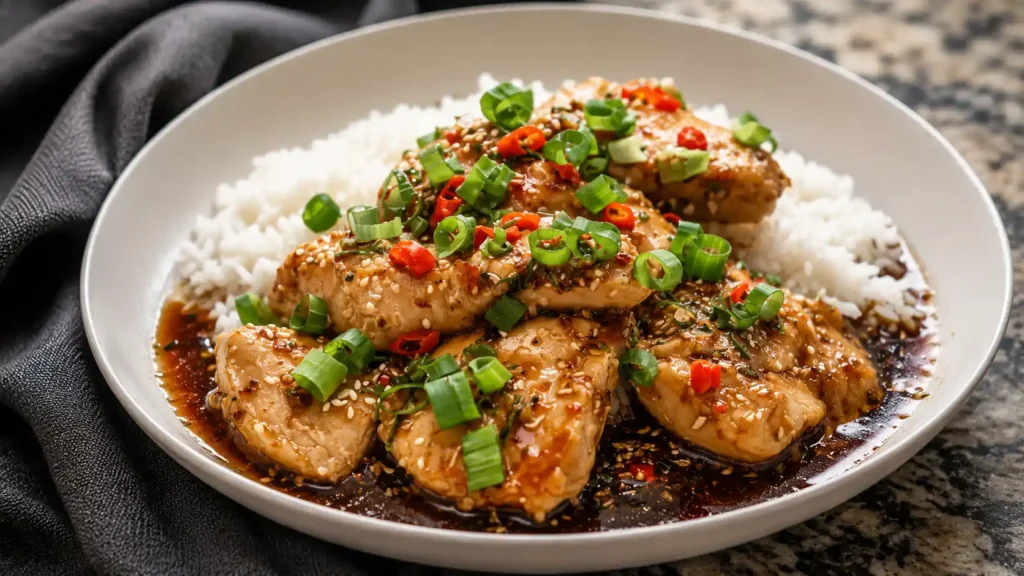
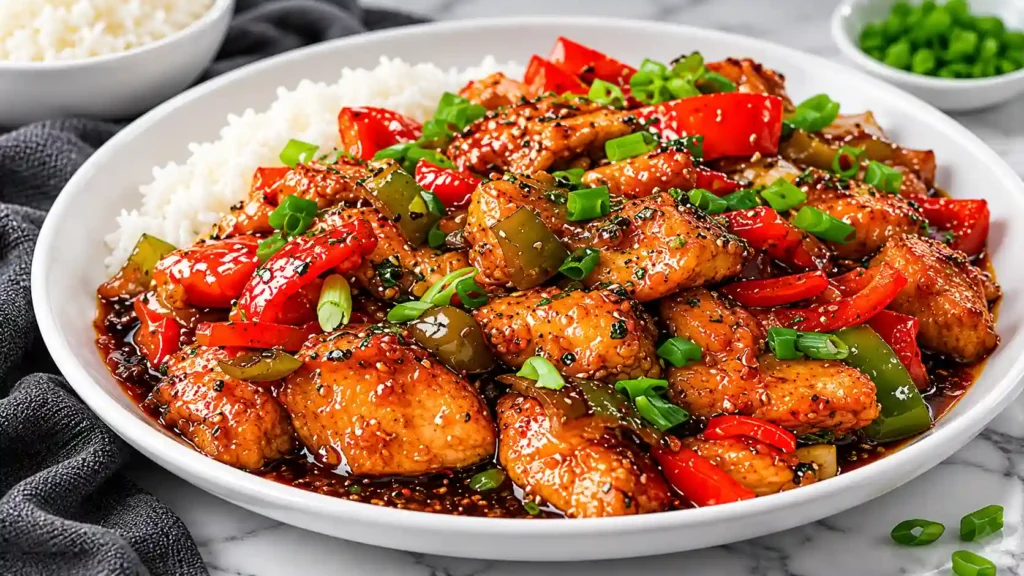
The first time I served this recipe at home, everyone assumed it came from our favorite Asian restaurant. The secret was using lean chicken breast, less sugar, and a quick skillet sear instead of frying everything in heavy batter. What makes this version special is how it keeps that sticky, sweet-savory flavor while staying lighter and protein-packed. Every bite is coated in bold garlic-ginger sauce with fresh scallions adding crunch and freshness. Serve it with steamed vegetables or cauliflower rice for an easy balanced dinner that still feels indulgent. Best of all, it comes together in about 25 minutes, making it perfect for busy evenings. Let’s get started!
Ingredients for High Protein Low Calorie Mongolian Chicken
I usually choose boneless skinless chicken breasts because they stay lean while absorbing all the sauce beautifully. One trick I always follow is slicing the chicken thinly against the grain for the most tender texture possible. Fresh garlic and ginger make a huge difference here, so I highly recommend avoiding bottled versions whenever possible. Here’s everything you’ll need:
- 1.5 pounds boneless skinless chicken breasts (thinly sliced against the grain)
- 1/3 cup low-sodium soy sauce
- 1/3 cup water or low-sodium chicken broth
- 1.5 to 2 tablespoons brown sugar or sugar substitute
- 1 tablespoon rice vinegar
- 4 garlic cloves (freshly minced)
- 1 tablespoon fresh ginger (finely grated)
- 1.5 tablespoons cornstarch (divided)
- 1 to 1.5 tablespoons avocado oil or light olive oil
- 1/2 teaspoon red pepper flakes (optional)
- 5 to 6 scallions cut into 1-inch pieces
- 1 teaspoon sesame seeds for garnish (optional)
- Pinch of salt
- Cauliflower rice or steamed rice for serving
Step-by-Step Instructions
I always prepare all the ingredients before turning on the stove because this recipe cooks very quickly. Having everything measured and ready makes the process easier and prevents overcooking.
Step 1:
Pat the chicken dry using paper towels, then slice it into thin even strips against the grain. Toss the chicken with 1/2 tablespoon cornstarch and a small pinch of salt. This helps create a lightly crisp exterior without needing deep frying or heavy breading.
Step 2:
In a small mixing bowl, whisk together soy sauce, broth or water, brown sugar, rice vinegar, garlic, ginger, and red pepper flakes if using. Set the sauce mixture aside while preparing the skillet.
Step 3:
In another bowl, combine 1 tablespoon cornstarch with 1 tablespoon cold water until smooth. This slurry helps thicken the sauce evenly later without creating lumps.
Step 4:
Heat a large skillet or wok over medium-high heat. Add half the oil and swirl it around the pan to coat the surface evenly. The pan should feel hot before adding the chicken.
Step 5:
Place half the chicken into the pan in a single layer without overcrowding. Cook for about 2 to 3 minutes per side until lightly golden and fully cooked through. Transfer the cooked chicken onto a plate and repeat with the remaining oil and chicken. Avoid moving the chicken too early so it develops better color.
Step 6:
Lower the heat slightly to medium. If the pan looks too dry, add a small splash of water before pouring in the sauce mixture. Let the sauce simmer for about 30 seconds so the garlic and ginger become fragrant.
Step 7:
Stir the cornstarch slurry once more, then slowly pour it into the simmering sauce while stirring continuously. Cook for 30 to 60 seconds until the sauce becomes shiny and thick enough to coat a spoon.
Step 8:
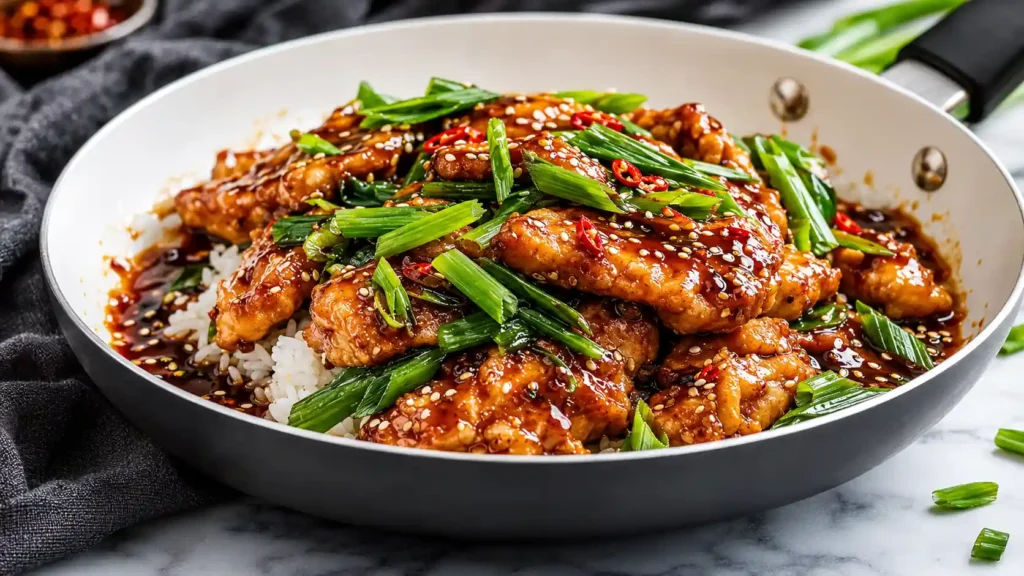
Return all the cooked chicken back into the pan along with any juices from the plate. Toss everything together until each piece is fully coated in the glossy sauce. Add the scallions and cook for another minute so they soften slightly while staying crisp.
Step 9:
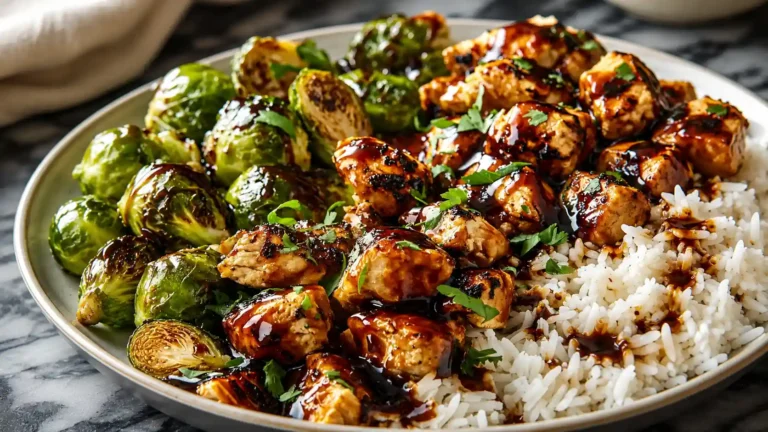
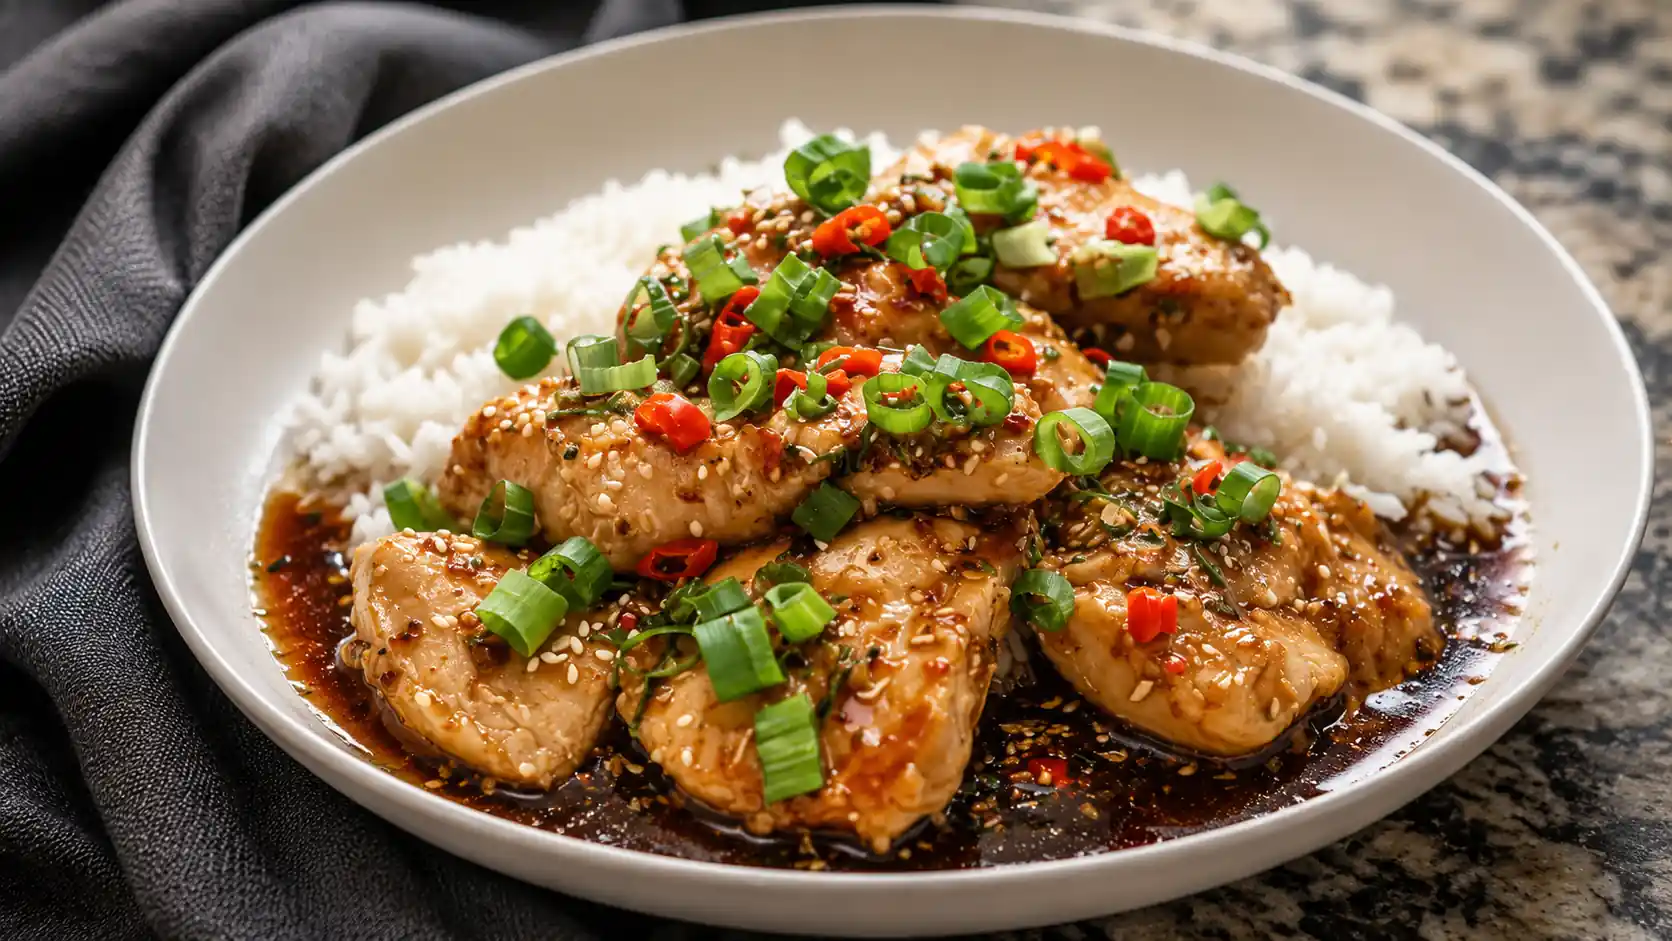
Taste the sauce and adjust if needed. Add a little extra vinegar for brightness or more sweetener if you prefer sweeter flavors. Sprinkle sesame seeds on top and serve immediately with cauliflower rice or steamed rice.
Best Side Dishes to Serve
This lighter Mongolian chicken pairs perfectly with simple sides that balance the bold savory sauce while keeping the meal fresh and satisfying.
Cauliflower Rice
A great low-carb option that absorbs the flavorful sauce while keeping the meal lighter and more filling.
Steamed Broccoli
Broccoli adds freshness, fiber, and texture while pairing perfectly with the sweet and savory sauce coating.
Snap Peas or Snow Peas
Their crisp texture and natural sweetness complement the tender chicken beautifully and cook very quickly.
Bok Choy
Lightly steamed bok choy adds freshness without overpowering the rich Mongolian flavors and provides extra nutrients.
Zucchini Noodles
For an even lower-calorie meal, zucchini noodles create a lighter alternative to traditional rice or noodles.
mongolian chicken served with cauliflower rice
Storage & Reheating Tips
Store leftover Mongolian chicken in an airtight container inside the refrigerator for up to 4 days. I usually keep the rice or vegetables separate so everything maintains the best texture when reheated.
For reheating, warm the chicken gently in a skillet over medium heat with a splash of water to loosen the sauce again. You can also microwave it in short intervals, stirring between each round to avoid drying out the chicken.
This recipe also works wonderfully for meal prep. Freeze individual portions for up to 2 months and thaw overnight before reheating. Freshly steamed vegetables added before serving help bring back the best flavor and texture.
Final Thoughts
This High Protein Low Calorie Mongolian Chicken gives you all the flavor of your favorite takeout dish with a lighter homemade approach. It’s quick, satisfying, and loaded with bold sweet-savory flavor while still fitting into healthier eating goals. Once you try this easy version at home, it may become one of your regular weeknight dinners too.