
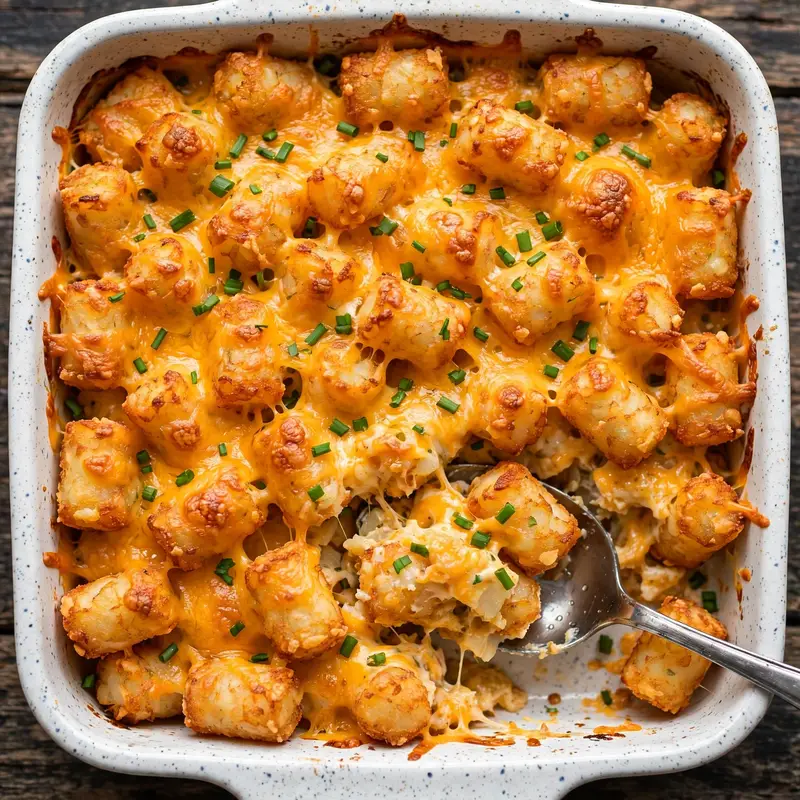
Cheesy Tater Tot Casserole — Crispy, Creamy, Crowd-Pleasing
Pull this out of the oven and the table goes quiet for a few seconds before everyone reaches in. The top layer of tater tots turns golden and crispy while the seasoned ground beef and creamy mushroom sauce underneath stay rich and bubbling. It’s the kind of dish that smells like a Sunday dinner but takes a weeknight amount of effort.
This tater tot casserole uses a simple base of browned ground beef, cream of mushroom soup, sour cream, and beef broth, layered with shredded cheddar and a full bag of frozen tater tots arranged across the top. It feeds eight people without drama, comes together in one baking dish, and reheats well the next day. That combination makes it one of the most reliable family dinner recipes to have on rotation.
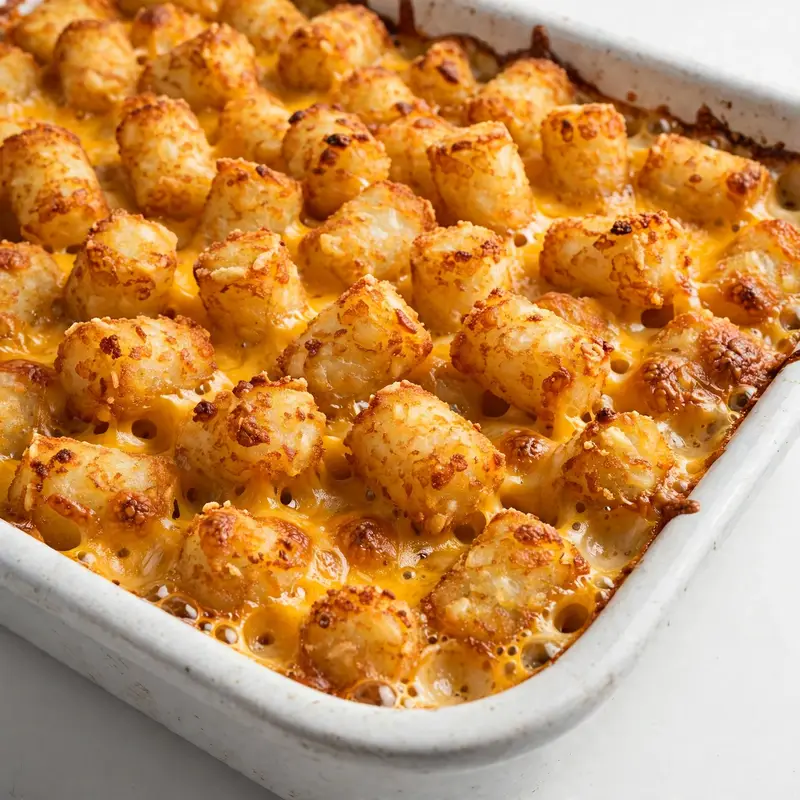
Why You’ll Love This Tater Tot Casserole
- One dish, full cleanup in minutes. Everything cooks and bakes in a single 9×13 baking dish. No separate pots for different components, and the dish soaks clean easily because the filling doesn’t scorch the bottom.
- Genuinely crispy tots on top. The tots are placed in a single even layer directly on the beef mixture and bake uncovered for the last 20 minutes. That uncovered time is what separates a crispy top from a soggy one.
- Deep, savory flavor from a short ingredient list. Cream of mushroom soup plus sour cream creates a sauce that tastes far more developed than the two ingredients suggest. Beef broth loosens it just enough to stay saucy rather than stiff.
- Feeds eight people with one pound of beef. The tots and sauce do the stretching. This is a practical casserole for families or anyone who wants meaningful leftovers.
- Works from frozen. The tater tots go in straight from the freezer. No thawing, no pre-baking.
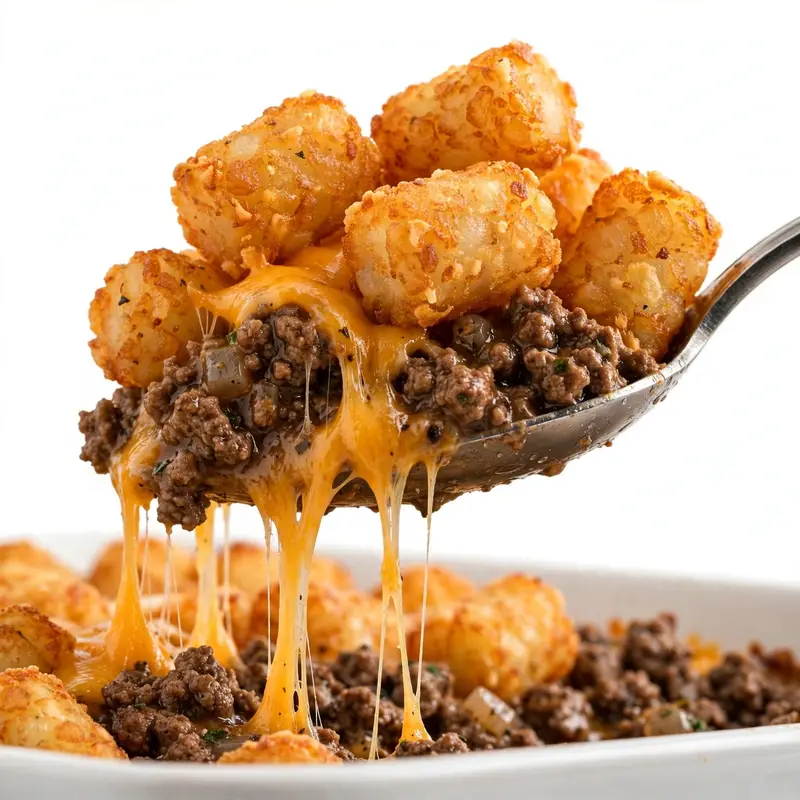
Ingredients You’ll Need
Recipe Timing
| Detail | Info |
|---|---|
| Servings | 8 |
| Difficulty | Easy |
| Course | Main Course, Casserole |
| Cuisine | American |
| Prep Time | 15 minutes |
| Cook Time | 50 minutes |
| Total Time | 65 minutes |
Buy the best ground beef your budget allows. An 80/20 lean-to-fat ratio gives you enough fat to brown properly without leaving a greasy pool in the pan. If you use leaner beef (90/10), add a tablespoon of butter to the skillet before browning so the meat doesn’t dry out.
For the Beef Filling:
- 450g (1 lb) ground beef, 80/20 — The fat content matters here. Lean beef browns adequately but the filling can feel dry without enough fat. Drain excess grease after browning if there is more than about 2 tablespoons.
- 1 medium yellow onion, finely diced — Yellow onion becomes slightly sweet as it cooks down with the beef, which balances the savory mushroom sauce. White onion works as a direct substitute.
- 3 cloves garlic, freshly minced — Add this after the onion softens so the garlic doesn’t burn before the beef goes in.
- 1 can (298g / 10.5 oz) condensed cream of mushroom soup — Use it straight from the can, undiluted. Diluting it before baking results in a watery filling.
- 1/2 cup (120ml) beef broth — Loosens the condensed soup into a pourable sauce consistency. Chicken broth works if beef broth isn’t available, but the savory depth is slightly less pronounced.
- 1/2 cup (120g) full-fat sour cream — Adds richness and a faint tang that keeps the filling from tasting flat. Low-fat sour cream works but makes the sauce noticeably thinner.
- 1 tsp garlic powder — A second hit of garlic that blends more evenly into the sauce than fresh garlic alone.
- 1 tsp onion powder
- 1/2 tsp ground black pepper
- 1 tsp fine salt — Adjust after tasting the filling, especially if your broth is already salted.
- 1 cup (130g) frozen corn or frozen green beans (optional) — Adds color, texture, and some vegetable content without requiring any extra prep. Both go in straight from frozen.
For the Layers:
- 2 cups (200g) shredded sharp cheddar cheese, divided — Sharp cheddar gives more flavor per bite than mild. Pre-shredded cheese works, but block cheese you shred yourself melts more smoothly because it doesn’t contain the anti-caking starch that coats bagged shreds.
- 900g (32 oz bag) frozen tater tots — Use the standard variety, not the seasoned or extra-crispy versions. Those versions contain additional coatings that can over-brown before the casserole filling heats through.

Allergen and Dietary Disclosure
This recipe contains dairy (sour cream and cheddar cheese) and gluten (condensed cream of mushroom soup and most commercial tater tots contain wheat starch). For a gluten-free version, use a certified gluten-free cream of mushroom soup (several brands produce one) and check your tater tot brand’s label carefully, as formulations vary between brands.
For a dairy-free version, replace the sour cream with an equal amount of full-fat coconut cream and use a dairy-free cheddar-style shred. The texture of the filling is slightly looser with coconut cream but still holds together well after baking.
This recipe has not been prepared in an allergen-free facility. Always verify individual product labels if you are managing a serious allergy.
Equipment Needed
- 9×13 inch (23×33 cm) baking dish — The standard size ensures the tots fit in a single even layer. A smaller dish stacks the tots, which prevents the bottom layer from crisping. Glass and ceramic both work; a glass dish lets you check the filling color from the sides.
- Large skillet or heavy sauté pan — For browning the beef and building the filling before it transfers to the baking dish. A 12-inch skillet is the right size for one pound of beef without crowding.
- Wooden spoon or silicone spatula — For breaking up the beef into small, even crumbles as it cooks. Larger chunks create uneven pockets in the filling.
- Fine mesh strainer or paper towels — For draining excess fat from the browned beef before adding the sauce ingredients.
- Aluminum foil — Used only for the first portion of baking. Covering the casserole with foil traps steam and heats the filling through before the tots go uncovered for crisping.
Step-by-Step Directions
Step 1: Preheat and Prepare the Dish
Set your oven to 190°C (375°F) and lightly grease the 9×13 baking dish with a neutral cooking spray or a thin layer of butter. Greasing matters here because the cheese that bubbles down the sides will stick and burn against an uncoated dish.
Step 2: Brown the Beef and Onion
Place the large skillet over medium-high heat. Once the pan is warm, add the ground beef and diced onion together. Break the beef into small crumbles with your spoon as it cooks and stir it regularly for 8 to 10 minutes, until the meat is fully browned with no pink remaining and the onion has softened and turned slightly translucent.
Food safety note: Ground beef must reach an internal temperature of 71°C (160°F) before it’s safe to eat. If you’re unsure, check with a thermometer at the thickest clump in the pan.
Tilt the pan and spoon out as much excess fat as possible, or strain through a fine mesh strainer and return the beef and onion to the skillet.

Chef’s Note: Draining the fat before adding the sauce ingredients is the step most people skip, and it’s also why many casseroles end up greasy and separated. A clean, drained beef base absorbs the sauce rather than floating on top of it.
Step 3: Build the Sauce
Reduce the heat to medium. Add the minced garlic to the drained beef and stir for about 60 seconds until fragrant. Pour in the cream of mushroom soup straight from the can, followed by the beef broth and sour cream. Add the garlic powder, onion powder, salt, and black pepper. Stir everything together until the mixture is fully combined and there are no streaks of sour cream visible. If you’re adding frozen corn or green beans, fold them in now.
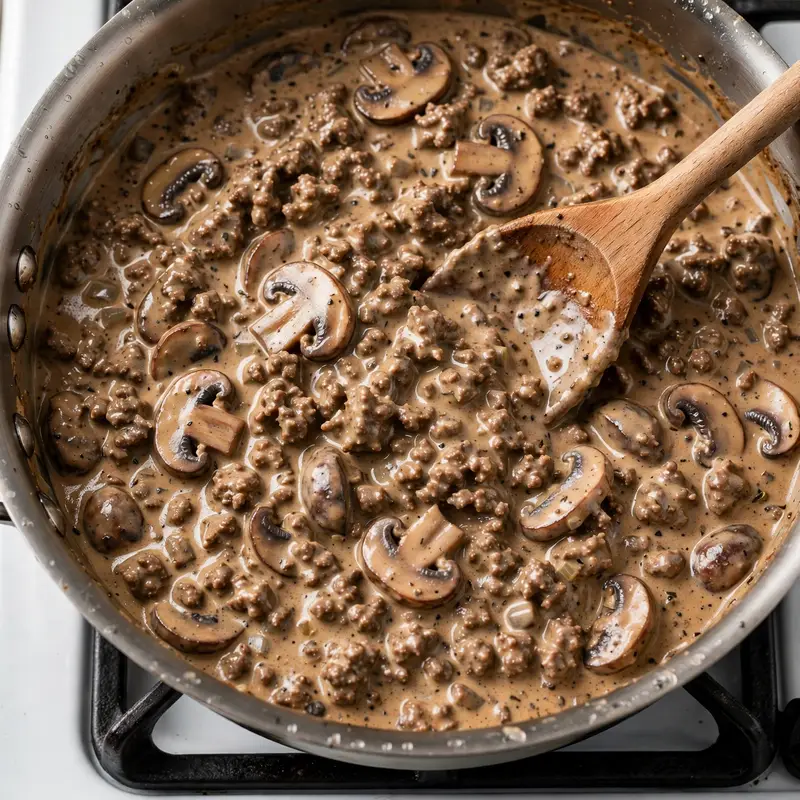
Step 4: Layer the Filling and First Cheese
Pour the beef filling into the prepared baking dish and spread it into an even layer using your spatula. Scatter 1 cup (100g) of the shredded cheddar evenly across the top of the filling. This first cheese layer melts into the sauce during baking and ties the filling and tot layers together.
Chef’s Note: Adding cheese in two layers instead of all at once at the end gives you a melted, integrated cheese layer inside the casserole and a distinct browned, slightly crispy cheese crust on the very top. One layer only means all the cheese sits on the surface and can over-brown before the filling heats through.
Step 5: Arrange the Tater Tots
Place the frozen tater tots across the cheese layer in a single, tight arrangement. Line them up in rows so every part of the surface is covered with minimal gaps. No thawing needed.

Step 6: Bake Covered, Then Uncovered
Cover the dish tightly with aluminum foil and bake at 190°C (375°F) for 30 minutes. This covered phase heats the filling completely and begins softening the tots. After 30 minutes, remove the foil, scatter the remaining 1 cup (100g) of cheddar across the top of the tots, and return the dish to the oven uncovered for a final 20 minutes, until the tots are deeply golden and the cheese is bubbling and starting to brown at the edges.
Chef’s Note: The uncovered phase is the only time the tots actually crisp. Skipping it or cutting it short gives you pale, soft tots with a steamed rather than baked texture. If the cheese is browning faster than you’d like, loosely tent the foil without sealing the edges — this slows the browning without trapping steam.
Step 7: Rest Before Serving
Pull the casserole from the oven and let it sit undisturbed for 5 minutes before portioning. The filling is extremely hot and needs a brief moment to settle so each serving holds its shape on the plate rather than sliding apart.
Common Mistakes and Troubleshooting
| Problem | Cause | Solution |
|---|---|---|
| Tots are soft and pale, not crispy | Foil left on for the full bake, or dish overcrowded | Always remove the foil for the last 20 minutes. Check that tots are in a single layer with minimal gaps. |
| Filling is watery and loose | Condensed soup was diluted before adding, or beef fat wasn’t drained | Use undiluted soup directly from the can. Drain excess fat thoroughly before building the sauce. |
| Casserole tastes flat despite all the seasoning | Canned soup is the dominant flavor and wasn’t balanced | Taste the filling before it goes into the dish and adjust salt and pepper. A small splash of Worcestershire sauce (check the label for halal compliance) can add depth if needed. |
| Cheese on top is burnt before the tots finish crisping | Oven runs hot, or cheese added too early in the uncovered stage | Add the second layer of cheese only in the last 20 minutes, not before. If it browns too fast, check your oven temperature with a thermometer. |
| Filling dried out during baking | Too much time uncovered, or a smaller dish concentrating the heat | Stick to the timing: 30 minutes covered, 20 minutes uncovered. A smaller dish than 9×13 will over-reduce the filling. |
Variations and Substitutions
Ground Turkey Version: Swap the ground beef for ground turkey at a 1:1 ratio. Turkey has less fat, so add 1 tablespoon of olive oil to the skillet before browning. The flavor is lighter and the filling is slightly firmer, which holds together cleanly when portioning.
Spicy Version: Stir 1/4 teaspoon of cayenne pepper and 1 teaspoon of smoked paprika into the filling sauce. Add a few dashes of hot sauce at the table. The spice works well against the creaminess of the sour cream and cheese.
Vegetable-Loaded Version: Add 1 cup each of frozen corn, green beans, and diced red bell pepper to the beef filling. The extra vegetables extend the casserole to comfortably feed 10 and add enough color to make it look like a balanced plate.
Gluten-Free Version: Use a certified gluten-free cream of mushroom soup and verify your tater tot brand. Many major brands offer a gluten-free option. The rest of the recipe needs no adjustments.
Extra Cheesy Version: Increase the total cheese to 3 cups and add a third layer of shredded Monterey Jack underneath the tots alongside the first cheddar layer. Monterey Jack melts particularly smoothly and creates a stringy, gooey layer inside the casserole.
Serving Suggestions
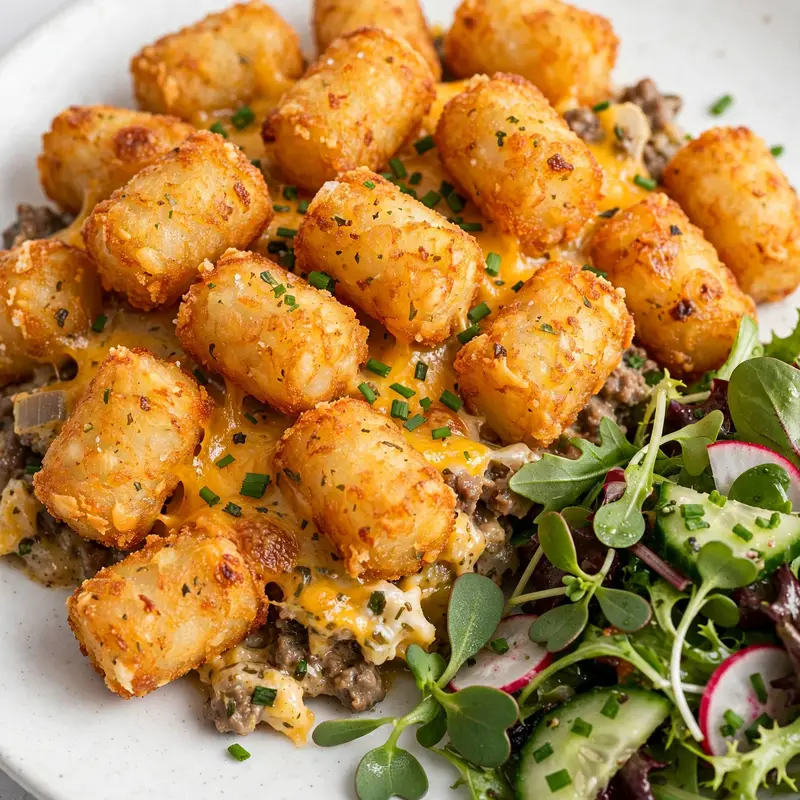
- Serve alongside a simple green salad with a light vinaigrette. The crispness of the salad cuts through the richness of the casserole without competing with the flavor.
- A side of steamed broccoli works well here because it’s neutral enough not to clash and can be drizzled with the same cheddar sauce that bubbles up from the casserole edges.
- Offer hot sauce or pickled jalapeños on the side for anyone who wants heat. The cool, creamy filling of the casserole absorbs hot sauce very well.
- Fresh chopped chives or flat-leaf parsley scattered over each portion before serving add a bright note that visually lifts what is otherwise a very brown dish.
- A cold glass of sparkling water with lemon, or an unsweetened iced tea, cleans the palate between bites and keeps the meal from feeling too heavy.
Tips for the Best Results
Drain the beef fat completely. This is the most practical thing you can do for the finished dish. A greasy base separates during baking and leaves an oily layer on top of the filling that no amount of cheese can hide.
Use cold tots straight from the freezer. Thawed tots absorb moisture from the filling before they get a chance to crisp. Frozen tots stay firm enough to hold their structure through the covered baking phase and then brown properly once the foil comes off.
Taste and season the filling before it goes in the dish. Condensed soup is already salted, and so is most beef broth. Tasting before baking is the only reliable way to avoid an under- or over-seasoned final dish. Add salt in small increments, stir, and taste again.
Shred your own cheese if you have the time. Block cheddar shredded by hand melts into smooth, even pools. Pre-shredded cheese is coated with potato starch or cellulose to prevent clumping, which also prevents clean melting. You’ll notice the difference in the finished casserole.
Don’t cover the dish too loosely with foil. A tight seal during the covered phase traps steam and heats the filling evenly. A loosely draped piece of foil lets steam escape, which means the filling may not be fully heated through by the time you remove the foil for the crisping phase.
Storage Tips
Refrigerator
Cover the baking dish with plastic wrap or transfer leftovers to an airtight container. The casserole keeps well in the fridge for up to 4 days. The tots soften overnight as they absorb moisture from the filling, so reheating in the oven rather than the microwave is the only way to get any crispness back.
Freezer
Tater tot casserole freezes well either before or after baking. To freeze before baking: assemble the dish fully, cover tightly with two layers of plastic wrap followed by aluminum foil, and freeze for up to 3 months. Bake from frozen at 175°C (350°F), covered, for 60 minutes, then uncover and bake for a final 25 to 30 minutes. To freeze after baking: cool the casserole fully, then portion and freeze in individual airtight containers for up to 2 months.
Reheating
For the best results, place individual portions in a small oven-safe dish and reheat at 190°C (375°F) for 12 to 15 minutes. This restores some crispness to the tots. Microwave reheating at 70% power for 2 to 3 minutes works for convenience; the tots won’t crisp, but the filling heats through evenly. Add a tablespoon of water before microwaving if the filling looks dry.
Make-Ahead Note: You can brown the beef and build the filling up to 24 hours ahead. Store it in the fridge and assemble the casserole with the cheese and tots just before baking. This cuts the day-of effort to about 10 minutes.
Nutrition Information
Per serving, based on 8 servings. Values are approximate.
| Nutrient | Amount |
|---|---|
| Calories | 475 kcal |
| Protein | 22g |
| Carbohydrates | 36g |
| Fiber | 2g |
| Sugar | 3g |
| Total Fat | 28g |
| Saturated Fat | 12g |
| Cholesterol | 75mg |
| Sodium | 840mg |
| Potassium | 440mg |
| Calcium | 220mg |
| Iron | 2.8mg |
| Vitamin C | 5mg |
Nutrition values are approximate and may vary based on brands and portion sizes.
Why This Recipe Works
The filling method here solves the two most common problems with tater tot casseroles: a greasy base and a soggy top. Browning and thoroughly draining the beef before building the sauce removes the fat that otherwise separates during baking and pools around the tots. The uncovered final 20 minutes of baking is the only window in which the tots can actually crisp, and that requires dry heat rather than the trapped steam created by foil.
Cream of mushroom soup is doing more than just convenience here. Its starch content helps the filling hold its structure even after it’s been fully heated and portioned. A from-scratch mushroom sauce would taste slightly cleaner but would also be thinner and more prone to breaking in the oven. The condensed soup provides exactly the right body for a casserole filling that needs to stay together through baking and reheating.
Two cheese layers instead of one is a structural and flavor decision. The first layer (underneath the tots) melts into the filling and seals the gap between the sauce and the tot layer, creating a unified dish rather than two separate components sitting on top of each other. The second layer (added in the final 20 minutes) browns on the surface of the tots and provides the visual and textural finish the dish needs.
I’ve tested this across a few batches with different fat levels of beef and different soup brands. The 80/20 beef consistently produced a richer filling. The draining step made a visible difference in every batch. Skipping the covered phase entirely produced tots that dried out on the edges before the center of the filling came to temperature.
Frequently Asked Questions
Can I assemble tater tot casserole the night before?
Yes. You can fully assemble the casserole, cover it tightly with plastic wrap, and refrigerate overnight before baking. Add about 10 extra minutes to the covered baking phase since the filling will be cold from the fridge rather than just-cooked. Let the dish sit at room temperature for 15 minutes before it goes into the oven to prevent the glass or ceramic from cracking from sudden heat.
Why are my tater tots soggy instead of crispy?
Two reasons cover most cases. First, the foil wasn’t removed for the last portion of baking, so the tots never got direct dry heat. Second, the tots were thawed before baking, which releases water into the filling during the covered phase. Always use frozen tots directly from the bag, and always bake uncovered for at least 20 minutes at the end.
Can I use a different protein instead of ground beef?
Ground turkey works at a 1:1 swap, though add a tablespoon of olive oil to the skillet since turkey has less natural fat. Ground chicken also works with the same adjustment. For a vegetarian version, use drained and rinsed canned lentils or a plant-based ground crumble; the filling sauce works equally well around both and doesn’t need any other adjustments.
How do I know when the casserole is done?
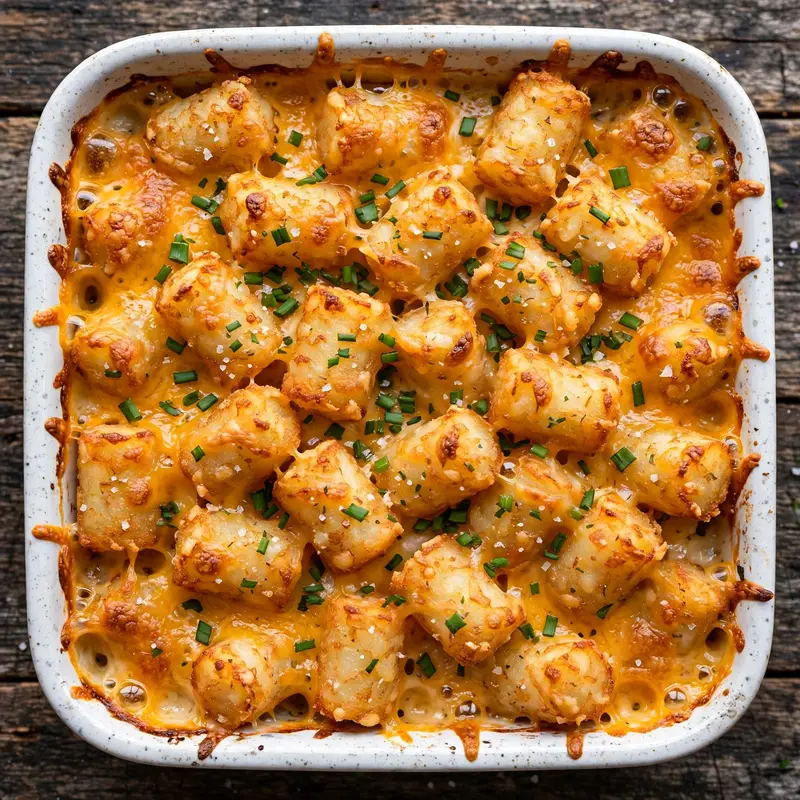
The tots should be deeply golden brown across the surface, and the cheese should be fully melted and starting to bubble and brown at the edges of the dish. If you insert a knife into the center of the filling, it should feel hot to the touch when held for a second against your hand. The filling should be bubbling visibly around the edges of the tot layer, not just at the outer rim.
Is this recipe gluten-free?
Not in its standard form. Condensed cream of mushroom soup contains wheat starch, and most commercial tater tots also contain wheat starch as a binding agent. To make it gluten-free, use a certified gluten-free cream of mushroom soup (available from several brands) and check your specific tater tot brand’s label carefully. The rest of the ingredients in this recipe are naturally gluten-free.
Can I make this with cream of chicken soup instead of cream of mushroom?
Yes. Cream of chicken soup produces a slightly lighter, less earthy filling but works structurally in exactly the same way. The flavor is milder and pairs especially well with ground turkey. You can also combine half a can of each if you have both open; the flavors blend without competing.
How much does one serving actually fill?
The recipe yields 8 generous portions from a 9×13 dish. Each portion is roughly 3 to 4 tater tots across with a good spoonful of filling underneath. For a family with younger children who eat smaller portions, this comfortably feeds 10. If you’re serving it as part of a larger spread with sides, it stretches to 10 to 12 servings.
Conclusion
Tater tot casserole earns its place on the regular rotation because every component does something necessary. The tots aren’t just a novelty topping; they’re a proper starch layer that crisps under dry heat and absorbs just enough of the sauce underneath to become part of the dish rather than sitting separately on it. The filling, when built and seasoned properly, punches well above its effort level.
The difference between a good batch and a mediocre one comes down to three things: drained beef, frozen tots, and uncovered baking time. Get those right and this tater tot casserole comes out of the oven looking and tasting like a dish worth making again.
If you loved this recipe, save it to your casserole recipes Pinterest board so you can find it easily later! For more latest recipes don’t forget to visit thecookingvibes Pinterest account
Cheesy Tater Tot Casserole
Ingredients
Equipment
Method
- Preheat oven to 190°C (375°F). Lightly grease a 9×13 inch baking dish.
- Cook ground beef and diced onion together in a large skillet over medium-high heat, breaking the beef into small crumbles, for 8 to 10 minutes until fully browned. Drain the fat.
- Reduce heat to medium. Add garlic and stir for 60 seconds. Add cream of mushroom soup, beef broth, sour cream, and all seasonings. Stir until fully combined. Fold in frozen corn or green beans if using.
- Pour the filling into the prepared baking dish and spread evenly. Scatter 1 cup of cheddar over the filling.
- Arrange the frozen tater tots in a single, tight layer across the cheese.
- Cover tightly with aluminum foil and bake for 30 minutes.
- Remove the foil, scatter the remaining 1 cup of cheddar over the tots, and bake uncovered for a further 20 minutes until tots are deeply golden and cheese is bubbling.
- Rest for 5 minutes before portioning and serving.
