Homemade Hamburger Helper — Cheesy One-Pan Dinner, 30 Minutes
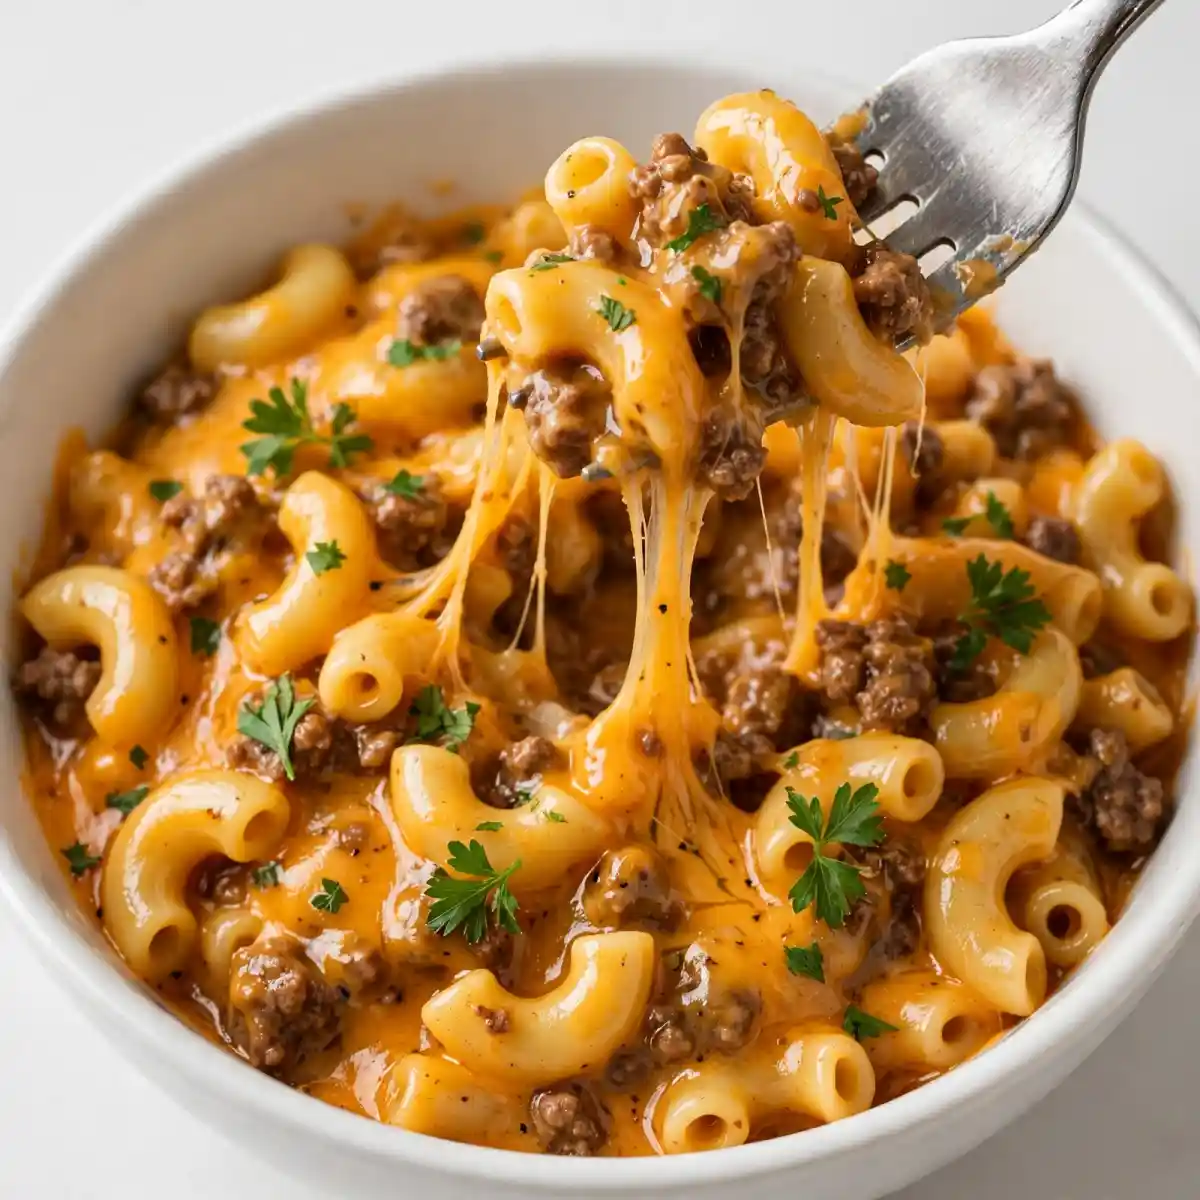
There is a specific kind of weeknight dinner that asks very little of you and delivers a full, satisfying meal in a single pan with almost no cleanup: ground beef browned with onion and garlic, pasta cooked directly in a seasoned broth until tender, and a cheddar cheese sauce pulled together in the final two minutes that coats every piece of pasta in something genuinely creamy rather than gluey or powdery. This is that dinner, made from scratch rather than from a box, and it tastes noticeably better for it.
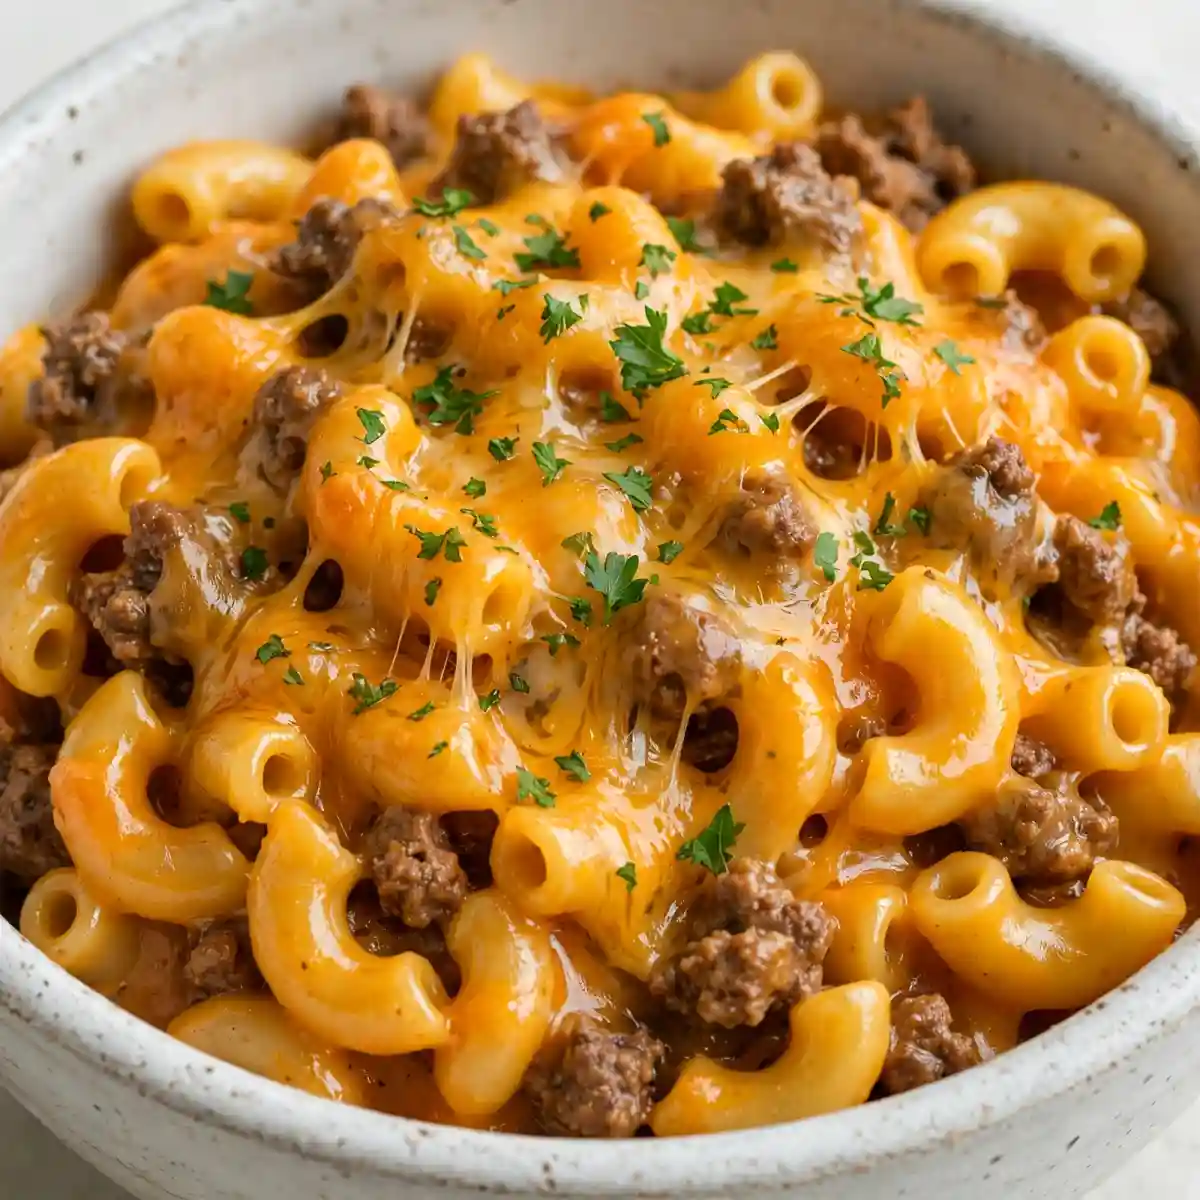
This homemade hamburger helper recipe uses seasoned ground beef, elbow macaroni cooked directly in the beef broth and seasoned liquid without a separate pot, and a sharp cheddar sauce added at the end that takes the dish from a plain pasta skillet to something rich, savory, and genuinely filling. It serves 4 to 6, takes 30 minutes from start to finish, and requires nothing beyond a large skillet and a lid. The seasoning is built into the cooking liquid rather than sprinkled on at the end, which is what produces a dish that tastes seasoned all the way through rather than on the surface only.
Why You’ll Love This Homemade Hamburger Helper
- One pan, genuine minimal cleanup. The ground beef browns, the aromatics soften, the pasta cooks, and the cheese sauce comes together all in the same skillet; nothing else touches the stove.
- Pasta cooked in the seasoned liquid absorbs flavor all the way through. Unlike boiling pasta in plain salted water and saucing it after, macaroni cooked directly in the beef broth and spiced liquid absorbs the seasoning from the inside; every bite tastes like the dish rather than pasta that’s been sauced on the outside.
- Fresh cheddar sauce in two minutes, no roux required. A simple combination of cream cheese and freshly grated cheddar stirred into the hot liquid at the end produces a genuinely creamy, non-grainy sauce faster and more reliably than a flour-based roux.
- Significantly better flavor than any boxed version. Real cheddar, fresh aromatics, and beef broth produce a depth that powdered flavoring and dried cheese simply can’t replicate.
- Customizable spice level and add-ins. The base recipe is mild and family-friendly; swaps and additions are easy and don’t require adjusting anything else in the recipe.
Ingredients You’ll Need
Recipe Timing
| Detail | Info |
|---|---|
| Servings | 4 to 6 |
| Difficulty | Easy |
| Course | Main Course |
| Cuisine | American |
| Prep Time | 5 minutes |
| Cook Time | 25 minutes |
| Rest Time | 0 minutes |
| Total Time | 30 minutes |
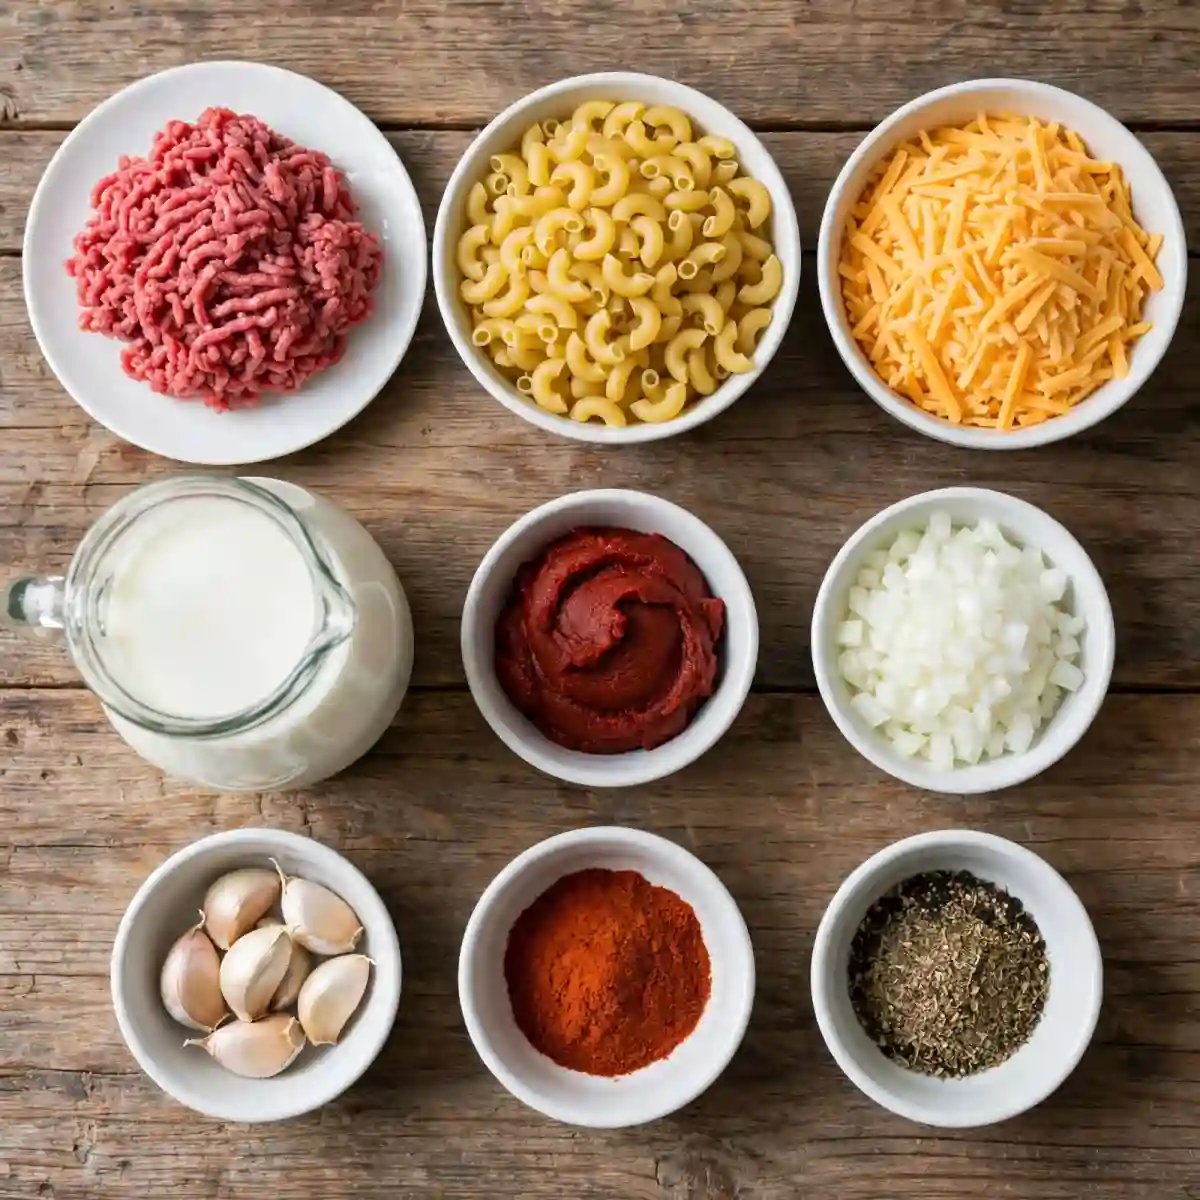
For the ground beef, 80/20 (80% lean, 20% fat) produces the best flavor because the fat renders during browning and carries the beef’s flavor compounds through the dish. Leaner ground beef, 90/10 or 93/7, produces less fond in the pan and a slightly less rich finished dish; it works but the flavor is milder. If using leaner beef, add an extra teaspoon of olive oil to the pan to compensate for the reduced fat.
For the pasta, dry elbow macaroni is the traditional and best-performing shape for this application. Its small, curved shape holds sauce in its hollow center and bends, and it cooks in 8 to 10 minutes at a simmer, which fits neatly into the recipe’s timeline. Shell pasta and rotini work at the same quantity with an identical cook time; avoid long pasta shapes like spaghetti or linguine, which don’t cook evenly in the small volume of liquid used in this one-pan method.
For the cheese, sharp cheddar grated fresh from a block produces a smoother, more cohesive sauce than pre-shredded. Pre-shredded cheddar contains cellulose anti-caking agents that resist melting and produce a slightly grainy texture in the finished sauce; block cheddar grated on the large holes of a box grater melts cleanly into the hot liquid within seconds.
For the cream cheese, it must be softened to full room temperature before it goes into the hot liquid; cold cream cheese doesn’t disperse smoothly and leaves small white lumps in the sauce that don’t fully melt during the brief cooking time.
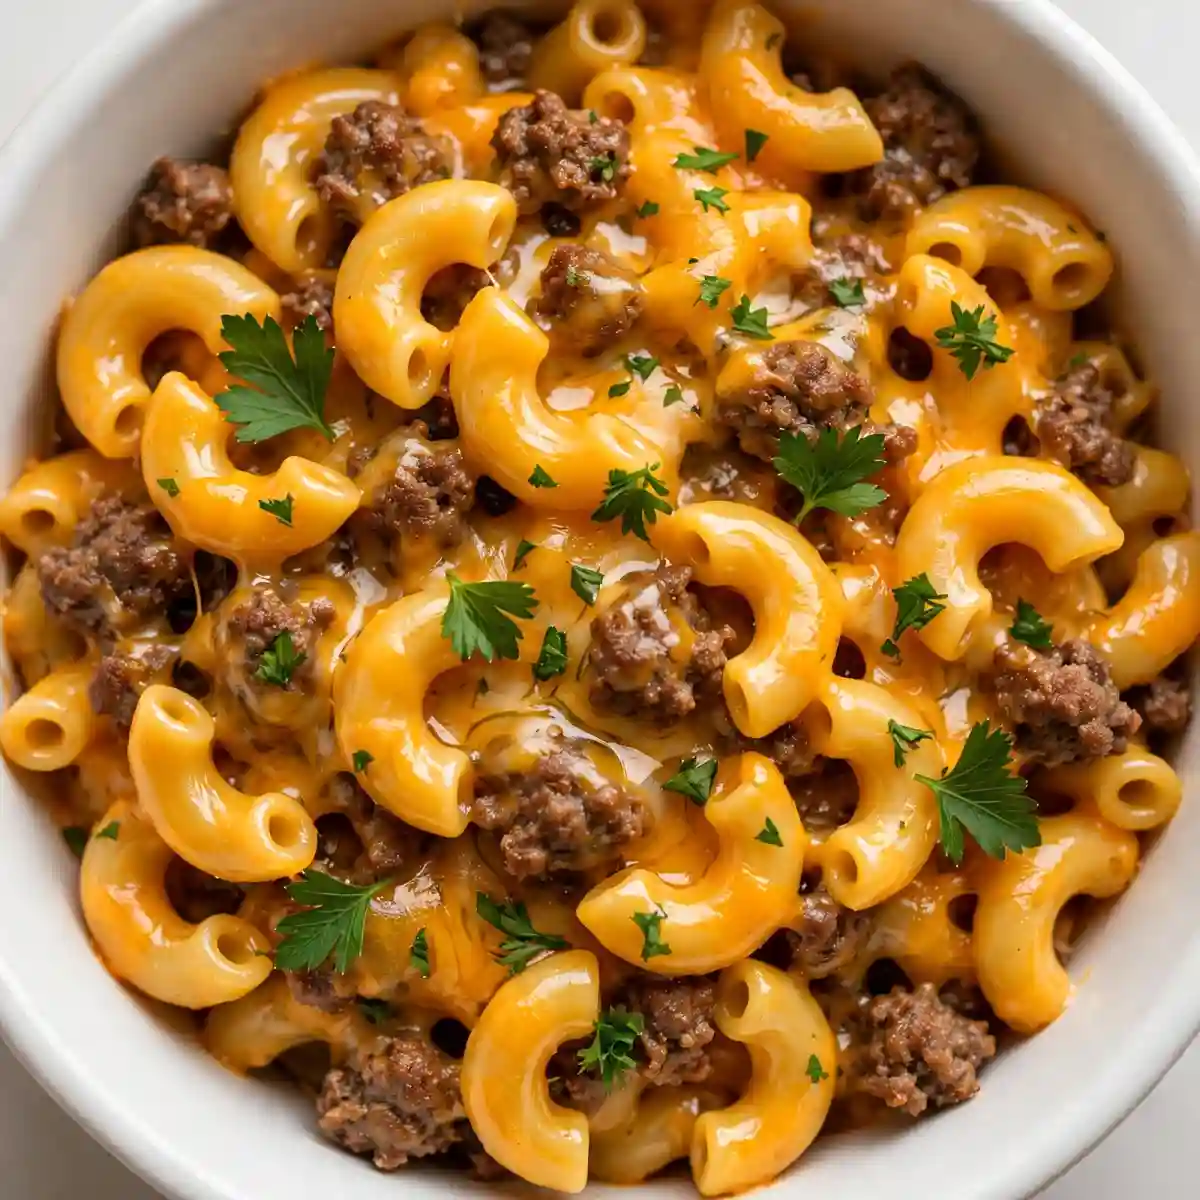
- 500g (about 1 lb) 80/20 ground beef — the base protein; food safety note: ground beef must reach 71°C (160°F) internal temperature throughout before proceeding
- 1 medium yellow onion, finely diced — adds sweet savory depth that becomes part of the sauce
- 4 garlic cloves, finely minced — the aromatic backbone; added after the beef is cooked through
- 1 tablespoon olive oil — if the beef is very lean; skip if adequate fat renders during browning
- 2 tablespoons tomato paste — caramelized briefly in the pan to add concentrated tomato depth and color to the sauce
- 480ml (2 cups) low-sodium beef broth — the cooking liquid for the pasta; use beef for the deepest flavor, though chicken broth works
- 360ml (1.5 cups) whole milk — combined with the broth, provides a creamy base for the sauce
- 225g (8 oz, about 2 cups) dry elbow macaroni — the pasta; cooked directly in the liquid
- 1.5 teaspoons garlic powder — a second layer of garlic flavor that seasons the cooking liquid
- 1 teaspoon onion powder — reinforces the sautéed onion’s savory note
- 1 teaspoon smoked paprika — adds a warm, slightly smoky color and flavor to the sauce
- 1 teaspoon Italian seasoning
- 1/2 teaspoon ground mustard powder — adds a sharp, slightly tangy note that makes the cheddar taste more vivid; a classic addition to cheese sauces
- 1/2 teaspoon fine salt — adjust at the end based on the broth’s sodium level
- 1/4 teaspoon freshly ground black pepper
- 115g (4 oz) full-fat block cream cheese, fully softened — the sauce’s creamy binder; prevents the cheddar from breaking
- 170g (about 1.5 cups) sharp cheddar, freshly grated from a block — the primary cheese flavor; sharp cheddar has enough assertiveness to taste vivid against the beef and spices
For serving:
- Additional grated cheddar — scattered over the top immediately before serving
- Fresh flat-leaf parsley, chopped — optional; adds color contrast
Allergen and Dietary Disclosure
This homemade hamburger helper contains dairy (cream cheese and cheddar cheese), gluten (elbow macaroni), and eggs if egg-based pasta is used (most dry macaroni is egg-free; check the package label). It is naturally nut-free as written.
For gluten-free: replace the elbow macaroni with certified gluten-free elbow macaroni or small gluten-free shell pasta at the same weight. All other ingredients are naturally gluten-free. Gluten-free pasta absorbs liquid slightly differently than wheat pasta; it may require an extra 60ml of broth if the liquid looks too low before the pasta is fully tender. Begin checking at the 7-minute mark since some gluten-free pastas cook faster than wheat.
For dairy-free: replace the cream cheese with dairy-free block-style cream cheese alternative at the same quantity, and the cheddar with a good-quality melting dairy-free cheddar alternative. Replace the whole milk with full-fat oat milk or plain unsweetened almond milk. The sauce will be less rich than the full-dairy version but adequately creamy.
For lower fat: use 90/10 ground beef and reduce the cream cheese to 60g. The sauce will be noticeably thinner; compensate by reducing the broth by 60ml to maintain a creamy consistency.
This recipe has not been tested in a certified allergen-free kitchen and cannot be guaranteed safe for any specific allergy.
Equipment Needed
- Large 12-inch skillet with a tight-fitting lid — wide enough to hold all the liquid and pasta in a single layer without overflowing during the covered simmer; the lid is essential during the pasta cooking stage to trap the steam needed to cook the pasta evenly in the smaller liquid volume used. If the lid doesn’t fit tightly, place a sheet of aluminum foil across the pan before closing.
- Box grater or Microplane — for grating the cheddar and Parmesan (if using) fresh rather than relying on pre-shredded. A fine grater produces cheese that melts in seconds; a coarser grater produces shreds that take longer to melt and are more likely to clump.
Step-by-Step Directions
Step 1: Brown the Ground Beef
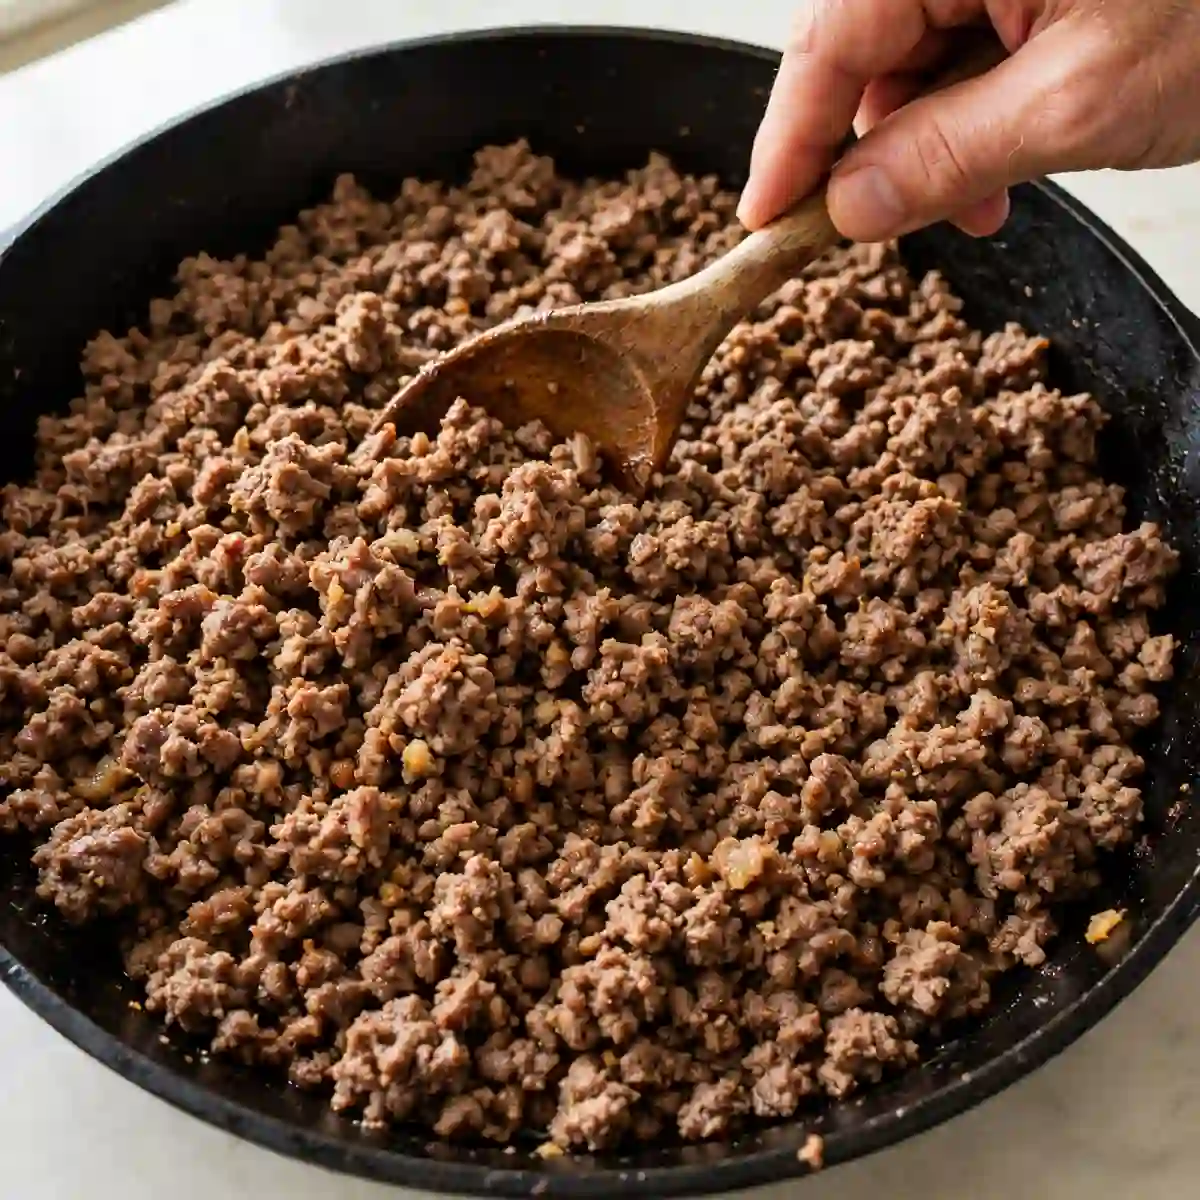
Heat the large skillet over medium-high heat. If the beef is lean, add the tablespoon of olive oil first. Add the ground beef in one layer, pressing it flat across the entire pan base, and let it sit undisturbed for 90 seconds to develop a golden-brown sear on the base before breaking it apart. Then use a wooden spoon or spatula to break the beef into medium crumbles, about 1 to 2cm, rather than very fine; slightly larger crumbles have more textural presence in the finished dish and don’t disappear into the sauce.
Cook over medium-high heat, stirring every 60 seconds, until no pink remains throughout and the crumbles show brown on most surfaces, about 6 to 7 minutes total.
Food safety note: ground beef must reach an internal temperature of 71°C (160°F) throughout before the next step.

Chef’s Note: Letting the ground beef sit undisturbed for 90 seconds before breaking it up initiates Maillard browning on the base of the crumbles. Those browned surfaces are concentrated flavor compounds that dissolve into the cooking liquid when the broth and milk are added, producing a noticeably more savory, complex sauce than beef that is stirred immediately and steams pale rather than browns. The 90-second wait costs nothing and adds meaningful flavor to the entire dish.
Step 2: Cook the Aromatics and Tomato Paste
Drain off excess fat from the browned beef if there is a visually significant pool of rendered fat in the pan; leave about 1 tablespoon’s worth to sauté the aromatics, but a large pool of fat will make the finished sauce greasy. Add the diced onion directly to the beef and stir to distribute. Cook over medium heat for 3 to 4 minutes until the onion has softened and turned translucent throughout.
Add the minced garlic and cook for 60 seconds, stirring continuously, until fragrant and just barely golden at the edges.
Add the tomato paste to the center of the pan and press it flat against the hot surface. Cook undisturbed for 45 to 60 seconds until it darkens from bright red to a deeper brick-red and smells toasted rather than raw. Stir through the beef mixture for another 30 seconds.
Chef’s Note: The tomato paste caramelization step produces Maillard browning compounds between the tomato’s concentrated glutamates and its reducing sugars; the flavor shifts from bright and slightly sharp to something deeper and more savory. This takes under 60 seconds and accounts for a noticeably more complex background flavor in the sauce compared to stirring raw tomato paste directly into the liquid.
Step 3: Add the Spices and Liquid
Add the garlic powder, onion powder, smoked paprika, Italian seasoning, mustard powder, salt, and black pepper directly to the beef and tomato mixture. Stir continuously for 30 seconds until the spices are evenly distributed and the pan smells fragrant and warm; this brief dry-bloom in the residual fat distributes the spices’ fat-soluble aromatic compounds through the cooking fat before the liquid dilutes them.
Pour the beef broth and whole milk into the pan simultaneously, stirring to lift any caramelized tomato paste or fond from the base. The liquid should look pale orange-brown from the spices and tomato. Increase the heat to bring the liquid to a full boil, stirring once as it heats.
Step 4: Add the Pasta and Cook Covered
Add the dry elbow macaroni to the boiling liquid and stir to submerge completely. Reduce the heat to medium-low, cover the skillet tightly with the lid, and cook for 9 to 11 minutes, lifting the lid briefly every 3 to 4 minutes to stir the pasta off the bottom and check the liquid level. The pasta should stay just submerged or at the liquid line during cooking; if the liquid looks very low before the pasta is fully tender, add 60ml of additional broth or water and re-cover.
The pasta is ready when it is tender throughout with no chalky or firm center when a piece is pressed between fingers, and only a small amount of thickened, starchy liquid remains in the pan rather than a large pool of unabsorbed broth.
Chef’s Note: The covered cooking method traps steam above the pasta, which acts as an additional heat source and ensures the pasta at the top of the pan cooks at the same rate as the pasta submerged in the liquid below. Without the lid, the top layer of pasta dries rather than steaming, and the finished dish has an uneven texture with some pieces overcooked and submerged and others underdone on top.
Step 5: Add the Cheese Sauce
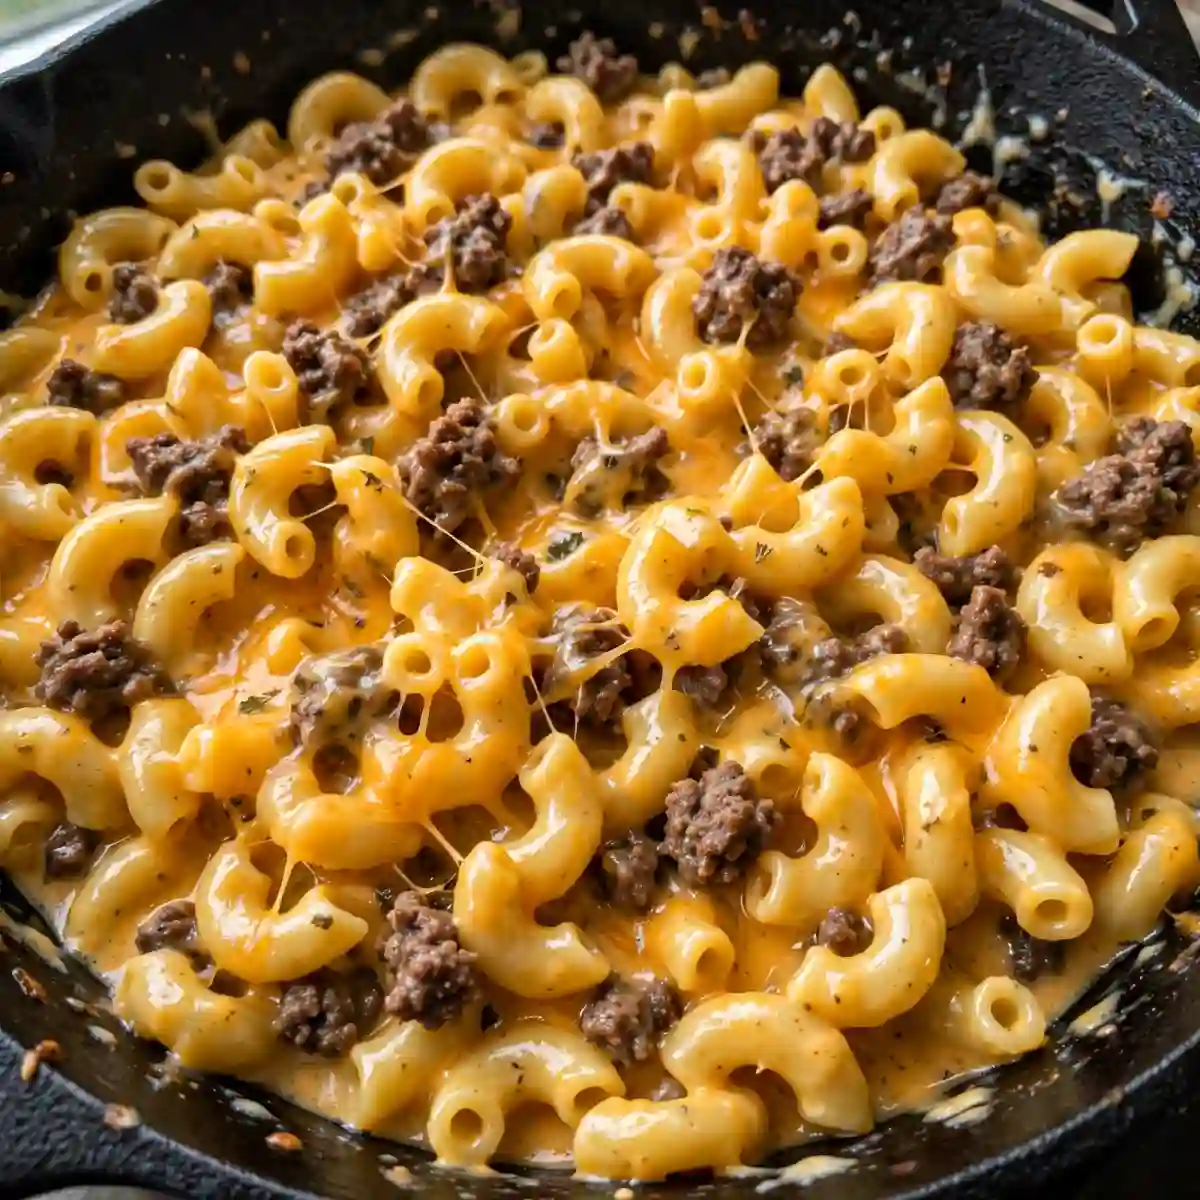
Reduce the heat to low. Add the room-temperature cream cheese in small spoonfuls distributed across the surface of the pasta and stir vigorously until completely melted and smooth with no white lumps visible; this takes about 60 to 90 seconds over low heat.
Add the freshly grated sharp cheddar in two additions, stirring each addition completely into the hot mixture before the next. The cheddar should melt and disperse into the cream cheese and remaining liquid within 30 to 45 seconds of each addition, producing a glossy, cohesive orange-gold sauce that coats the pasta and beef uniformly.
Taste and adjust salt and pepper before serving.
Step 6: Serve Immediately
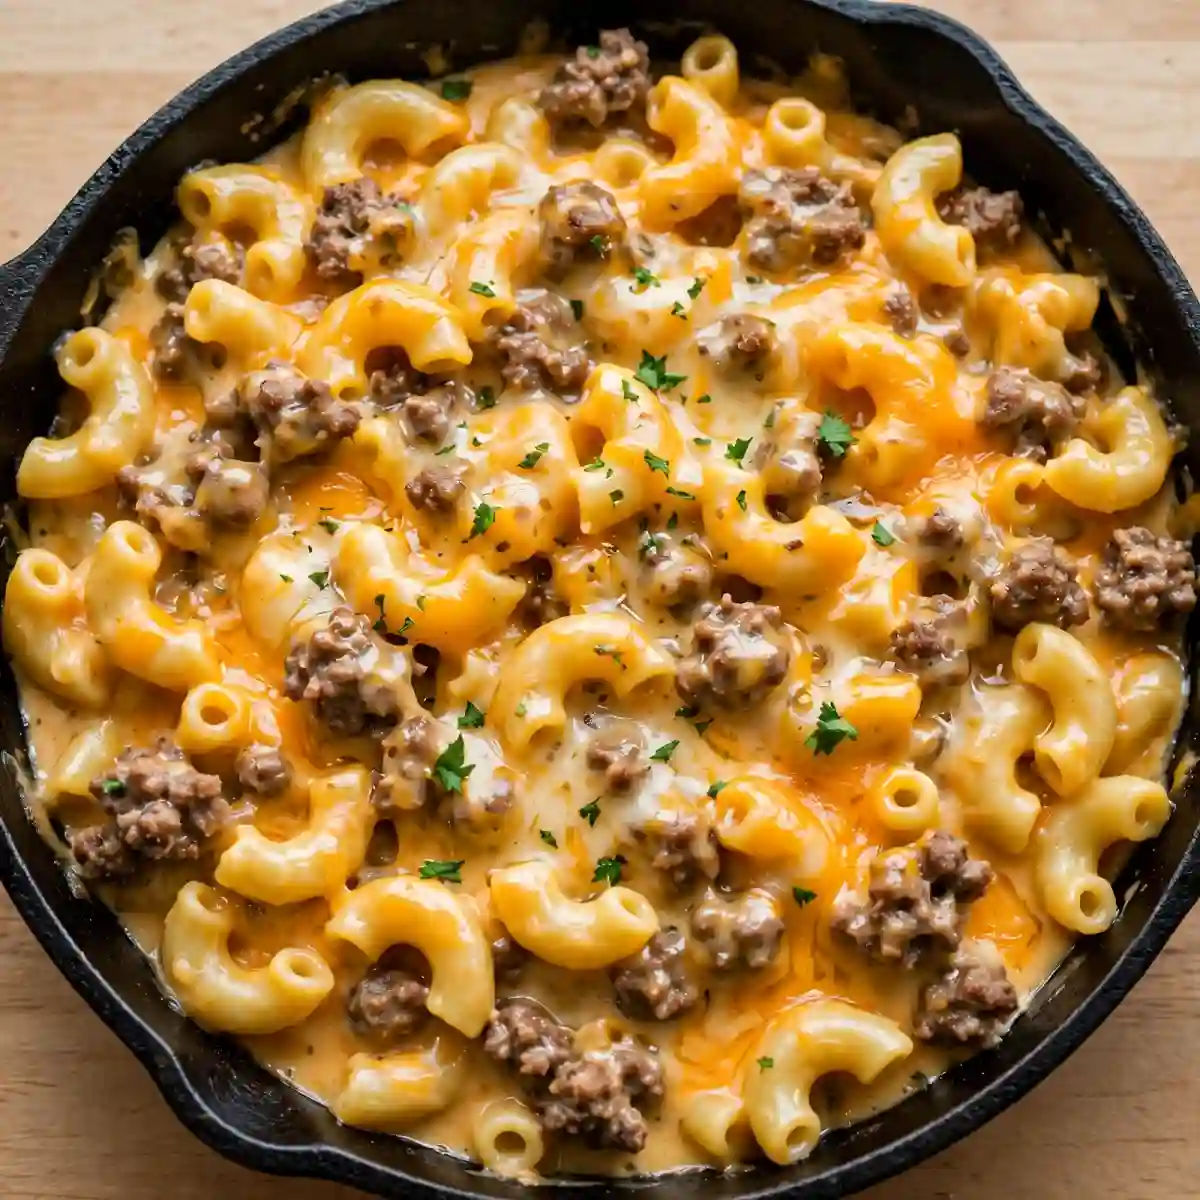
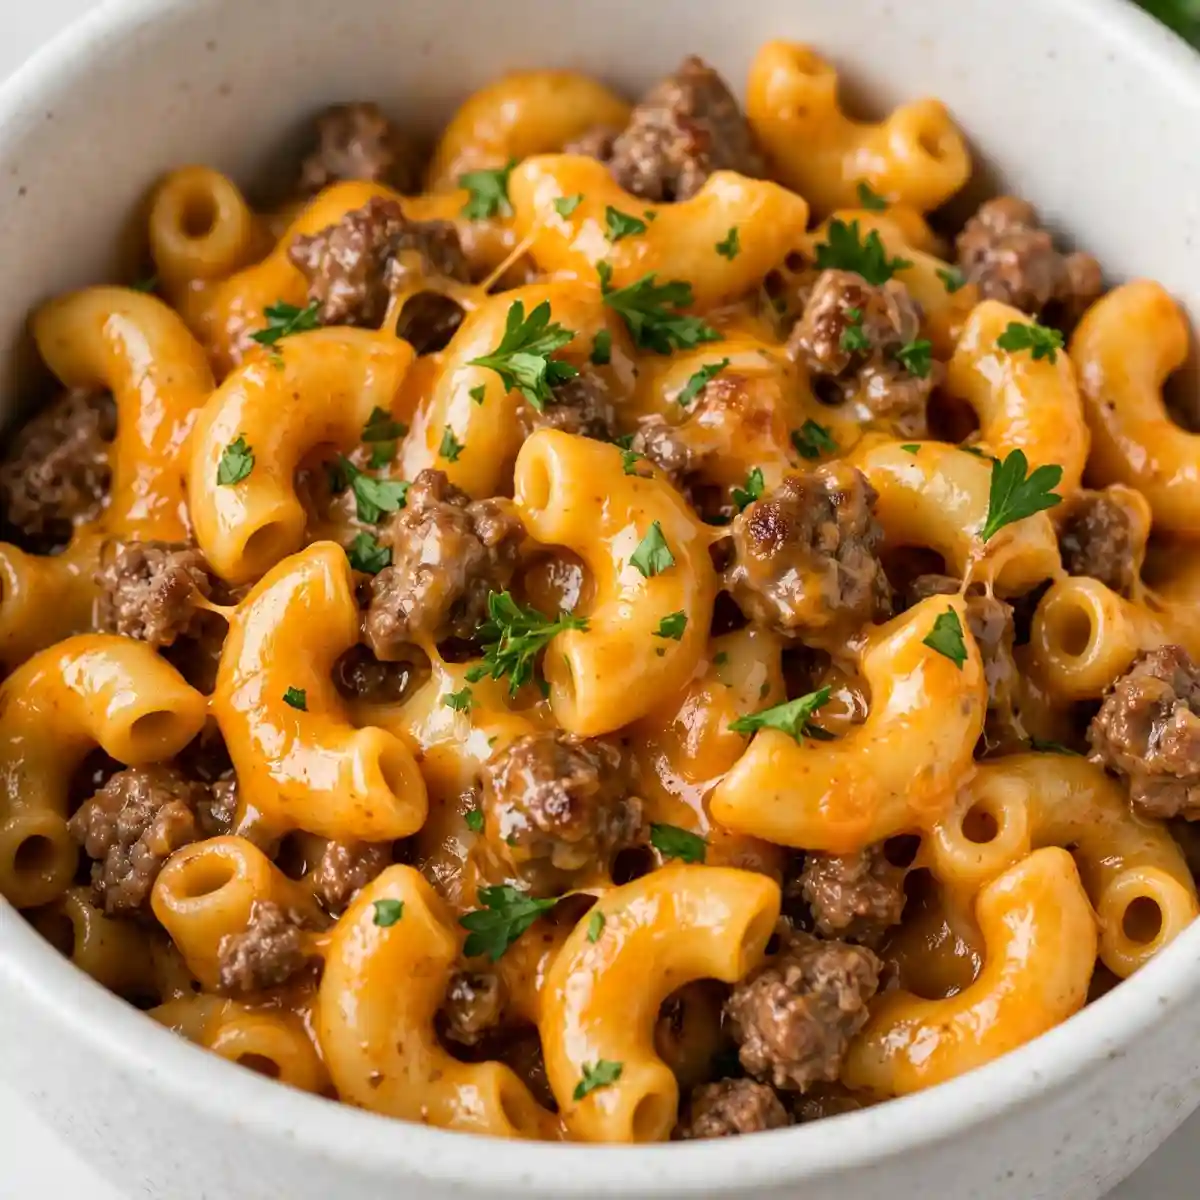
Scatter additional grated cheddar and the optional parsley across the surface and serve directly from the skillet, using a wide spoon to dish up into bowls. The sauce continues to thicken as it cools; serve while the skillet is still steaming for the ideal creamy consistency.
Common Mistakes and Troubleshooting
| Problem | Cause | Solution |
|---|---|---|
| Sauce grainy and separated | Pre-shredded cheddar used, or cream cheese was cold | Always grate block cheddar fresh; bring cream cheese to full room temperature before adding |
| Pasta undercooked after the simmer time | Lid not fitting tightly, or heat too low | Check the lid seal; keep heat at medium-low, not lower; add 60ml extra broth and cook 2 to 3 more minutes covered |
| Dish too soupy and not creamy | Too much liquid remaining when pasta was done | Simmer uncovered for 2 to 3 minutes after removing the lid before adding the cheese to reduce excess liquid |
| Sauce too thick and gluey | Pasta absorbed too much liquid, or not enough broth added | Stir in 2 to 3 tablespoons of warm milk after adding the cheese and toss to loosen |
| Beef pale and grey rather than browned | Beef stirred immediately rather than left to sear | Let beef sit undisturbed for 90 seconds before breaking; ensure the pan is at medium-high before the beef goes in |
| Dish bland and underseasoned | Spices not bloomed before the liquid was added, or low-quality broth | Stir spices through the dry beef mixture for 30 seconds before the liquid goes in; use a good-quality low-sodium beef broth |
Variations and Substitutions
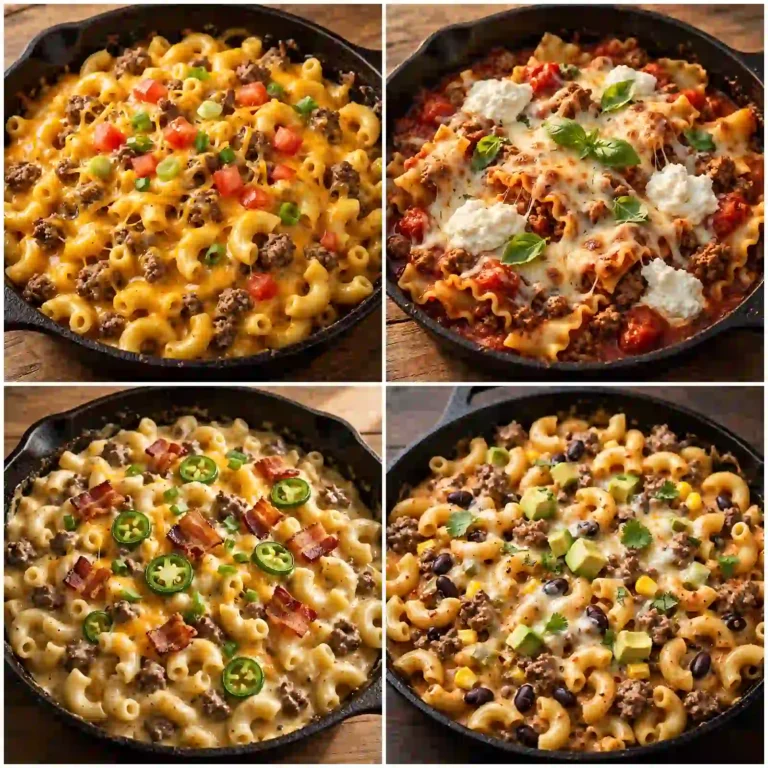
- Spicy hamburger helper: Add 1/2 teaspoon of cayenne pepper to the spice blend and 1 teaspoon of your preferred hot sauce to the cooking liquid alongside the broth. The cayenne adds a persistent background heat and the hot sauce adds acidity that makes the cheddar flavor more vivid. Increase to 1 teaspoon of cayenne for a genuinely hot version.
- Tex-Mex version: Replace the Italian seasoning with 1.5 teaspoons of ground cumin and 1 teaspoon of chili powder. Add one 400g can of drained black beans alongside the pasta. Top with shredded Monterey Jack instead of cheddar, and serve with a small dollop of sour cream and pickled jalapeños. The result is closer to a skillet chili mac than a classic cheese version.
- Vegetable-loaded version: Add 1 cup of frozen corn kernels and 1 cup of frozen peas directly to the boiling liquid alongside the pasta; they thaw and cook through during the simmer without any adjustment to the liquid quantity or timing. A handful of baby spinach stirred in after the cheese is added wilts in 30 seconds and adds color without changing the flavor.
- Double cheese version: Add 60g of freshly grated Gruyère alongside the cheddar in the final cheese-addition step. Gruyère melts exceptionally smoothly due to its natural emulsifying agents and adds a nuttier, more complex flavor dimension that works beautifully alongside the sharp cheddar.
- Ground turkey version: Replace the ground beef with the same weight of ground turkey, seasoned identically. Ground turkey produces a slightly lighter, less deeply savory dish; compensate by increasing the smoked paprika to 1.5 teaspoons and adding 1 tablespoon of Worcestershire sauce to the cooking liquid for additional savory depth. Use chicken broth instead of beef broth to match the protein.
- Gluten-free version: Replace the elbow macaroni with certified gluten-free small elbow or shell pasta at the same weight. All other ingredients are naturally gluten-free. The cooking method is identical; begin checking doneness at 7 minutes since gluten-free pasta softens faster.
Serving Suggestions
- Serve directly from the skillet in wide, shallow bowls or on flat plates; the skillet presentation with the cheddar melting over the edges is a casual but compelling way to present a one-pan dinner at a family table.
- Pair with a simple green salad dressed with apple cider vinegar and olive oil; the light acid and crunch provide a tonal and textural contrast to the rich, cheesy pasta that makes the meal feel more balanced without requiring extra cooking.
- Steamed or roasted broccoli alongside is the most popular accompaniment; the slight bitterness and firm texture of broccoli contrast the soft, creamy pasta and the cheesy sauce coats the broccoli florets if they’re placed in the bowl alongside the pasta.
- Serve with thick slices of crusty garlic bread to scoop the cheesy sauce from the bowl; the bread’s crunch and garlic flavor pair well with the beef and cheddar.
- For a weeknight dinner table, place the skillet at the center on a trivet with a large spoon and let everyone dish up themselves; the casual self-serve presentation suits the dish’s character and reduces plating effort entirely.
- Pair with cold sparkling water with a squeeze of lemon or a cold apple juice; both provide a clean, slightly sweet contrast to the richness of the cheddar sauce and prevent the meal from feeling heavy by the final spoonfuls.
Tips for the Best Results
- Don’t drain all the beef fat before adding the aromatics. The rendered beef fat is seasoned with the beef’s browning compounds from the Maillard reaction; sautéing the onion and garlic in this flavored fat carries those savory notes into the aromatics and from there into the cooking liquid. Drain only a visibly large excess, leaving about 1 tablespoon in the pan; that tablespoon does more for the finished dish’s flavor than any amount of additional seasoning.
- Bloom the spices in the dry beef mixture before the liquid goes in. Garlic powder, smoked paprika, mustard powder, and Italian seasoning all contain fat-soluble aromatic compounds that dissolve and distribute into oil far more effectively than into water. The 30 seconds of stirring through the beef mixture before the broth is added allows those compounds to dissolve into the residual fat and distribute evenly through the entire sauce when the liquid is added; spices stirred directly into the liquid distribute unevenly and settle rather than infusing.
- Grate the cheddar fresh, immediately before using. Block cheddar grated fresh contains its full moisture content and no anti-caking agents; it melts into the hot mixture within 30 seconds and produces a smooth, glossy sauce. The same cheese pre-shredded an hour earlier has already begun to dry at the cut surfaces; it takes longer to melt and doesn’t integrate as smoothly. For this recipe, the 60-second grating step is worth every second.
- Keep the heat at medium-low during the pasta cooking stage, not lower. A very low simmer produces inadequate steam inside the covered skillet, which means the top layer of pasta doesn’t cook evenly with the submerged layer. Medium-low should produce a gentle but active simmer visible through the lid; small, steady bubbles rather than the vigorous rolling boil that over-reduces the liquid.
- Add cream cheese and cheddar at low heat, never while the skillet is boiling. Both dairy products are more prone to breaking and separating at high temperatures; cream cheese above approximately 75°C releases its water phase and clumps, and sharp cheddar above 90°C tightens into oily, separated strings. Remove from the boil, reduce to the lowest heat, and add both cheeses while the pasta and liquid are hot but no longer bubbling aggressively.
Storage Tips
Refrigerator
Homemade hamburger helper keeps in the refrigerator in a sealed container for up to 4 days. The pasta absorbs the remaining sauce during storage, so the day-2 version will look thicker and drier than the fresh version; this is normal and reverses completely on reheating with a splash of broth or milk. The flavors actually improve slightly during storage as the spices continue to permeate the pasta and beef; many people find the leftover version more fully flavored than the fresh-cooked batch.
Freezer
The cooked dish freezes adequately for up to 2 months, with the understanding that cream cheese and cheddar sauces can separate slightly during the freeze-thaw cycle. Freeze in portion-sized sealed containers for best results. Thaw overnight in the refrigerator and reheat as described below; a vigorous stir while reheating with added liquid usually re-emulsifies the sauce to a close approximation of its original consistency. The pasta’s texture after freezing and thawing is slightly softer than fresh but entirely acceptable for a reheated weeknight meal.
Reheating
Stovetop reheating produces the best result: add the leftover hamburger helper to a skillet over medium-low heat with 3 to 4 tablespoons of milk or beef broth per serving. Stir frequently as it heats for 4 to 5 minutes until the sauce loosens and the pasta is steaming throughout. Microwave reheating at 60% power in 90-second intervals with stirring between works well for a single portion; add a splash of milk before reheating and stir after each interval to prevent the cheese from separating at hot spots.
Make-ahead note: The ground beef and aromatics can be cooked through step 2 up to 2 days ahead, refrigerated, and resumed from step 3 on the day of serving. With the beef pre-cooked, the total time from fridge to table on the day reduces to about 15 minutes.
Nutrition Information
Per serving, approximately 1/5 of the recipe:
| Nutrient | Amount |
|---|---|
| Calories | 580 kcal |
| Protein | 34g |
| Total Carbohydrates | 48g |
| Dietary Fiber | 2g |
| Total Sugar | 6g |
| Total Fat | 27g |
| Saturated Fat | 13g |
| Cholesterol | 110mg |
| Sodium | 620mg |
| Vitamin C | 3mg |
| Calcium | 260mg |
| Iron | 3.8mg |
| Potassium | 490mg |
Nutrition values are approximate and may vary based on beef fat content, cheddar brand, and milk fat percentage.
Why This Recipe Works
The one-pan pasta cooking method in this recipe produces a more flavorful finished dish than pasta cooked separately for a specific starch-based reason. When elbow macaroni cooks in the seasoned beef broth and milk, it releases starch continuously into the small, contained liquid volume throughout the cooking time. This released starch gelatinizes in the warm liquid and produces a progressively thickening, slightly viscous sauce base; by the time the pasta is tender and the liquid nearly absorbed, the remaining liquid is a starch-thickened, deeply flavored cooking sauce rather than a plain broth. When the cream cheese and cheddar are added to this starchy base, they dissolve into a already-viscous medium that holds them in emulsion more stably than they would stay in a thin, starch-free liquid. The result is a sauce that clings to the pasta rather than pooling at the pan base.
The cream cheese’s specific role in the cheese sauce is structural emulsification. Cream cheese contains approximately 33% fat and 54% moisture at standard composition, plus stabilizing proteins and gums from its production process. When this stabilized emulsion is added to the hot, starchy cooking liquid, it disperses into the liquid as a smooth, uniform fat-water emulsion rather than breaking into separated fat pools. This pre-emulsified dairy acts as an anchoring agent for the cheddar added afterward; the cheddar’s fat and protein disperse into the cream cheese’s established emulsion rather than needing to form their own, which is a more stable and reliable starting point than cheddar alone in a liquid that hasn’t been emulsified.
Sharp cheddar’s flavor contribution in this application is a function of its proteolysis level during aging. As cheddar ages, its casein proteins are progressively broken down by microbial enzymes into shorter peptide chains and free amino acids; these smaller molecules, particularly glutamate (the amino acid responsible for umami), produce the sharp, assertive, deeply savory flavor that distinguishes sharp cheddar from mild cheddar at the same fat content. In a dish as heavily seasoned as hamburger helper, mild cheddar’s flavor is effectively absorbed by the competing spice notes and beef, while sharp cheddar’s concentrated glutamate and free amino acid content stands up to those competing flavors and remains identifiable in the finished sauce.
Caramelizing the tomato paste for 45 to 60 seconds before the liquid is added produces Maillard browning products that contribute a savory, roasted tomato depth to the sauce distinct from raw tomato paste’s bright, slightly acidic flavor. At the medium heat of the skillet with almost no water present (the beef fat is the only liquid in the pan at this stage), the tomato paste’s surface temperature reaches above 140°C rapidly; at this temperature, the tomato’s amino acids and reducing sugars react through Maillard chemistry to produce furanones, pyrazines, and other roasted aromatic compounds that persist through the subsequent liquid addition and simmer. This caramelization step takes 45 to 60 seconds and produces a background savory depth in the sauce that is disproportionate to the small quantity of tomato paste used.
Blooming the dried spices in the residual beef fat before the liquid is added distributes their fat-soluble aromatic compounds more evenly through the finished dish than adding spices to the liquid directly. Smoked paprika’s color pigments and aromatic compounds, garlic powder’s secondary sulfur compounds, and mustard powder’s sinigrin-derived volatile thiols are all substantially more soluble in fat than in water. The 30 seconds of stirring through the hot, fat-coated beef mixture allows these compounds to dissolve into the fat phase; when the broth and milk are added, the fat becomes the dispersed phase of an emulsion and carries those dissolved flavor compounds through every milliliter of the sauce rather than leaving them concentrated where they were added to the liquid.
Frequently Asked Questions
Can I make hamburger helper ahead of time?
Yes. The ground beef and aromatics can be cooked and refrigerated up to 2 days ahead; resume from step 3 on the day of serving for a 15-minute finish. Fully cooked hamburger helper keeps refrigerated for up to 4 days and reheats well with a splash of milk or broth on medium-low heat. The flavor actually improves on day 2 as the spices fully permeate the pasta and beef. For meal prep, portion into individual containers directly from the skillet and refrigerate.
Why is my cheese sauce grainy?
Grainy cheese sauce comes from two causes. The most common is using pre-shredded cheddar, which contains cellulose anti-caking agents that resist melting and produce a gritty texture regardless of technique; always grate block cheddar fresh. The second cause is adding cheese to liquid that’s still at a full boil; above approximately 85 to 90°C cheddar’s proteins seize and tighten. Reduce the heat to its lowest setting before adding the cream cheese and cheddar, and stir vigorously as you add each in increments.
Can I use a different type of cheese?
Yes. Colby Jack, Monterey Jack, and Gruyère all melt as smoothly as cheddar and work at the same quantity; they produce a milder, creamier sauce than sharp cheddar. Pepper Jack adds heat alongside creaminess. American cheese, while processed, melts exceptionally smoothly due to its sodium citrate emulsifier content and produces the creamiest sauce of any option; use 170g in place of the cheddar. Avoid very dry or very aged cheeses like extra-aged Parmesan or aged Gouda as the sole cheese; they melt less smoothly than young to medium-aged varieties.
How do I know when the pasta is fully cooked?
The pasta is ready when it is tender throughout with no resistance or chalky center when a single piece is pressed firmly between two fingers, and only a small amount of thickened liquid remains in the skillet rather than a loose broth. Begin checking at the 9-minute mark by lifting the lid; a piece should compress easily without a firm center. If liquid is still very loose and the pasta needs more time, re-cover and cook for 2 more minutes before checking again.
Is homemade hamburger helper gluten-free?
The beef, broth, spices, cream cheese, and cheddar in this recipe are all naturally gluten-free. The only ingredient that isn’t is the elbow macaroni, which is made from wheat. To make the full dish gluten-free, replace the macaroni with certified gluten-free elbow or small shell pasta at the same weight. Verify the beef broth brand if strict gluten-free compliance is needed, as some broths contain wheat-derived flavor enhancers. All other ingredients are inherently gluten-free.
Can I use a different pasta shape?
Yes. Small shell pasta, rotini, penne cut small, and ditalini all work at the same 225g quantity with identical cook times. The key is choosing pasta with a similar surface area and wall thickness to elbow macaroni; pasta that’s significantly thicker takes longer to cook and may require more liquid. Avoid long pasta shapes like spaghetti or fettuccine; they don’t cook evenly in the small liquid volume used in the one-pan method and tend to clump. Small shapes that fit on a spoon alongside the beef crumbles work best both texturally and visually.
Why does the dish thicken so much when it sits?
The pasta continues absorbing the liquid in the sauce even after the heat is off; a dish left sitting for 10 to 15 minutes after cooking can look significantly thicker than when it was just finished. This is caused by the same starch absorption mechanism that makes the one-pan cooking method work. When reheating, always add 2 to 4 tablespoons of milk, broth, or water per serving and stir while heating; the sauce returns to its original creamy consistency within 2 to 3 minutes of gentle reheating.
Conclusion
Homemade hamburger helper earns its place on a weekly dinner rotation because it asks almost nothing of you: one pan, 30 minutes, pantry ingredients, and a technique that is essentially browning meat, adding liquid, and stirring in cheese at the end. The small decisions, blooming the spices before the liquid, caramelizing the tomato paste, using block cheddar rather than pre-shredded, are what separate a dish that tastes like a weeknight shortcut from one that tastes like you actually cooked.
The make-ahead beef option, cooking through the aromatics two days ahead and finishing in 15 minutes on the day, makes it one of the genuinely fastest hot dinners available on a weeknight where time is limited. That flexibility, combined with the endless variation the base recipe supports, keeps it useful far beyond the first time you make it.
If you loved this recipe, save it to your easy weeknight dinners and one-pan meal recipes Pinterest board so you can find it easily later. For more healthy recipes and daily food inspiration, follow TheCookingVibes on Pinterest.
Homemade Hamburger Helper
Ingredients
Equipment
Method
- Heat a large skillet over medium-high. Add ground beef in a single layer; leave undisturbed 90 seconds to sear. Break into medium crumbles and cook 6 to 7 minutes total until no pink remains and crumbles are golden-brown. Confirm 71°C (160°F) throughout. Drain excess fat leaving about 1 tablespoon.
- Add diced onion to the beef; cook 3 to 4 minutes over medium heat until softened and translucent. Add minced garlic; stir 60 seconds until fragrant. Add tomato paste to the center; leave undisturbed 45 to 60 seconds until darkened to brick-red, then stir through for 30 seconds.
- Add garlic powder, onion powder, smoked paprika, Italian seasoning, mustard powder, salt, and pepper. Stir through the beef mixture for 30 seconds. Pour in beef broth and milk, lifting any fond from the base. Bring to a full boil.
- Add dry elbow macaroni and stir to submerge. Reduce heat to medium-low, cover tightly, and cook 9 to 11 minutes, stirring briefly every 3 to 4 minutes, until pasta is tender throughout and only a small amount of thickened liquid remains.
- Reduce heat to low. Add softened cream cheese in spoonfuls distributed across the surface; stir vigorously 60 to 90 seconds until fully melted and smooth. Add grated cheddar in two additions, stirring each completely into the mixture before the next.
- Taste and adjust salt and pepper. Scatter additional cheddar and optional parsley on top. Serve immediately from the skillet.
Notes
- Always grate cheddar fresh from a block; pre-shredded contains anti-caking agents that produce a grainy sauce.
- Bring cream cheese to full room temperature before adding; cold cream cheese leaves lumps that don’t melt smoothly.
- Add cream cheese and cheddar at low heat, not at a boil, to prevent the sauce from breaking.
- The dish thickens significantly as it sits; reheat with a splash of milk or broth and stir to restore the creamy consistency.
This recipe has not been tested in a certified allergen-free kitchen and cannot be guaranteed safe for any specific allergy.