
Easy Whipped Cream (Thick, Stable, Ready in 5 Minutes)
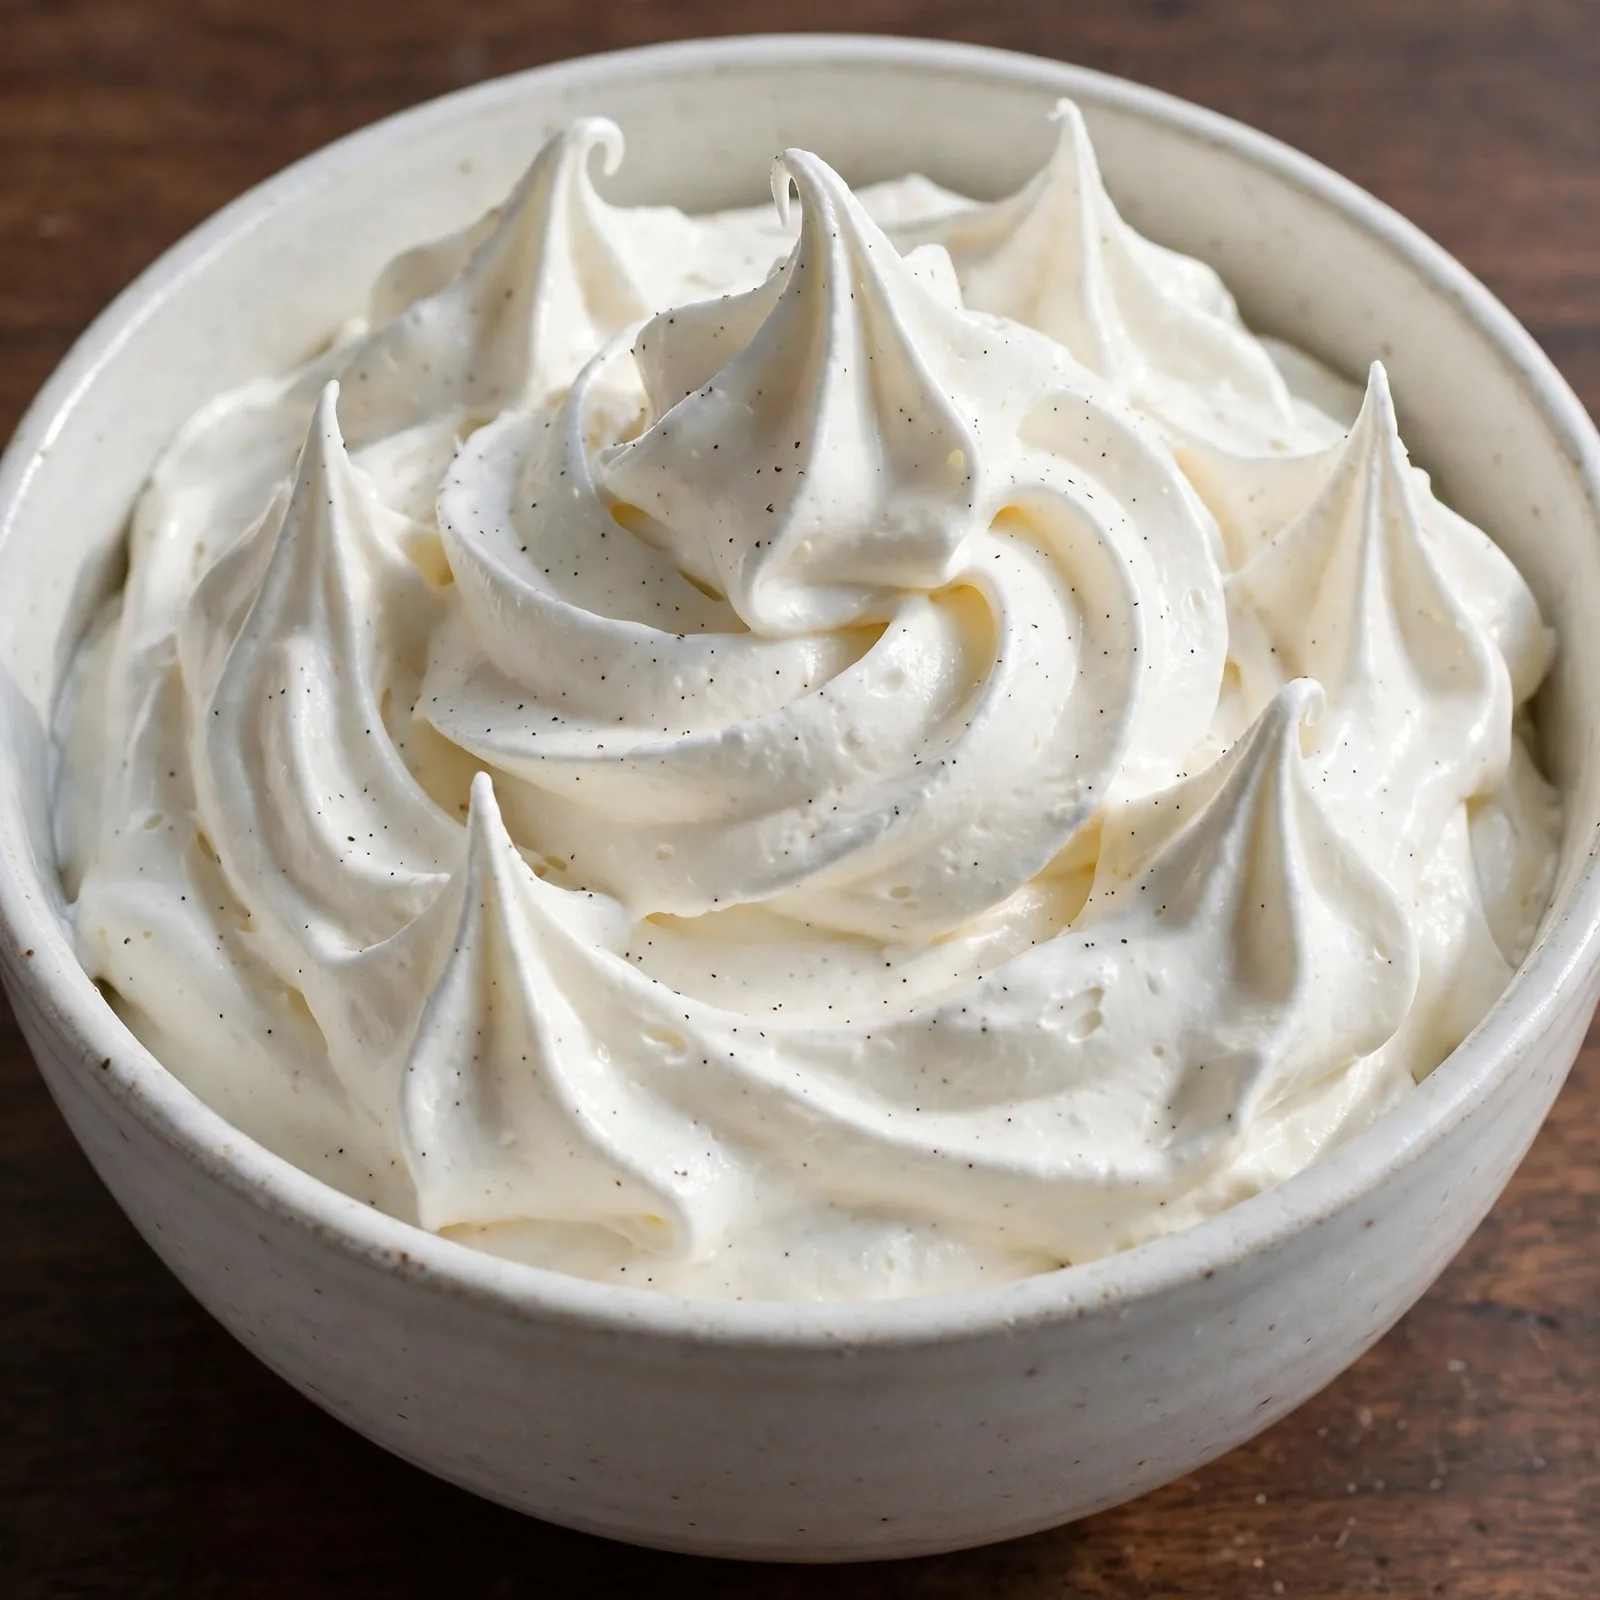
Pour cold heavy cream into a chilled bowl and watch what happens in the first 60 seconds: the cream thickens almost imperceptibly, then noticeably, then suddenly the whisk is leaving defined trails and the cream is holding its shape. The whole process from liquid to glossy, spoonable whipped cream takes about 3 to 5 minutes with a hand mixer, and the result is something that makes anything it touches taste better in a way that the canned or store-bought version simply doesn’t. The flavor is clean, mildly sweet, and genuinely of cream rather than of whatever stabilizer is keeping the aerosol version shelf-stable.
This whipped cream recipe uses the same heavy cream that gives my Alfredo Sauce Recipe its silky body, plus icing sugar and vanilla extract. That’s it. The icing sugar dissolves instantly into the cold cream without graininess, sweetens it without overpowering the dairy flavor, and adds a very small amount of cornstarch that helps the whipped cream hold its shape for longer than cream whipped with granulated sugar alone. The vanilla adds fragrance and depth. The method produces whipped cream that is suitable for spooning over desserts, piping onto cakes and cupcakes, folding into mousses, or serving alongside anything that calls for it.
Why You’ll Love This Whipped Cream
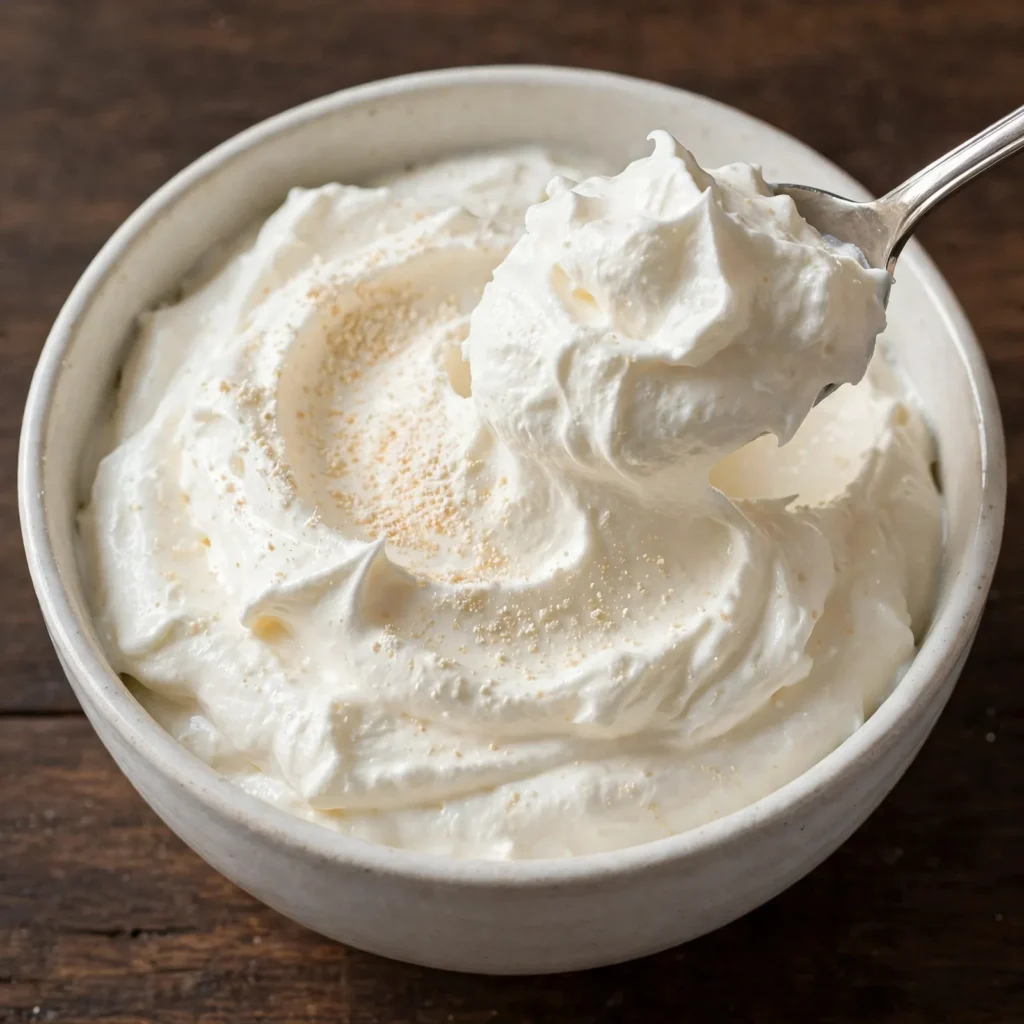
- Three ingredients, 5 minutes, no special skill. Heavy cream, icing sugar, and vanilla. Whip them cold. The result is ready in 3 to 5 minutes regardless of whether you use a hand mixer, stand mixer, or just a whisk and some patience.
- Holds its shape longer than unsweetened whipped cream. The small amount of cornstarch naturally present in icing sugar acts as a light stabilizer, keeping the whipped cream thick and defined for several hours rather than weeping liquid within 30 minutes the way plain whipped cream can.
- Tastes exactly like cream should. Fresh whipped cream has a clean, lightly sweet dairy flavor that makes everything it accompanies taste more complete. The canned version has additives that affect both the flavor and the texture in ways that become obvious once you compare them directly.
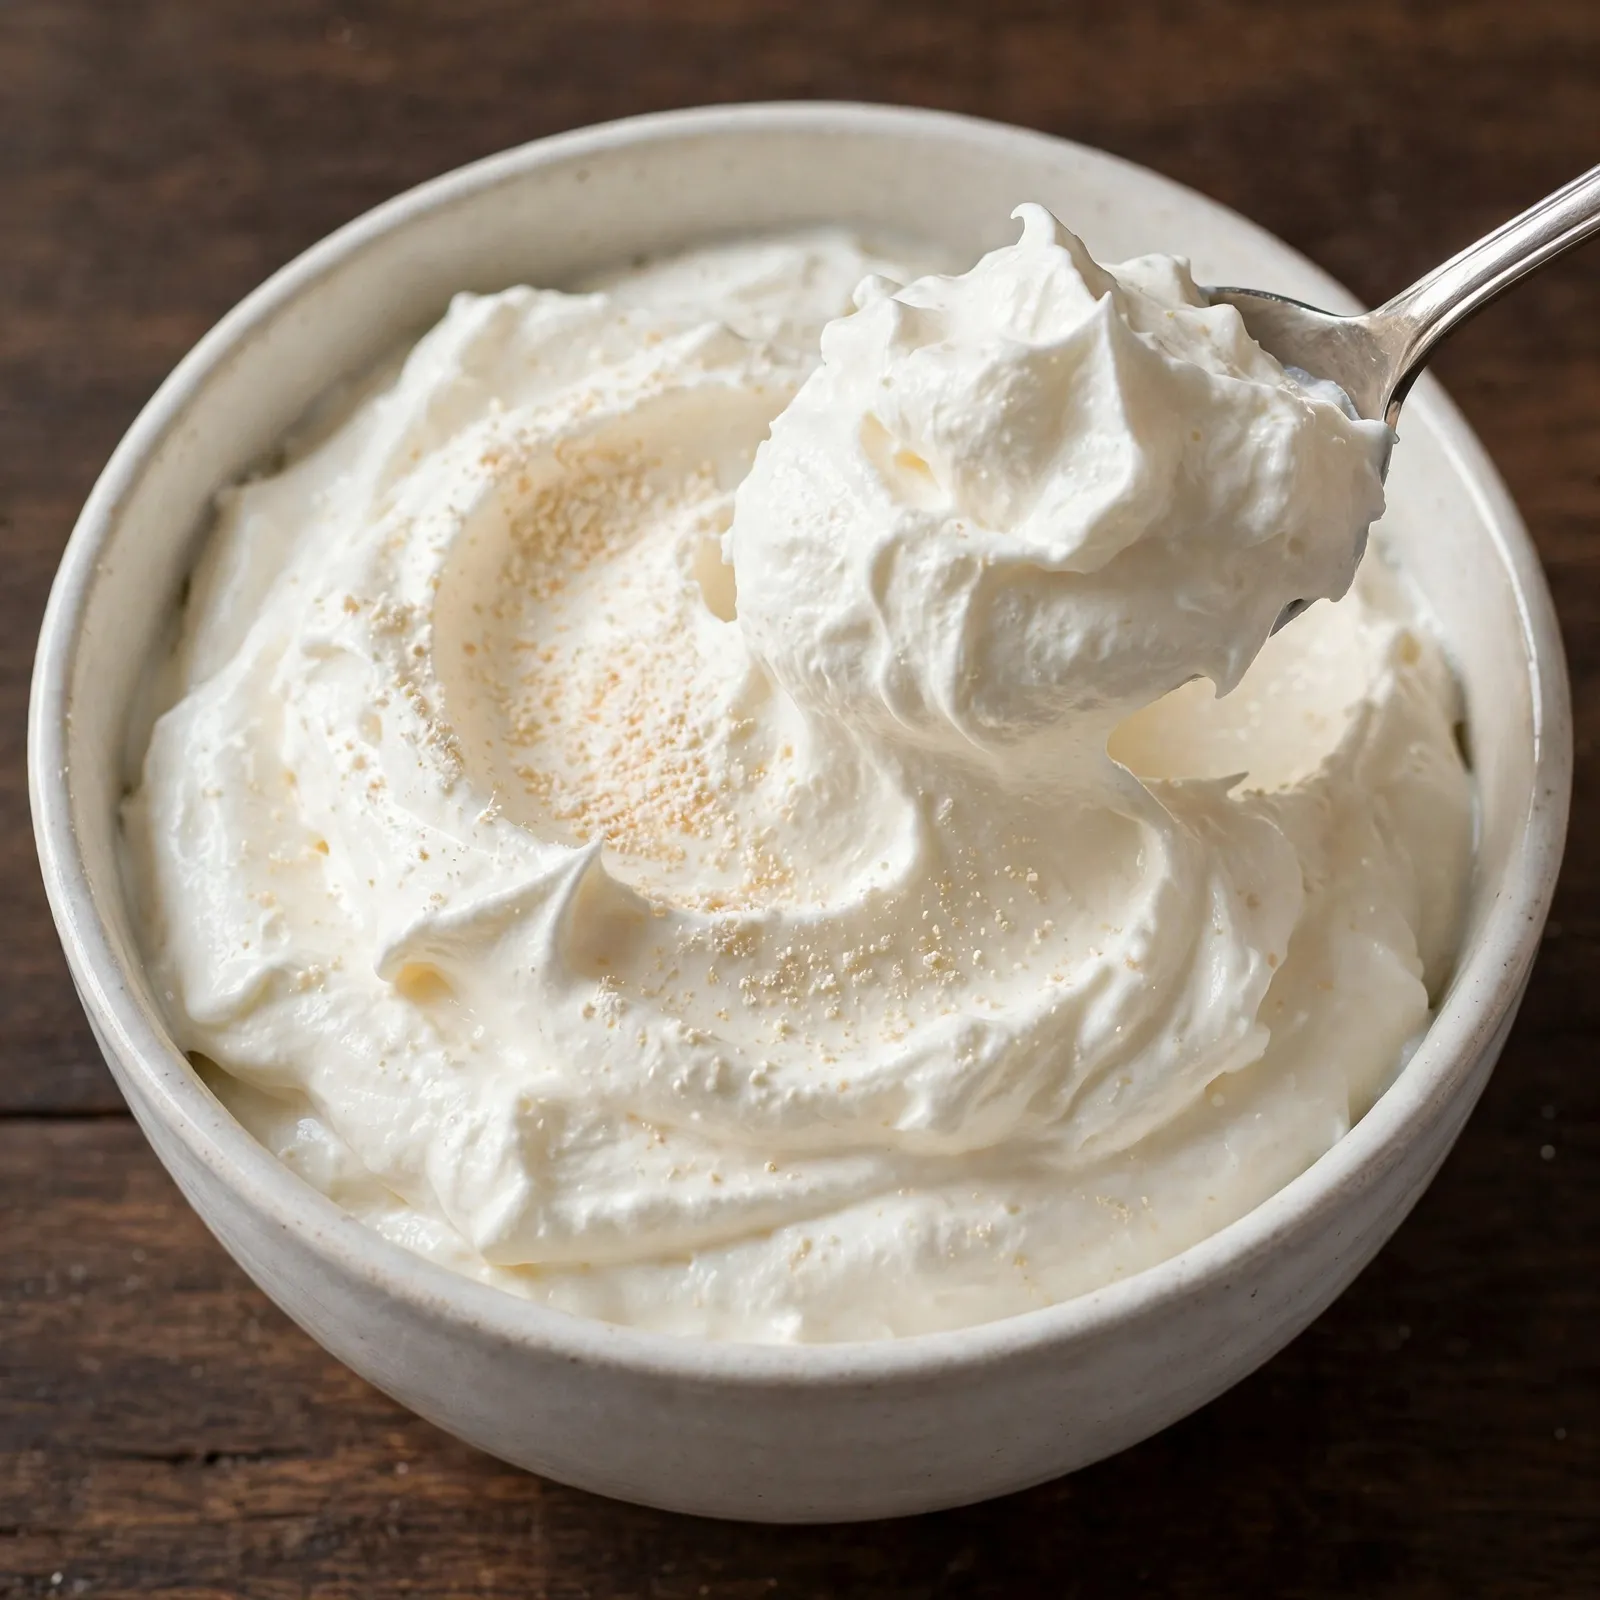
- Suitable for piping or spooning. Taken to firm peaks, this whipped cream holds a piped rosette clearly enough to decorate a cupcake. Stopped at soft peaks, it is the looser, more pourable cream that is perfect over fruit, warm puddings, or a slice of pie.
- Customizable in 30 seconds. Vanilla extract is the base. Cinnamon, almond extract, lemon zest, or a small amount of cocoa powder can be added alongside the sugar for different flavor profiles without changing the technique.
Ingredients You’ll Need
Recipe Timing
| Detail | Info |
|---|---|
| Servings | 8 (approximately 2 cups / 480ml whipped) |
| Difficulty | Easy |
| Course | Topping, Condiment |
| Cuisine | Universal |
| Prep Time | 2 minutes |
| Cook Time | 0 minutes |
| Whipping Time | 3 to 5 minutes |
| Total Time | 5 minutes |
The most important ingredient decision in this recipe is the cream itself, and specifically its fat content. Heavy cream or double cream with a minimum fat content of 35% is required. This fat percentage is the threshold at which cream can reliably whip into a stable foam: the fat globules at that concentration are dense enough to hold the air bubbles in place as you whip. Cream with a lower fat content (single cream, half-and-half, or light cream) does not whip at all because there are insufficient fat globules to trap and hold the incorporated air.
The cream must be very cold before you begin. Cold cream whips faster and produces a more stable foam because the fat globules are firmer at refrigerator temperature and hold the air structure more effectively. Cream that has been sitting at room temperature for more than 15 minutes will take longer to whip, require more effort, and be more prone to over-whipping into a grainy, partially separated texture.
For the sugar, icing sugar (powdered sugar) is preferred over granulated sugar for two reasons. Icing sugar dissolves instantly into cold cream because its particles are very fine, whereas granulated sugar can leave a slightly gritty texture in the finished whipped cream if the cream is cold and the whipping time is short. Icing sugar also contains a small percentage of cornstarch, which functions as a light stabilizer to extend how long the whipped cream holds its shape.
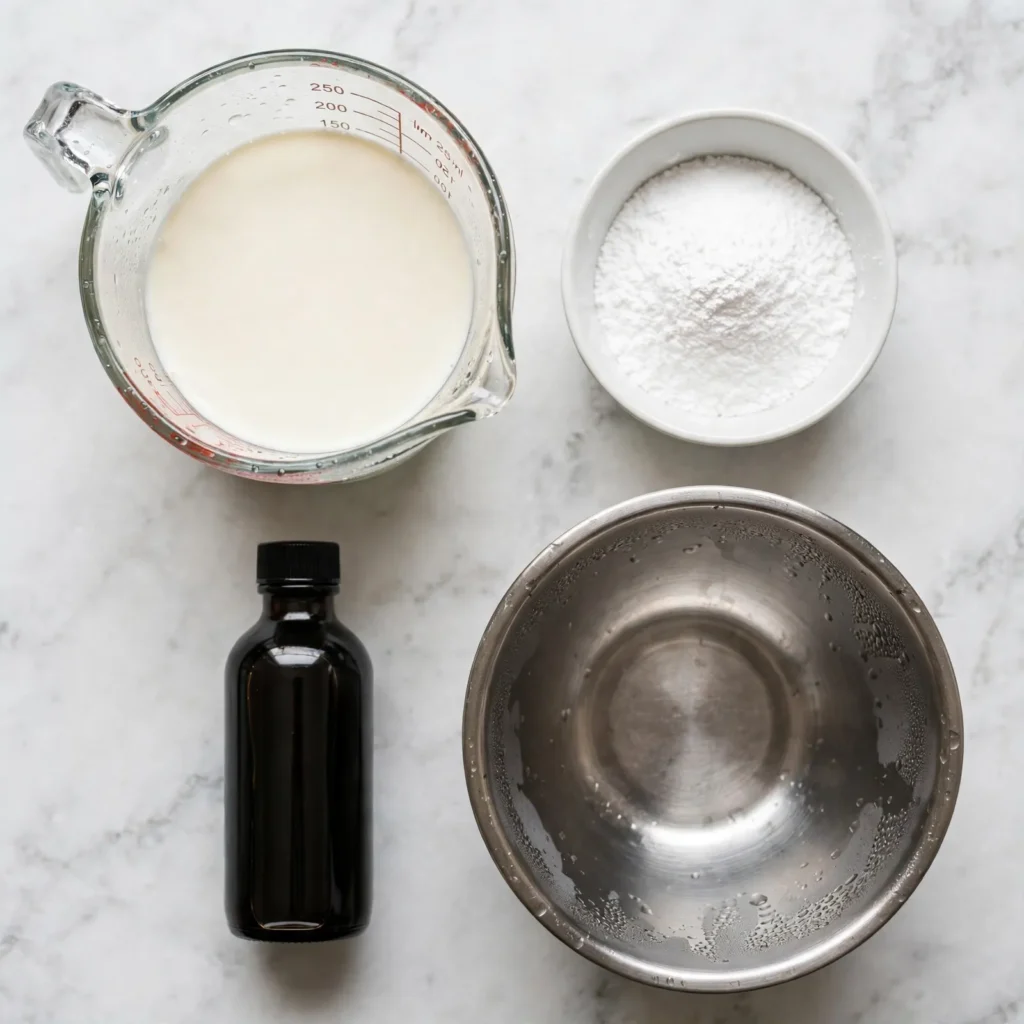
- 1 cup (240ml) heavy cream or double cream (minimum 35% fat), very cold. The primary ingredient. Taken straight from the refrigerator immediately before use.
- 2 tablespoons (15g) icing sugar (powdered sugar), sifted. Sweetens the cream and provides very light stabilization through the cornstarch in the sugar. Adjust to 1 tablespoon for a less sweet version or 3 tablespoons for a noticeably sweeter cream, depending on the dessert it accompanies.
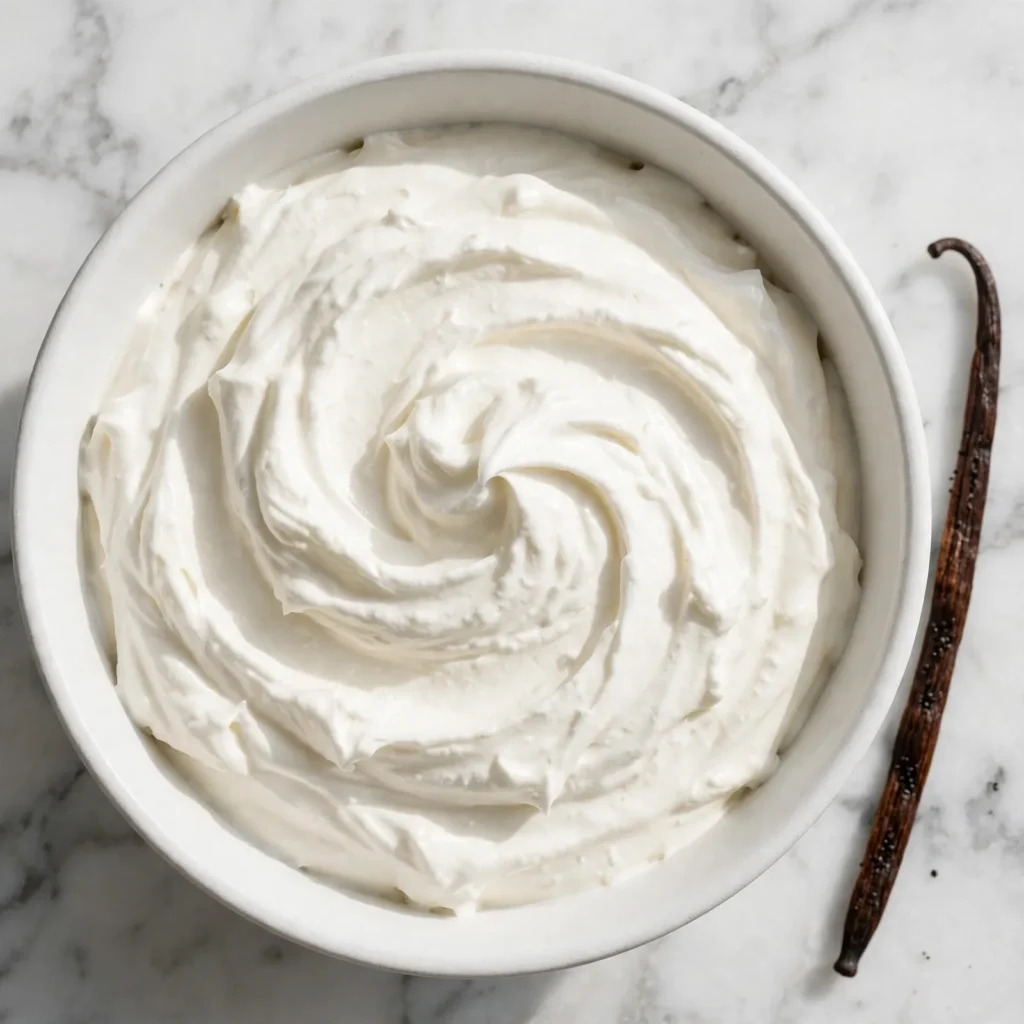
- 1/2 teaspoon pure vanilla extract. Adds fragrance and a warm, round flavor that lifts the cream beyond plain sweetened dairy. Use vanilla bean paste in the same quantity for visible vanilla specks and a more intense vanilla flavor.
Allergen and Dietary Disclosure
This recipe contains dairy (heavy cream).
For a dairy-free version, substitute full-fat coconut cream that has been refrigerated overnight. Use only the solid white layer that has separated at the top of the can: the watery liquid beneath it does not whip. Scoop the solid into a chilled bowl and whip as directed. Full-fat coconut cream produces a thick, stable whipped cream with a faint coconut flavor that works well over tropical fruit desserts, chocolate desserts, and coffee drinks. Oat-based and soy-based whipping creams also exist in most supermarkets and whip to a workable consistency, though their texture is slightly looser than dairy cream at the same fat percentage.
Free from gluten, eggs, and nuts as written. Not guaranteed safe for any specific allergy without checking all individual ingredient labels.
Equipment Needed
A hand electric mixer or stand mixer with a whisk attachment. A hand mixer whips 1 cup of cream to soft peaks in 2 to 3 minutes and to firm peaks in 3 to 4 minutes. A stand mixer does the same in slightly less time with no hand effort. A manual balloon whisk works and produces excellent whipped cream but requires 6 to 8 minutes of vigorous whisking: the result is identical to the machine version. The choice is one of effort and speed rather than quality.
A large mixing bowl, chilled. Chilling the bowl in the freezer for 10 to 15 minutes before whipping helps maintain the cream’s cold temperature during the whipping process, which produces a faster set and a more stable foam. A stainless steel bowl retains cold better than glass, which is better than plastic. For a 1-cup quantity, a medium bowl is sufficient: too large a bowl and the cream doesn’t have enough depth for the beaters to engage with efficiently; too small and it splashes.
Step-by-Step Directions
Step 1: Chill the Bowl and Beaters
Place the mixing bowl and the hand mixer beaters (or the stand mixer whisk) in the freezer for 10 to 15 minutes before you begin. This step is particularly important in warm kitchens or in summer when room temperature surfaces are warm enough to heat the cream from the sides and bottom of the bowl during whipping. A cold bowl is not strictly mandatory if your kitchen is cool (below 21°C / 70°F) and you work quickly, but it prevents the most common failure mode of whipped cream softening and weeping before it’s ready to use.

Chef’s Note: The bowl and beater chill is the 10-minute step that separates consistently great whipped cream from inconsistent results. Warm equipment heats the fat in the cream from the outside while you are trying to set its structure from within, working directly against the process. Cold equipment keeps everything at the temperature where the fat globules work with you rather than against you.
Step 2: Sift the Icing Sugar
Sift the icing sugar through a fine mesh strainer into a small bowl before adding it to the cream. Icing sugar clumps easily in humid conditions, and a single undissolved lump in the cream can cause small uneven pockets of sweetness in the finished bowl. Sifted icing sugar disperses completely and instantly into cold cream with no texture issues. This takes 30 seconds.
Step 3: Begin Whipping on Medium Speed
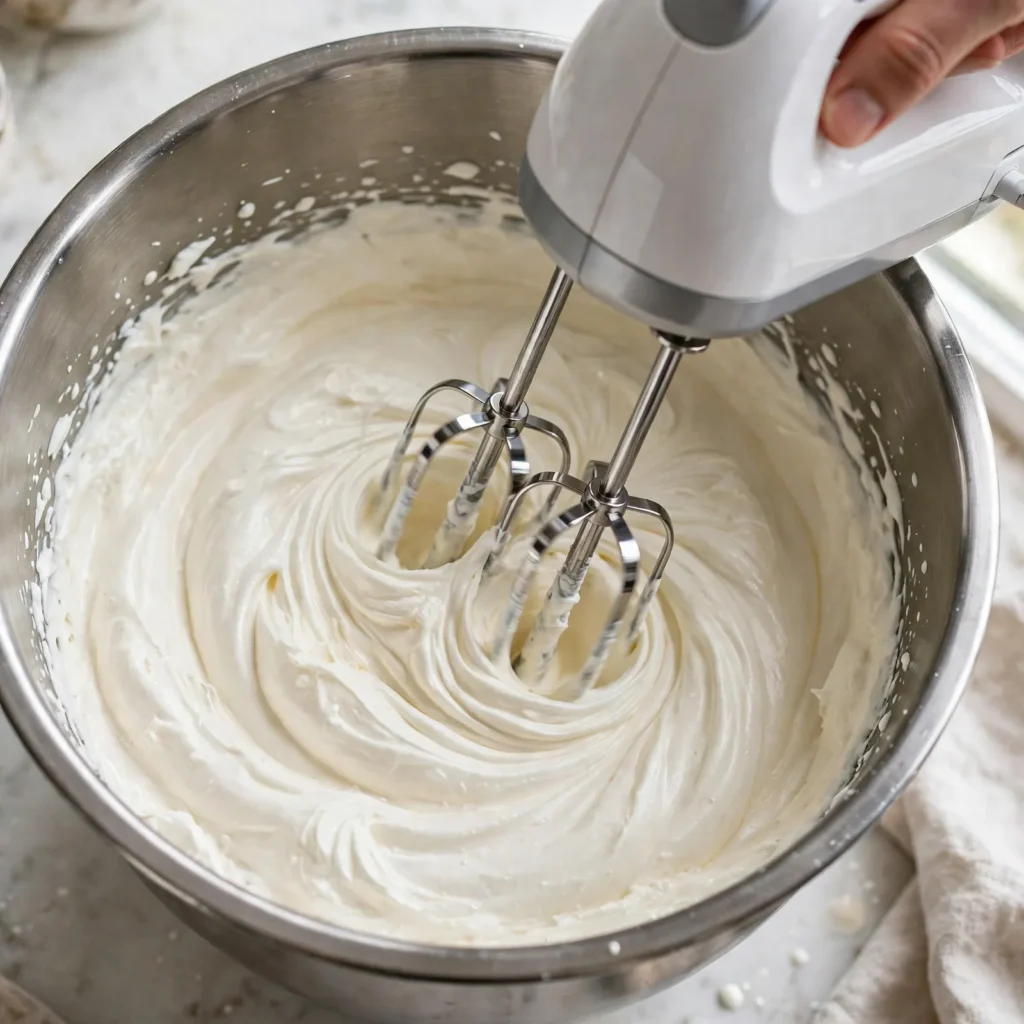
Pour the cold heavy cream into the chilled bowl. Add the sifted icing sugar and the vanilla extract. Begin whipping on medium speed (not high) for the first 60 to 90 seconds. Starting on medium rather than high allows the cream to begin thickening before the speed increases, which prevents cream from splattering out of the bowl and gives the foam structure time to begin forming before it is subjected to maximum agitation.
Chef’s Note: The difference between starting on medium and starting on high is not about speed: it is about foam stability. A foam built gradually from medium speed has a finer, more uniform air-cell structure than one that begins at high speed, where large air bubbles are incorporated first and then cannot be evenly distributed through the thickening cream.
Step 4: Increase to Medium-High and Watch the Peaks
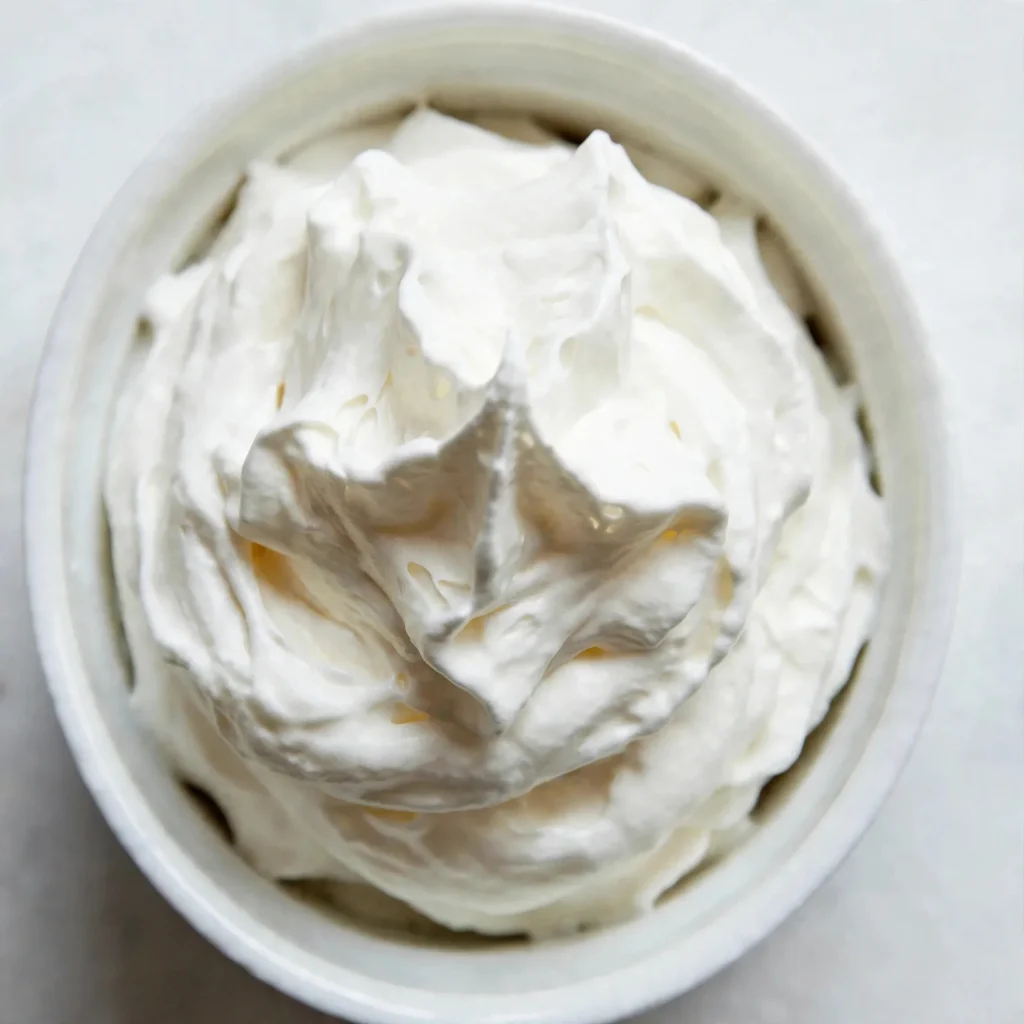
After the first 60 to 90 seconds, increase the speed to medium-high. Continue whipping, checking the consistency every 30 seconds by stopping the mixer and lifting the beater to observe the peak that forms. The cream progresses through three stages: soft peaks (the peak droops over when the beater is lifted, the cream looks thick but billowy), medium peaks (the peak holds its shape at the base but the very tip curls over slightly), and firm or stiff peaks (the peak stands completely straight without any curl, the surface of the cream looks glossy and defined). Stop the mixer and assess at every check: the difference between perfect firm peaks and over-whipped, grainy cream happens in under 30 seconds at medium-high speed.
Step 5: Stop at the Right Stage for Your Purpose
For spooning over desserts, pies, or fruit: stop at soft to medium peaks. The cream will mound gently rather than hold a sharp shape, and it has a lighter, more pourable quality. For piping onto cakes or cupcakes: continue to firm peaks, where the cream holds a clean shape when piped. For folding into mousse or other preparations: stop at medium peaks so the cream is stable enough to hold the air when folded but not so stiff that it becomes difficult to incorporate. Use the whipped cream immediately or refrigerate for up to 2 hours before serving.
Common Mistakes and Troubleshooting
| Problem | Cause | Solution |
|---|---|---|
| Cream won’t thicken after several minutes of whipping | Cream fat content too low; cream not cold enough | Use cream with minimum 35% fat; start with cream straight from the refrigerator and chill the bowl beforehand |
| Whipped cream grainy and starting to look lumpy | Over-whipped past the firm peak stage; fat beginning to separate | Stop immediately and gently fold in 1 to 2 tablespoons of fresh cold cream to bring it back; work quickly before it progresses to butter |
| Cream weeping liquid after 30 minutes | Whipped to soft peaks only; room temperature too warm; granulated sugar used | Whip to firm peaks for better staying power; keep refrigerated until the last moment; use icing sugar not granulated |
| Sugar feels gritty in finished cream | Granulated sugar used with short whipping time | Always use sifted icing sugar; it dissolves instantly in cold cream without any whipping time required |
| Cream splashing out of bowl at the start | Speed too high from the beginning | Start on medium speed for the first 60 to 90 seconds; the cream thickens enough within that time to handle higher speed without splashing |
| Flat, loose cream that won’t hold peaks | Too little cream for the bowl depth; warm bowl | Use a bowl appropriately sized for the cream volume; always chill bowl and beaters before starting |
Variations and Substitutions
Cinnamon Whipped Cream: Add 1/4 teaspoon of ground cinnamon to the icing sugar before sifting. The cinnamon distributes evenly through the cream and adds a warm spice note that pairs particularly well over apple pie, pumpkin pie, hot chocolate, and spiced baked goods.
Lemon Whipped Cream: Add 1 teaspoon of fresh lemon zest and replace the vanilla extract with 1 tablespoon of fresh lemon juice. The zest carries essential oil flavor and the lemon juice adds a bright, tart counterpoint to the cream’s richness. Works well over berry desserts, lemon tarts, and a Biscoff Cheesecake.
Chocolate Whipped Cream: Add 2 tablespoons of Dutch-process cocoa powder (sifted) alongside the icing sugar. Increase the icing sugar to 3 tablespoons to compensate for the bitterness of the cocoa. The result is a genuinely chocolatey, thick whipped cream that holds its shape particularly well because the cocoa adds extra structure.
Cardamom Rose Whipped Cream: Add 1/4 teaspoon of ground cardamom and 1/2 teaspoon of rose water alongside the vanilla. The cardamom adds floral warmth and the rose water adds a delicate fragrance that lifts the cream into something more interesting than plain vanilla. Use over baklava, Middle Eastern desserts, or fresh strawberries.
Stabilized Whipped Cream (for piping that holds overnight): Dissolve 1 teaspoon of unflavored gelatin in 1 tablespoon of cold water and let it bloom for 5 minutes, then gently melt it (10 seconds in the microwave) and cool it to just barely warm. With the mixer running at medium, drizzle the gelatin mixture into the cream in a thin stream as it whips. This produces a whipped cream that holds firm-piped shapes for up to 24 hours in the refrigerator without weeping or softening, which is the version to use for decorating a cake the day before a gathering.
Coconut Whipped Cream: Refrigerate a can of full-fat coconut cream overnight, scoop out only the solid white layer, and whip with icing sugar and vanilla as directed. The coconut cream whips to a thick, stable consistency with a faint coconut flavor and a slightly denser texture than dairy cream. Dairy-free and vegan without any compromise on appearance.
Serving Suggestions
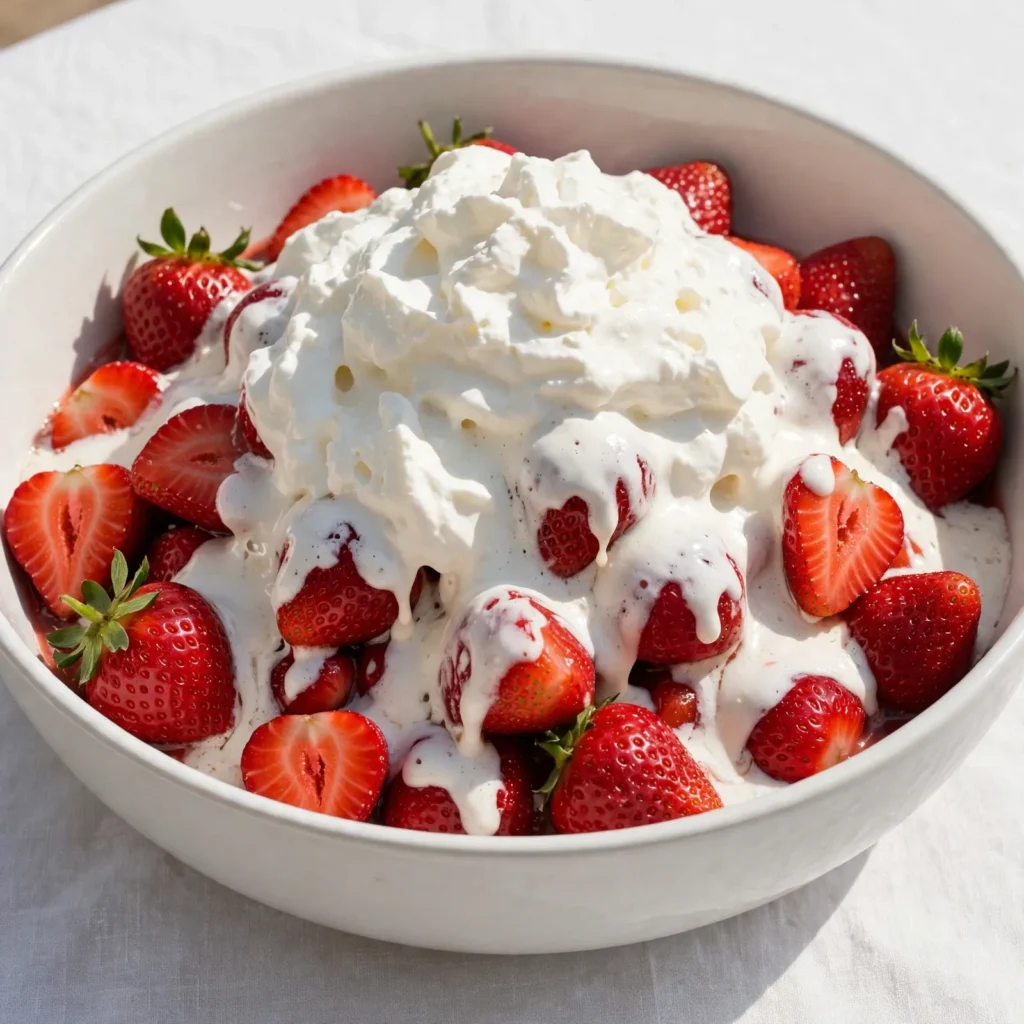
- Spooned over fresh strawberries or mixed berries. A generous mound of whipped cream over a bowl of fresh berries is one of the most satisfying combinations in simple dessert making. The cream’s sweetness and fat balance the acidity of the fruit in a way that neither component achieves alone.
- Dolloped onto a slice of pie. Pumpkin pie, pecan pie, apple pie, or any fruit pie benefits from a large spoonful of cold whipped cream that begins to melt slightly against the warm filling, softening into the edges and carrying the pie flavor into every bite.
- Piped onto cupcakes or a layered Vanilla Cake. Firm-peak whipped cream piped with a star tip makes a clean, elegant cupcake topping that looks professionally done with very little practice. It is lighter on the palate than Buttercream Frosting and pairs with any fruit-based or chocolate cake.
- Served alongside warm chocolate brownies. The contrast between a dense, fudgy warm brownie and a cool spoonful of whipped cream is one of those combinations that works every single time. The cream’s coolness and lightness cut through the richness of the brownie without competing with the chocolate.
- Floated on hot chocolate or coffee. A thick spoonful of whipped cream on top of a hot drink melts slowly from the bottom up, adding richness and sweetness to each sip as you drink through it.
- Layered in trifles or parfaits. Alternating layers of whipped cream with fruit, sponge cake, and custard in a tall glass produces a dessert that looks far more involved than the sum of its components and benefits from being assembled a few hours before serving so the layers soften and merge slightly.
- Sandwich a thick layer between two Brown Butter Chocolate Chip Cookies for a quick icebox-style treat.
Tips for the Best Results
- Start with the coldest cream possible. Cold fat globules are physically firmer and hold the air cells you are incorporating during whipping. Cream that has sat at room temperature for 20 minutes will take longer to whip, require more energy at a higher speed, and produce a foam that is more prone to weeping. Take it straight from the refrigerator and begin immediately.
- Stop whipping before you think it’s done. The transition from perfectly whipped firm peaks to over-whipped, grainy cream happens in less than 30 seconds at medium-high speed. Check the consistency by stopping the mixer and lifting the beater every 30 seconds from the medium-peak stage onward. The moment the peak stands straight without drooping, stop the mixer entirely.
- Use icing sugar, not granulated sugar. Icing sugar’s fine particles dissolve instantly into cold cream, its light stabilizing cornstarch content extends the life of the whipped cream, and it distributes evenly through the foam without graininess. Granulated sugar requires more whipping time to dissolve, which risks over-whipping the cream before the sugar has fully incorporated.
- Chill the bowl and beaters, especially in warm weather. A 10-minute freezer rest for your bowl and beaters costs nothing and prevents the most common warm-weather failure mode where the cream softens against warm equipment surfaces during whipping. In a kitchen under 21°C (70°F), this step is optional. Above that temperature, it becomes important.
- Fold, don’t stir, when incorporating whipped cream into other ingredients. When using whipped cream as a component in a mousse, trifle filling, or frosting base, always fold it in with a rubber spatula using a circular scooping motion rather than stirring. Stirring deflates the air cells that took 3 to 5 minutes to create, which makes the finished preparation denser and heavier than it should be.
Storage Tips
Refrigerator
Transfer freshly whipped cream to an airtight container and refrigerate for up to 24 hours. Whipped cream naturally begins to weep liquid (this is called syneresis: the liquid phase of the cream separating back out from the foam) within 1 to 2 hours at refrigerator temperature, particularly if made with granulated sugar rather than icing sugar. If the whipped cream has wept slightly by the time you use it, a gentle re-whip of 20 to 30 seconds with a whisk or mixer brings it back to the right consistency. For cream that needs to hold longer than 2 hours, the gelatin stabilization method in the Variations section extends refrigerator stability to 24 hours without any weeping.
Freezer
Pipe or spoon whipped cream into individual mounds on a parchment-lined baking sheet and freeze uncovered until solid (1 to 2 hours), then transfer to a sealed freezer bag or container. Freeze for up to 2 months. The frozen mounds thaw directly on top of a hot drink, a slice of pie, or any other dessert in about 10 minutes and maintain their shape as they soften. This is a practical method for having whipped cream available without making it fresh every time.
Reheating
Whipped cream is served cold and is never reheated. From frozen: place frozen mounds directly onto or beside the item they are serving and allow them to thaw at room temperature for 8 to 10 minutes. From refrigerator: bring to the table directly from the cold. If the cream has wept or deflated slightly from sitting in the refrigerator, re-whip in the bowl for 20 to 30 seconds before serving.
Nutrition Information
Per serving (approximately 2 tablespoons / 30ml of whipped cream)
| Nutrient | Amount |
|---|---|
| Calories | 55 kcal |
| Protein | 0.4g |
| Carbohydrates | 2g |
| Fiber | 0g |
| Sugar | 1.5g |
| Total Fat | 5g |
| Saturated Fat | 3g |
| Cholesterol | 20mg |
| Sodium | 5mg |
| Vitamin C | 0mg |
| Calcium | 15mg |
| Iron | 0mg |
| Potassium | 20mg |
Nutrition values are approximate and may vary based on brands and portion sizes. Values are for the basic three-ingredient recipe.
Why This Recipe Works
The physics of whipped cream are straightforward once you understand what is actually happening inside the bowl. Heavy cream is an oil-in-water emulsion: fat globules suspended in a watery liquid phase. When you whip cream, you are doing two things simultaneously. First, you are incorporating air bubbles into the liquid. Second, you are agitating the fat globules hard enough that some of their membranes rupture and the released fat coats the surface of the air bubbles, trapping them in place. The end result is a foam: air bubbles held in a matrix of partially coalesced fat globules suspended in the remaining liquid. This structure is stable as long as the fat remains cold enough to stay firm. When the fat warms, it becomes liquid again, the fat matrix softens, and the air bubbles collapse and escape: this is why warm whipped cream weeps.
The minimum 35% fat content requirement is not arbitrary: it reflects the point at which there are enough fat globules in a given volume of cream to coat the air bubbles completely as they are incorporated. Below 35%, there simply aren’t enough fat globules to go around, and the foam collapses almost immediately after forming. At 36% to 40% (the range of most heavy creams), the fat is abundant enough to build a stable, firm foam within 3 to 5 minutes.
Icing sugar outperforms granulated sugar in this application for two practical reasons. The first is particle size: granulated sugar crystals are between 400 and 600 microns in diameter, which is large enough to remain undissolved in cold cream over a typical 4 to 5 minute whipping time, producing a faintly gritty texture. Icing sugar particles are 10 to 30 microns in diameter and dissolve completely within seconds of contact with cold cream. The second is the cornstarch content. Standard icing sugar contains approximately 3% cornstarch as an anti-caking agent. In a whipped cream context, this small amount of starch disperses through the foam structure and absorbs some of the liquid that would otherwise weep out over time. The practical effect is a whipped cream that holds its shape for 1 to 2 hours longer than cream made with granulated sugar.
Starting the mixer at medium rather than high speed in the first 60 to 90 seconds is a foam-quality decision. At high speed from the start, large air bubbles are incorporated rapidly but without being broken up efficiently, producing a foam with a coarser, less uniform bubble structure. Starting at medium allows smaller, more uniform bubbles to be incorporated as the cream thickens, building a denser and more stable foam architecture before the speed increases. The difference in stability between cream started at medium and cream started at high speed is particularly visible over 30 to 60 minutes of storage.
The over-whipping failure mode (grainy, separated cream) occurs when agitation continues past the point where the fat globule membranes have fully coalesced. At firm peaks, the fat has clumped enough to hold the foam perfectly. Continued whipping causes the fat clumps to aggregate further into visible butter granules, expelling the liquid whey (the watery phase) in the process. This is literally the beginning of butter-making, and the process is not reversible. The practical defense is to stop the mixer and check every 30 seconds from the medium-peak stage onward rather than walking away and trusting a timer.
Frequently Asked Questions
How far ahead can I make whipped cream?
You can make whipped cream up to 24 hours ahead if you use the gelatin-stabilized method in the Variations section, which prevents it from weeping for a full day in the refrigerator. The basic three-ingredient version holds well for 1 to 2 hours in the refrigerator before it begins to soften and weep slightly. If it has wept by the time you serve it, 20 to 30 seconds of re-whipping with a hand mixer or balloon whisk restores it to the original consistency. For longer make-ahead periods, freeze it in pre-portioned mounds.
Why isn’t my cream thickening?
If your cream is not thickening after 2 to 3 minutes of whipping, the most likely cause is fat content: single cream, light cream, or half-and-half won’t whip at all because they contain too little fat. The second most common cause is temperature: cream that has been sitting at room temperature for more than 15 minutes is harder to whip and may never reach firm peaks if it has warmed significantly. Verify you are using heavy cream or double cream with at least 35% fat, and that it is very cold before you begin.
Can I fix over-whipped whipped cream?
Yes, but only if you catch it early. At the first sign of graininess (the surface starts looking curdled and the cream is no longer smooth), immediately stop the mixer and drizzle in 1 to 2 tablespoons of fresh cold cream. Fold it in very gently with a rubber spatula: this can sometimes smooth out the texture and bring it back to a usable consistency. If the cream has progressed significantly and you can see butter granules forming, it is too far gone to recover as whipped cream. At that point, continue whipping with a pinch of salt and you will have flavored butter.
How much does 1 cup of heavy cream make when whipped?
One cup (240ml) of heavy cream produces approximately 2 cups (480ml) of whipped cream after whipping, because you are incorporating a significant volume of air into the liquid. The exact yield depends on how far you whip it: soft peaks produce slightly more volume than firm peaks because the foam is lighter and airier, while firm peaks are denser and slightly more compact. For 8 servings of 2 tablespoons each, 1 cup of cream is the right starting quantity.
Is whipped cream gluten-free?
Yes. Heavy cream, icing sugar, and vanilla extract are all naturally gluten-free. The only ingredient to verify in certain regions is the vanilla extract, which occasionally uses grain-based alcohol as a carrier: most pure vanilla extracts are naturally gluten-free but checking the label takes 10 seconds if you are cooking for someone with celiac disease. Icing sugar very occasionally contains wheat starch rather than cornstarch as the anti-caking agent: check the label for a certified gluten-free designation if this is a concern.
Can I sweeten whipped cream with honey instead of sugar?
Yes, with an adjustment. Honey is a liquid sweetener, which means it adds additional liquid to the cream that can make it slightly harder to whip to firm peaks. Use 1 tablespoon of honey in place of the 2 tablespoons of icing sugar, which keeps the added liquid minimal. Add the honey at the beginning with the cream rather than partway through. The finished whipped cream will have a faint floral sweetness from the honey rather than the clean neutral sweetness of sugar, which pairs particularly well over fresh fruit, yogurt parfaits, and baklava.
What is the difference between soft, medium, and firm peaks?
Soft peaks: when you lift the beater, the cream forms a peak that immediately droops over. The cream is thick enough to coat a spoon but doesn’t hold its shape. Best for folding into other preparations or spooning loosely over desserts. Medium peaks: the peak holds its shape at the base but the tip curls downward. Best for spooning over pies, fruit, and hot drinks where a defined shape is desirable but not critical. Firm peaks: the peak stands completely straight without any drooping. Best for piping onto cakes and cupcakes where the shape needs to hold during transport or presentation.
Conclusion
Whipped cream made from scratch is one of the fastest, highest-return kitchen skills you can have: three ingredients, 5 minutes, and the result genuinely elevates whatever it accompanies. The key decisions are the fat content of the cream, its temperature going in, and knowing when to stop the mixer. Everything else is just sequencing. Understanding what each peak stage looks like and why it matters means you can make whipped cream precisely suited to the job, whether that is a spoonable cloud over a bowl of fruit, a swirl through the creamy comfort food in my Cauliflower Recipes, or a piped rosette that holds its shape overnight. Make this whipped cream recipe once properly and you will find it hard to justify reaching for the can again.
If you loved this recipe, save it to your dessert toppings and basics Pinterest board so you can find it easily later. For more new recipes follow thecookingvibes pinterest account.
Easy Whipped Cream
Ingredients
Equipment
Method
- Place the mixing bowl and beaters in the freezer for 10 to 15 minutes before starting.
- Sift icing sugar through a fine mesh strainer into a small bowl.
- Pour cold heavy cream into the chilled bowl. Add sifted icing sugar and vanilla extract.
- Begin whipping on medium speed for 60 to 90 seconds until the cream begins to thicken visibly.
- Increase to medium-high speed. Stop every 30 seconds to check peaks by lifting the beater. For soft peaks (drooping tip): stop here for spooning. For medium peaks (tip curls slightly): stop here for pies and drinks. For firm peaks (tip stands straight): stop here for piping onto cakes.
- Use immediately or refrigerate covered for up to 2 hours.
Notes
- Heavy cream must be at minimum 35% fat: single cream or light cream will not whip.
- Start cream ice-cold directly from the refrigerator for the fastest, most stable result.
- Use icing sugar, not granulated sugar: it dissolves instantly and provides light stabilization.
- Stop whipping at the right peak stage: over-whipped cream becomes grainy and cannot be fully recovered.

