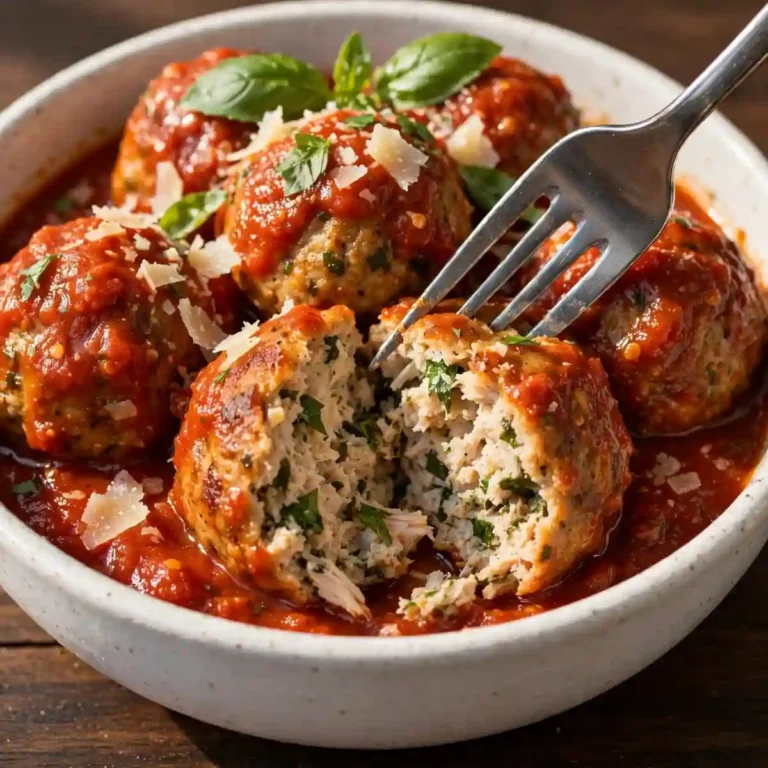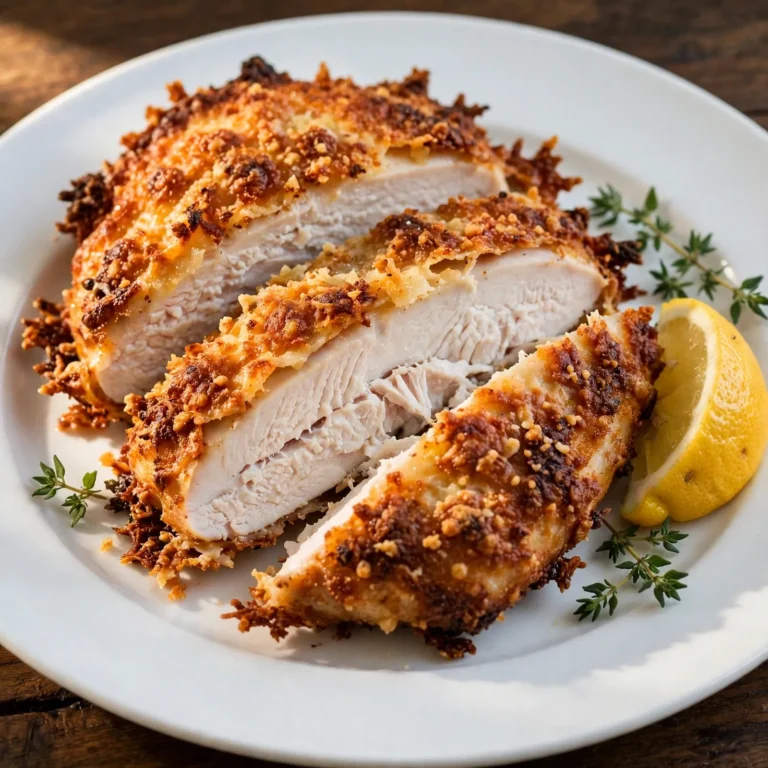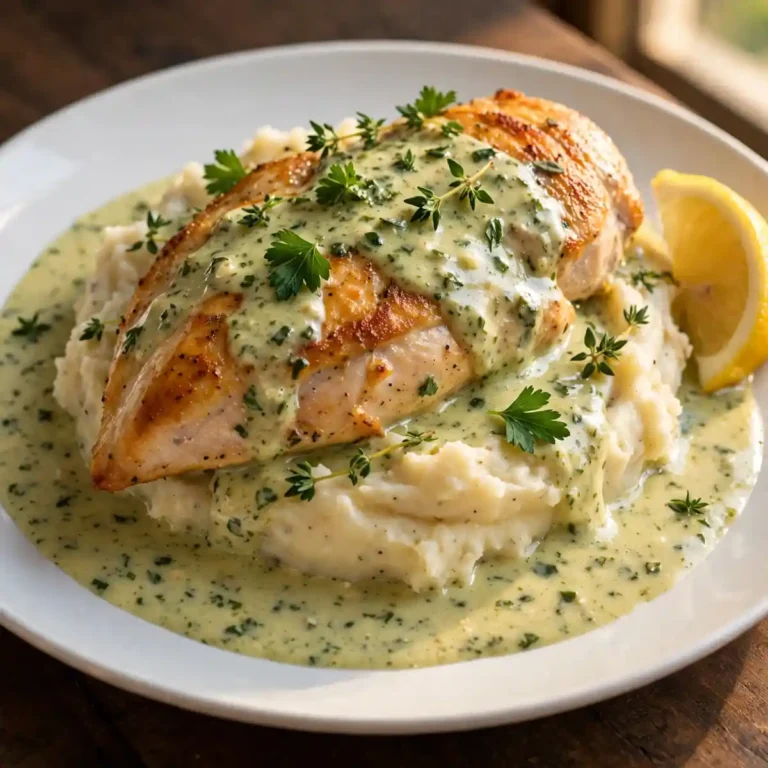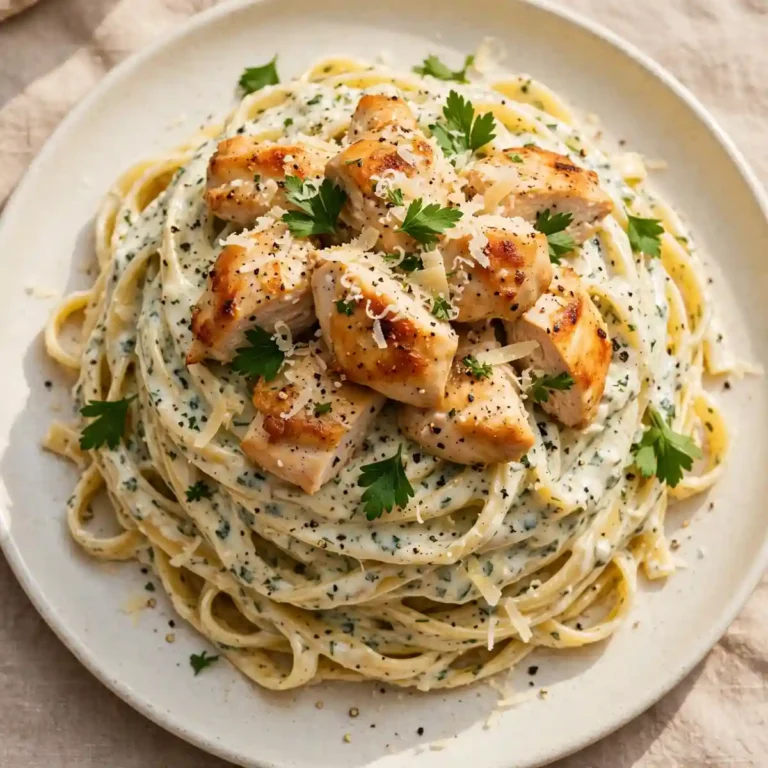
Juicy Chicken Breast — Golden Sear, Moist Interior, Every Time
Chicken breast has a reputation it doesn’t deserve. It’s the protein most people give up on after a few dry, chalky results, and then spend years avoiding in favor of thighs. The reality is that dry chicken breast is almost always a technique problem rather than an ingredient problem: the meat was cooked at the wrong temperature, removed from heat too late, or cut open immediately rather than rested. Fix those three things and the same boneless skinless chicken breast that produced a disappointing dinner last week produces something genuinely juicy and flavorful this week.
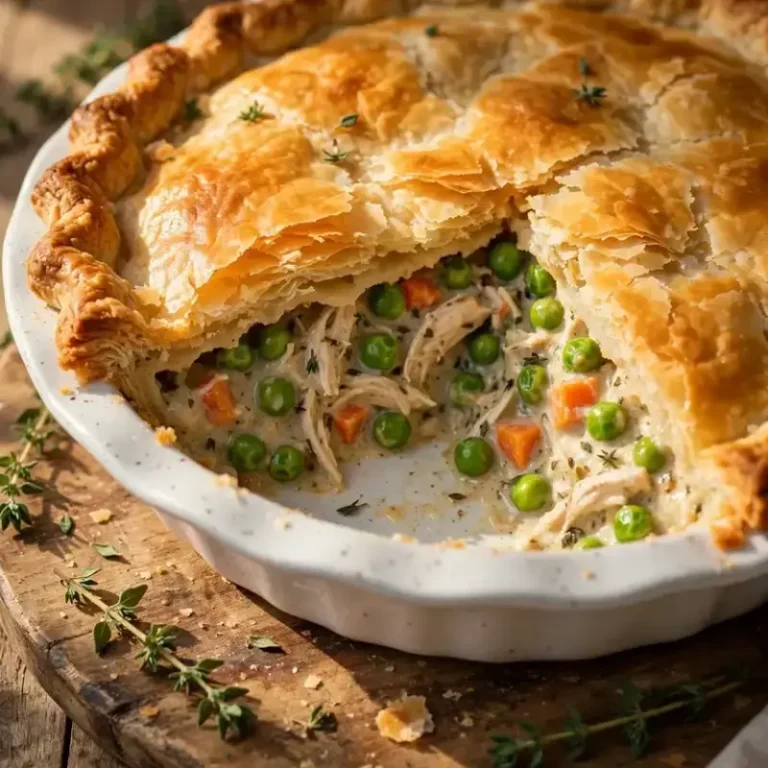
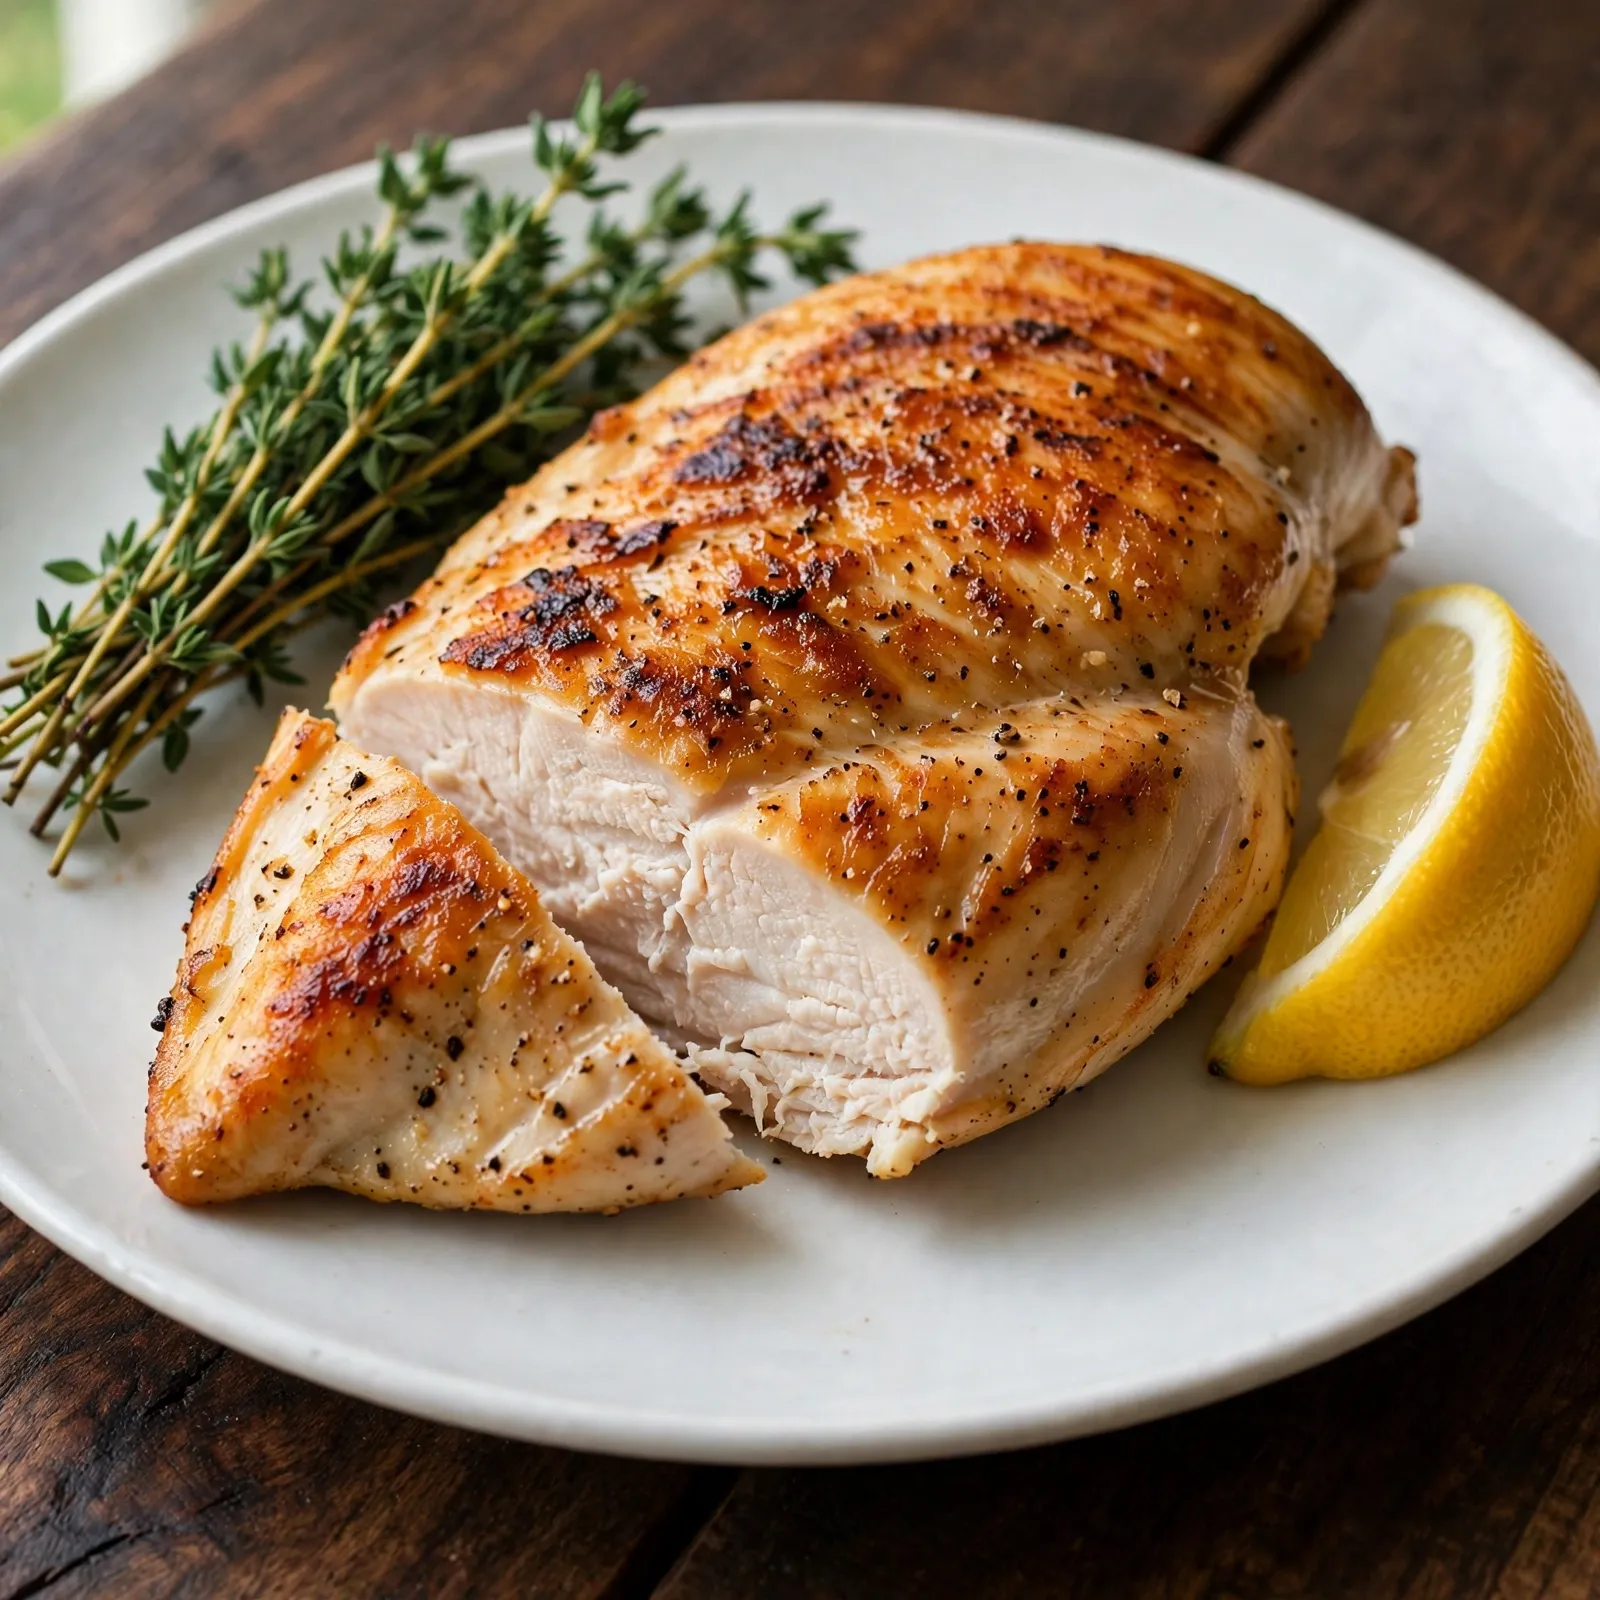
This chicken breast recipe uses the sear-then-oven method: the chicken is seasoned simply, seared in a very hot oven-safe skillet to develop a golden-brown crust on both sides, then finished in the oven at moderate heat so the interior reaches the safe temperature without the outside drying out while waiting. It serves 2 to 4, takes 30 minutes from cold chicken to plated, and works as the foundation for practically any dinner, including Chicken Pot Pie. The method in this recipe is what makes chicken breast worth returning to rather than avoiding.
Why You’ll Love This Chicken Breast Recipe
- Reliably juicy, not just occasionally. The sear-then-oven method and a thermometer rather than a timer produce a chicken breast that hits 74°C (165°F) consistently without the guessing and the resulting dry overcooking that comes from timing alone.
- Golden crust from a proper sear. High heat in a dry skillet before any oven time produces the Maillard-browned surface that adds flavor, visual appeal, and a slight exterior crispness that plain baked or poached chicken entirely lacks.
- 30 minutes from cold pan to table. The only active steps are patting the chicken dry, seasoning it, and searing both sides; the oven does the rest while the rest of the meal comes together.
- Simple enough to memorize. The seasoning is a 5-ingredient spice blend that works for every use case; once it’s familiar the recipe works without looking anything up.
- The foundation for almost every chicken dinner. Sliced over pasta, added to a salad, wrapped in a flatbread, served alongside rice: a perfectly cooked chicken breast is the most versatile protein in a home kitchen and the method here translates directly to all of them.
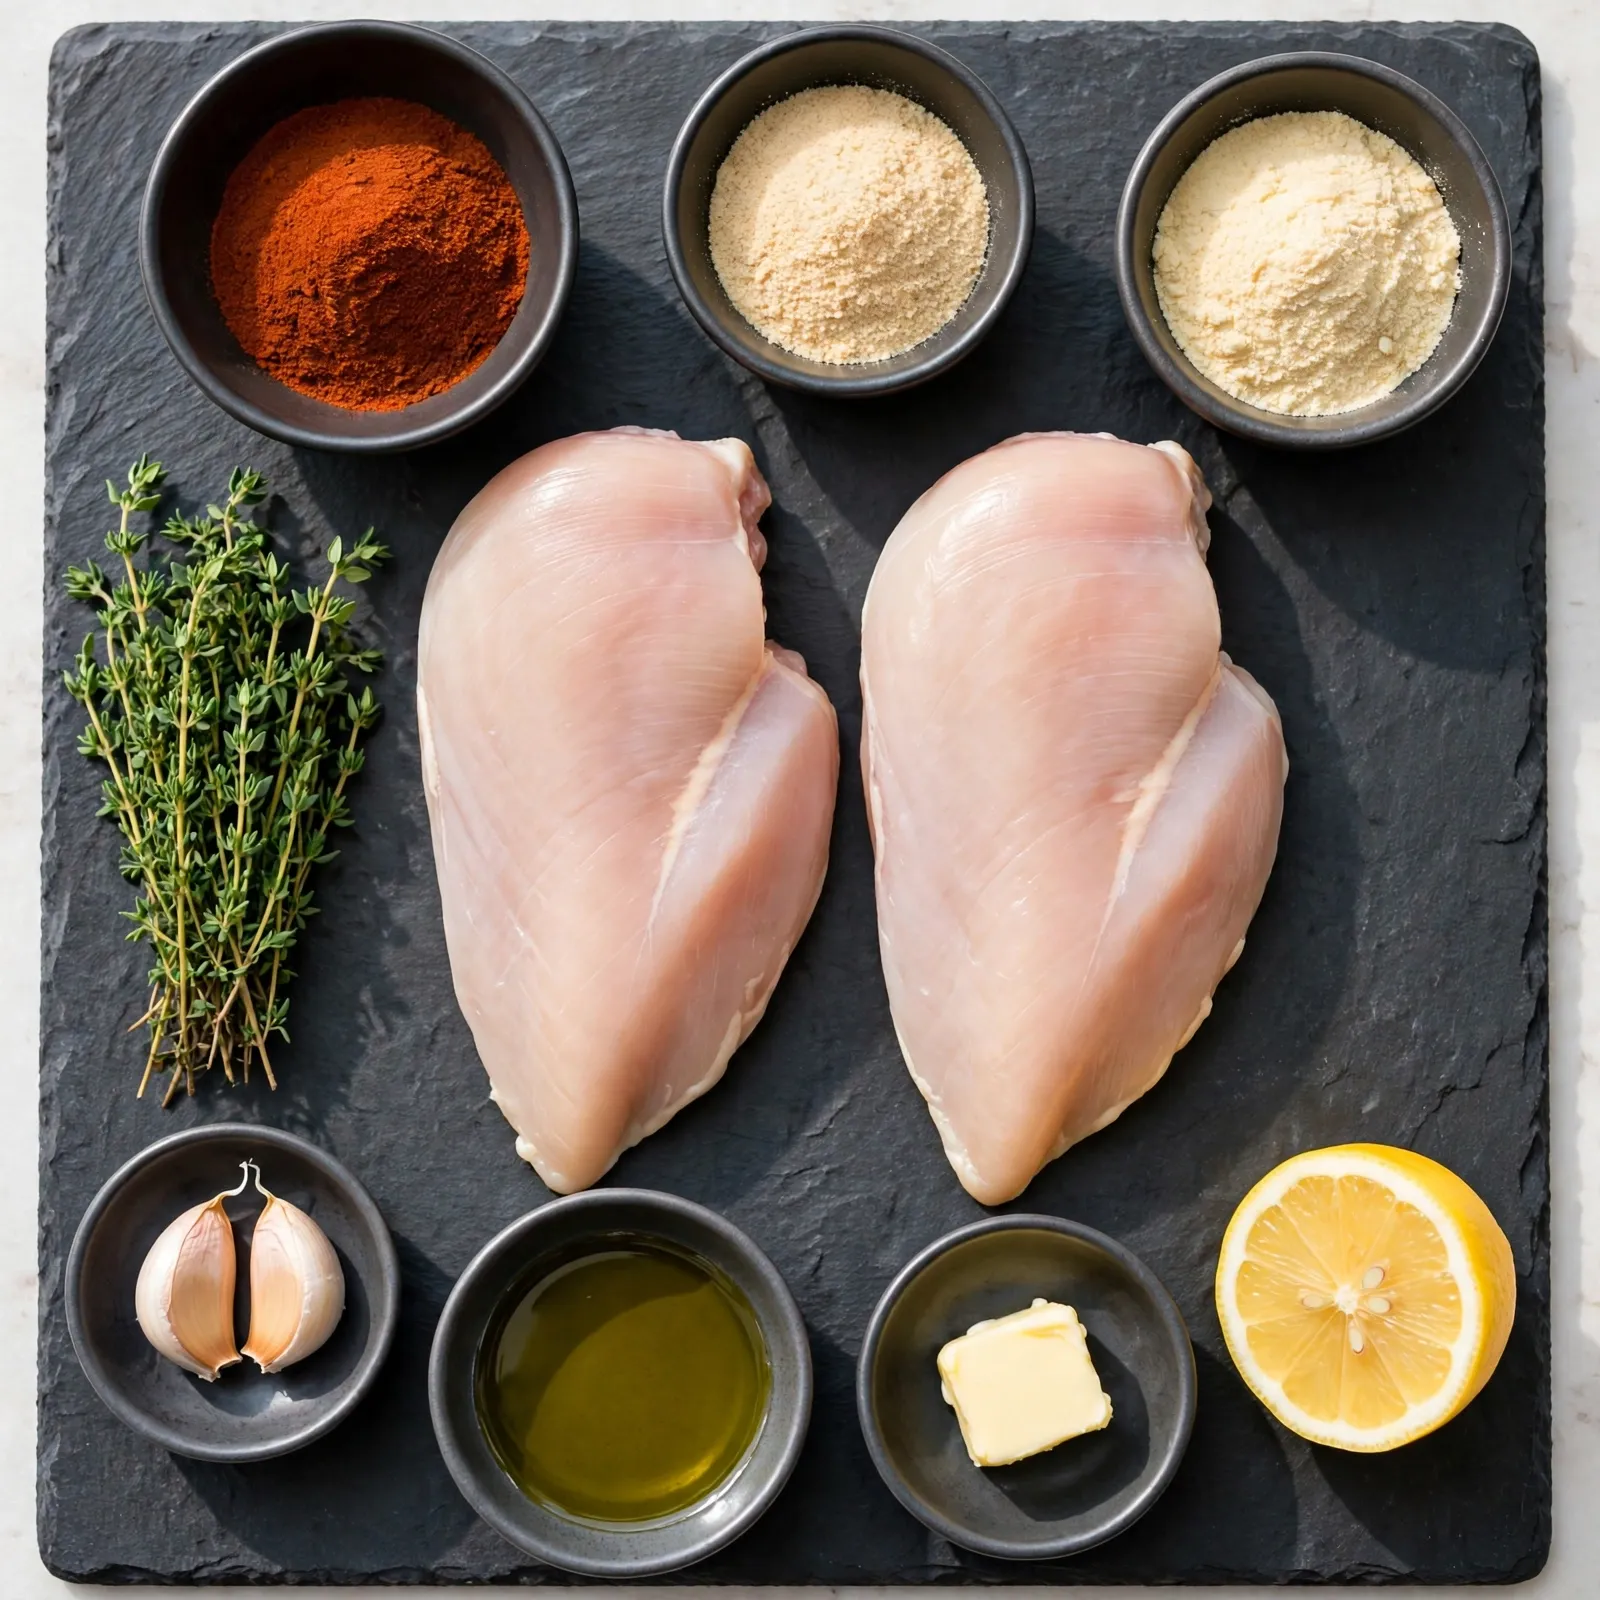
Ingredients You’ll Need
Recipe Timing
| Detail | Info |
|---|---|
| Servings | 2 to 4 |
| Difficulty | Easy |
| Course | Main Course |
| Cuisine | American |
| Prep Time | 5 minutes |
| Cook Time | 20 minutes |
| Rest Time | 5 minutes |
| Total Time | 30 minutes |
For the chicken, boneless skinless chicken breasts in the 170 to 220g range cook most reliably with this method. Very large breasts above 280g have a thicker cross-section that takes significantly longer to cook through after the sear, often leading to either an over-browned exterior waiting for the interior to finish or an undercooked center in an effort to protect the outside. If the breasts available are large, slice them horizontally through the center to create two thinner cutlets of equal thickness; the method and timing apply identically.
The single most important physical preparation step is pounding or butterflying the breast to an even thickness. A breast thicker at one end than the other will be overcooked at the thin end by the time the thick end reaches temperature. This takes 60 seconds with a meat mallet and produces a dramatically more consistent result.
For the oil, use a neutral oil with a high smoke point for the sear: avocado oil, grapeseed oil, or refined sunflower oil. Olive oil can smoke aggressively at the high heat this recipe calls for; save it for finishing or for lower-heat applications.
For the seasoning, the five-ingredient blend here, garlic powder, onion powder, smoked paprika, salt, and black pepper, is deliberately versatile rather than cuisine-specific. It produces a well-seasoned chicken that works equally for a weeknight plate alongside vegetables, sliced into a pasta, or added to a salad. It is a foundation, not a commitment to any particular flavor direction.
- 2 to 4 boneless skinless chicken breasts (170 to 220g each), patted completely dry — the primary protein; dryness is the non-negotiable preparation step; any surface moisture produces steam during searing rather than browning; food safety note: chicken must reach an internal temperature of 74°C (165°F) throughout
- 1 tablespoon neutral high-smoke-point oil — avocado oil, grapeseed, or refined sunflower; not extra virgin olive oil for the sear
- 1 teaspoon garlic powder — adds a savory, slightly sweet depth without the sharpness or moisture risk of raw garlic at high heat
- 1 teaspoon smoked paprika — contributes color, warmth, and a very subtle smokiness that deepens the crust’s flavor during the Maillard browning
- 1/2 teaspoon onion powder — adds a rounded savory background note that complements the garlic without adding any moisture
- 1 teaspoon fine salt — seasons the full surface; applied right before cooking rather than well in advance to avoid drawing moisture to the surface prematurely
- 1/2 teaspoon freshly ground black pepper
- Optional: 1 tablespoon unsalted butter + 2 garlic cloves, smashed + 2 fresh thyme sprigs — for basting during the final 2 minutes of searing; adds an aromatic, buttery depth to the crust that the oil alone doesn’t produce
Allergen and Dietary Disclosure
This chicken breast recipe is naturally gluten-free, dairy-free (without the optional butter), and egg-free as written. The optional butter baste contains dairy; skip it or replace with a dairy-free butter alternative to keep the recipe fully dairy-free.
For dairy-free basting: replace the unsalted butter with a vegan butter alternative at the same quantity. The baste still produces an aromatic, slightly richer crust than oil alone. Alternatively, add an extra teaspoon of neutral oil and a drizzle of garlic-infused olive oil to achieve a similar result without any dairy.
For low-sodium: reduce the fine salt to 1/4 teaspoon and allow the smoked paprika and garlic powder to carry more of the seasoning weight. The reduction changes the flavor intensity of the crust noticeably; a small squeeze of fresh lemon over the finished chicken compensates for the reduced salt by providing brightness.
This recipe has not been tested in a certified allergen-free kitchen and cannot be guaranteed safe for any specific allergy.
Equipment Needed
- Oven-safe stainless steel or cast iron skillet, 10 to 12-inch — the single most important equipment choice in this recipe. The skillet must be oven-safe to transfer directly from stovetop to oven without disturbing the chicken; stainless steel builds an excellent, concentrated fond from the sear that can be used for a pan sauce; cast iron retains heat very aggressively and produces deeper sear marks in a shorter contact time. Non-stick pans work for the cooking steps but cannot go into a very hot oven safely with most non-stick coatings, and they don’t generate fond. Never use a glass baking dish for the sear stage.
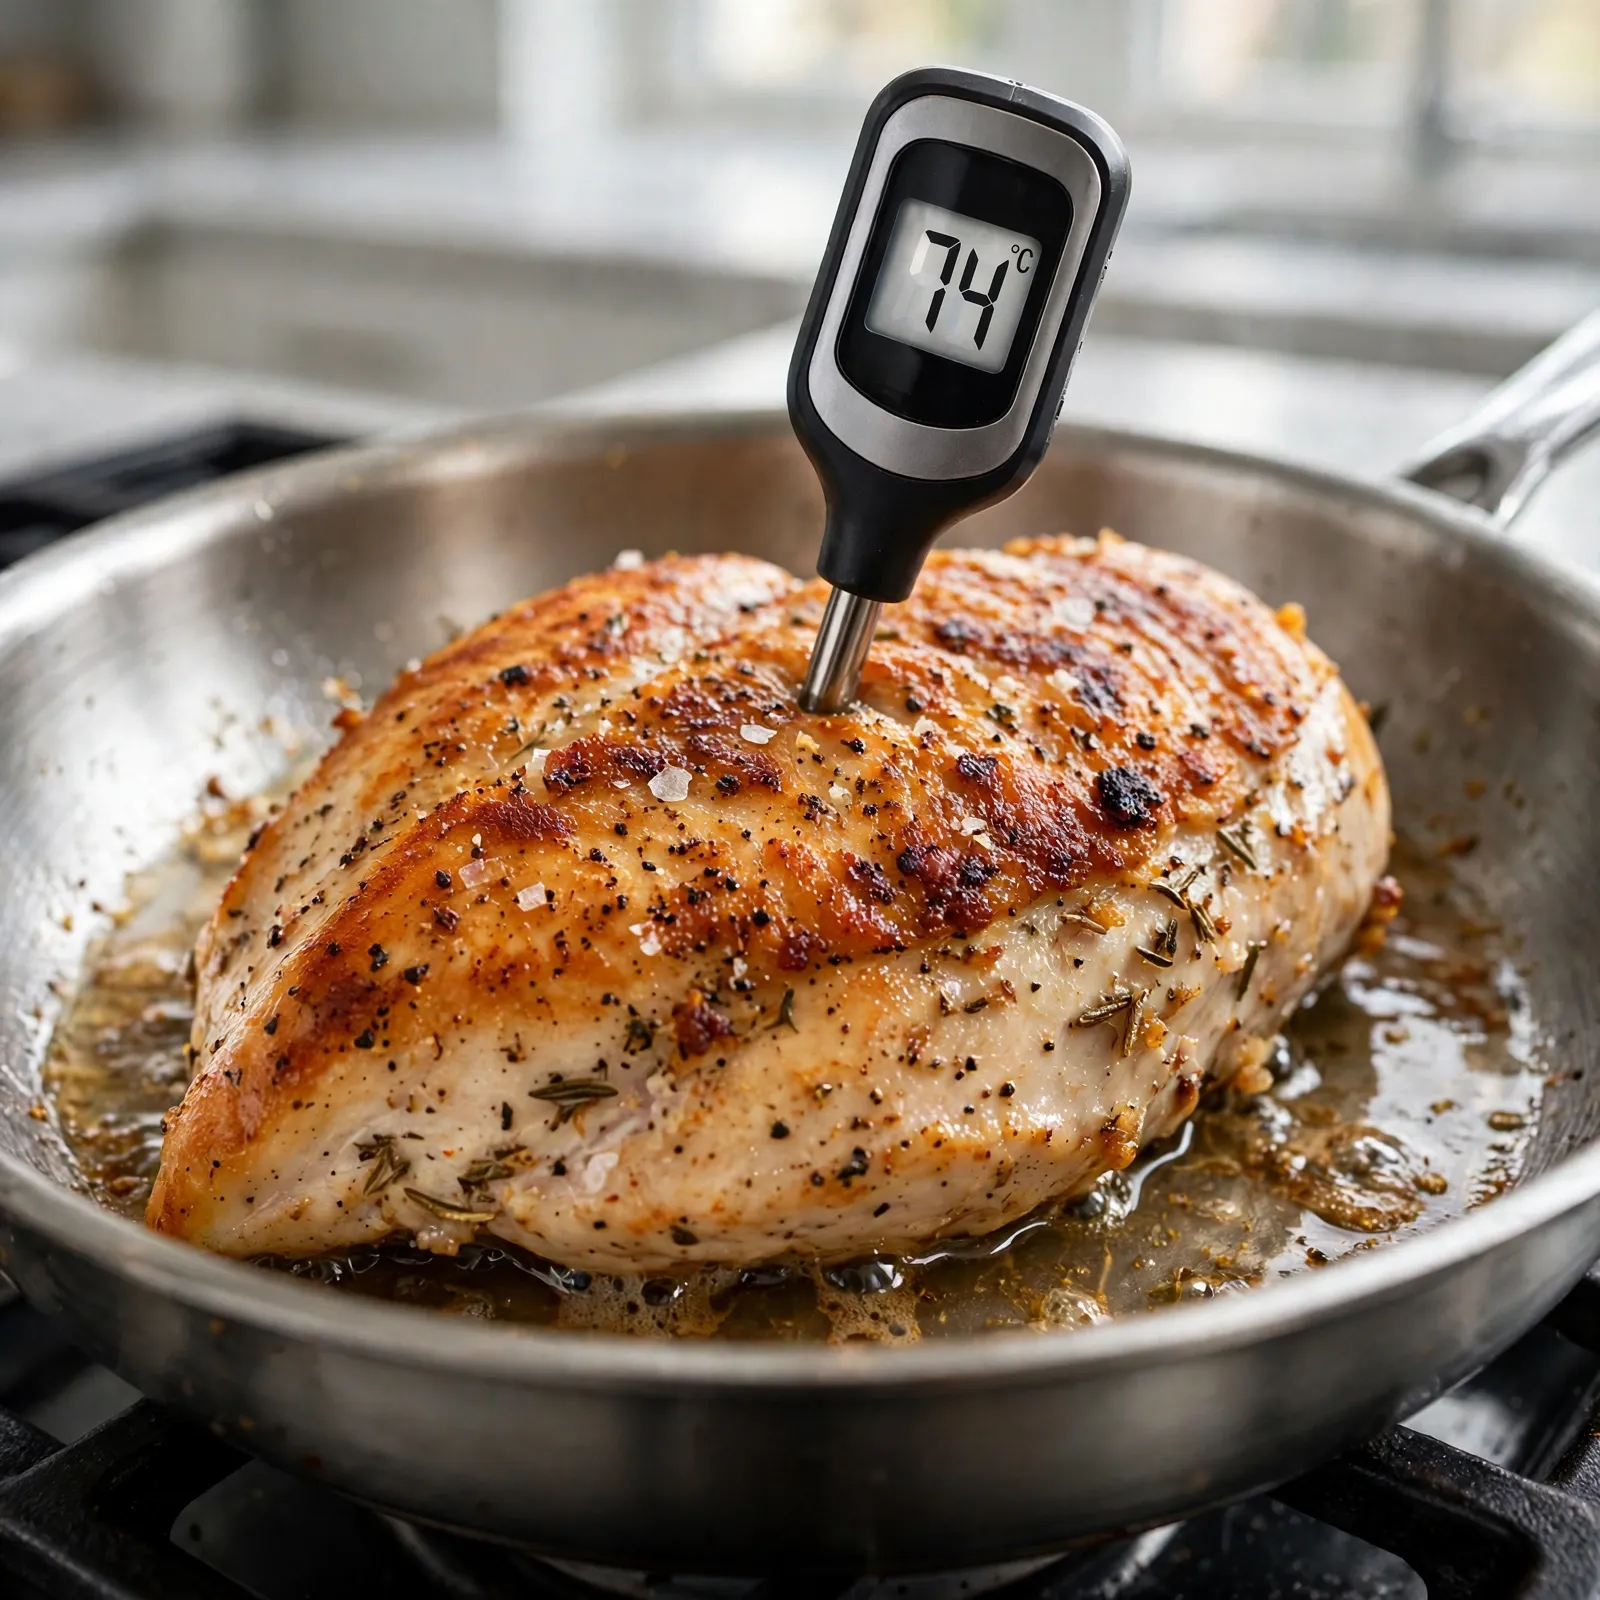
- Instant-read thermometer — the essential tool for reliably juicy chicken breast. The difference between 72°C and 80°C internal temperature in a chicken breast is the difference between moist and dry; relying on visual cues or timing alone produces inconsistent results because breast thickness, refrigerator temperature, and pan variation all affect the actual cook time. Insert the probe from the side of the breast, at the thickest point, for the most accurate reading.
- Meat mallet or heavy rolling pin — for pounding the breast to an even thickness before cooking. The target is a consistent 2 to 2.5cm from edge to edge; uneven thickness produces one end done and one end raw or one end dry while the rest is perfect. This step takes 90 seconds and is worth every second.
- Paper towels — for patting the chicken completely dry before oil and seasoning are applied. A chicken breast with any surface moisture left on it produces steam in the pan rather than searing; steam keeps the surface temperature below the Maillard threshold and produces pale, soft-surfaced chicken rather than the golden-browned crust.
Step-by-Step Directions
Step 1: Prepare the Chicken
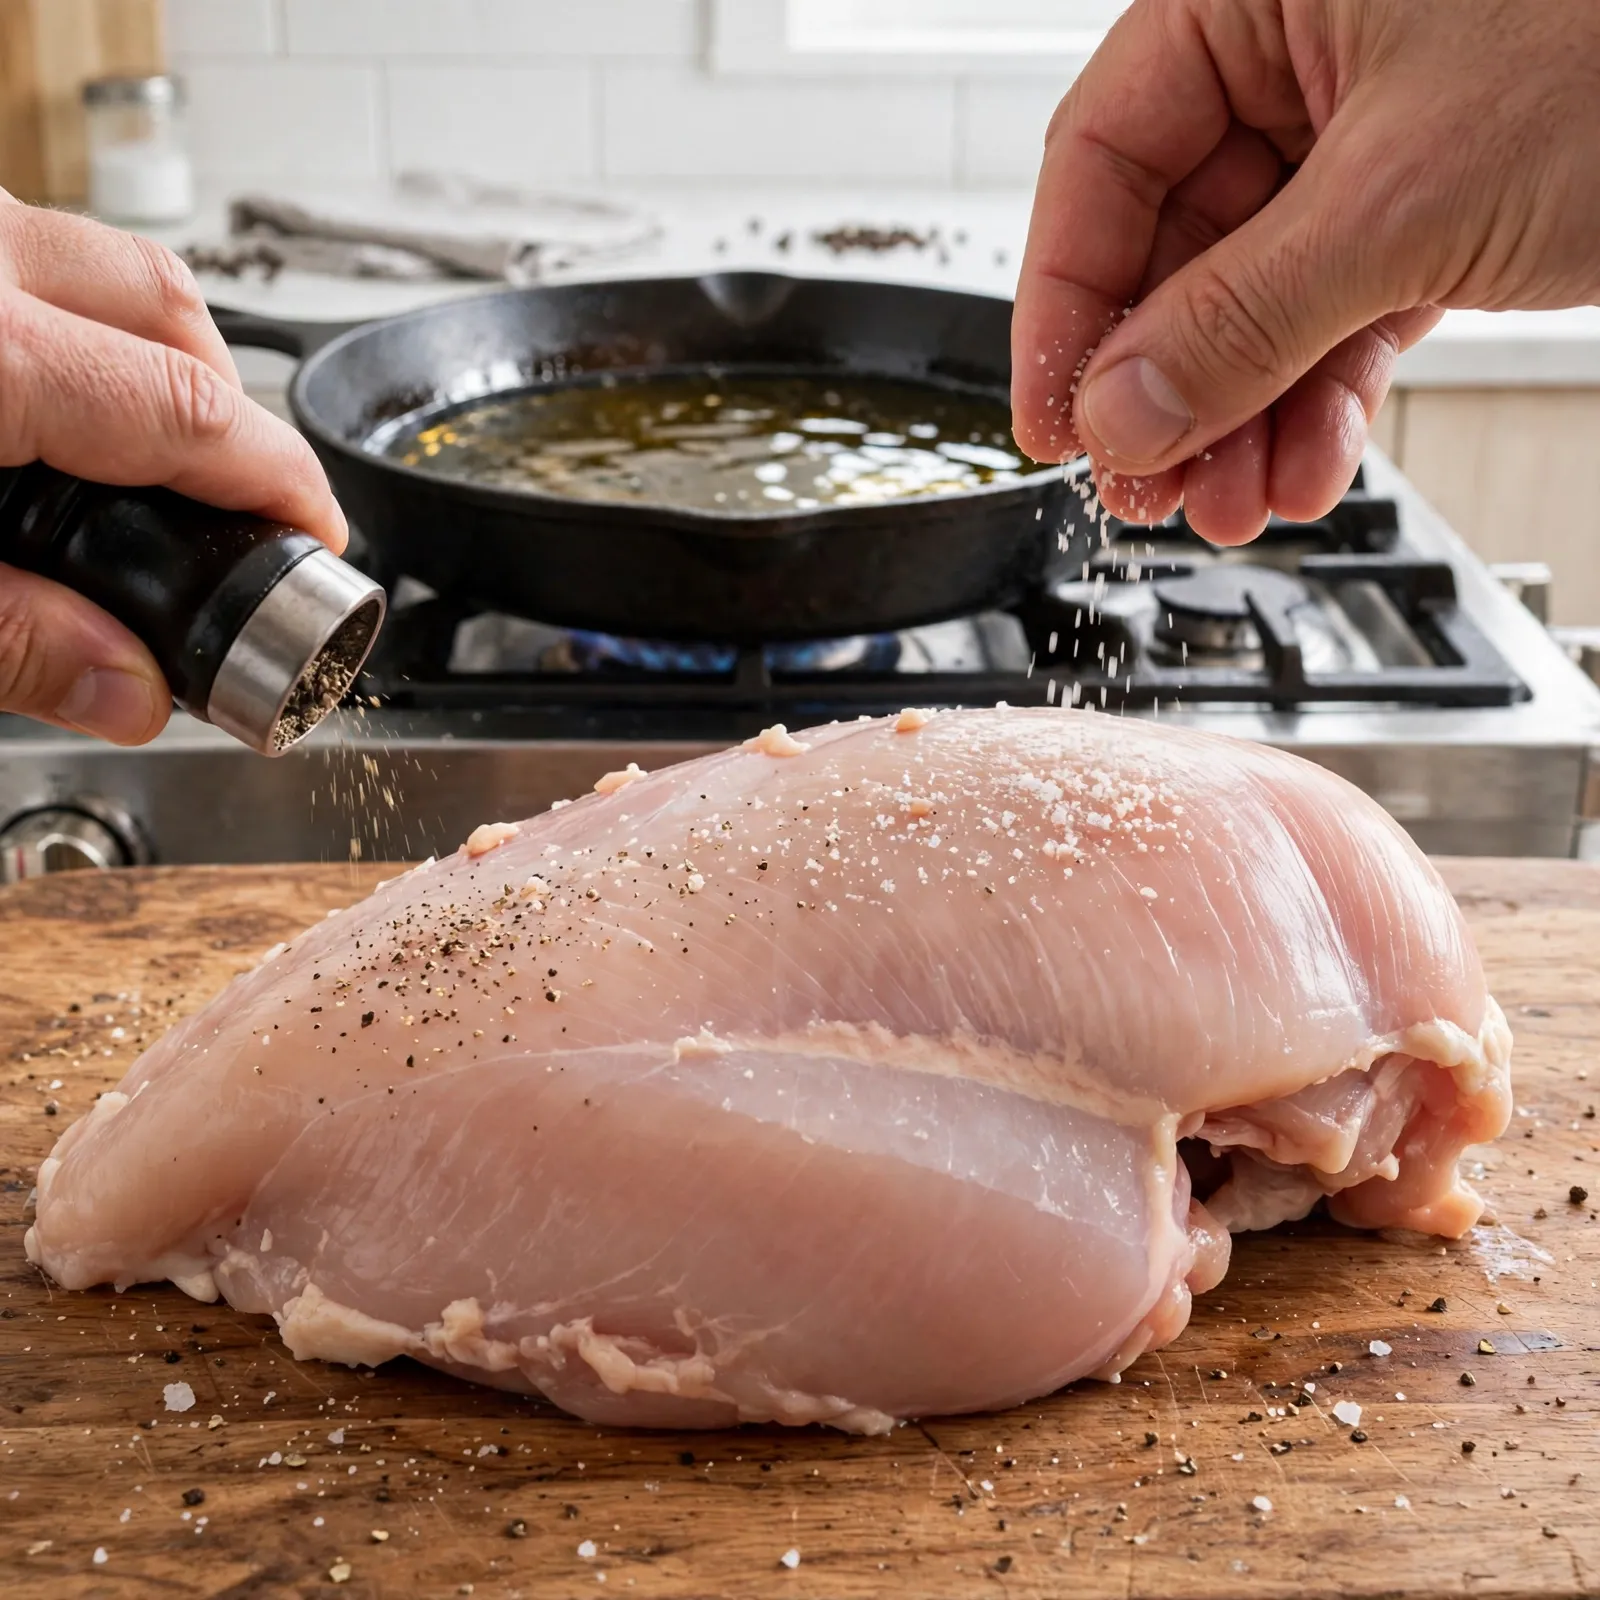
Remove the chicken from the refrigerator 15 minutes before cooking; a breast starting at room temperature takes less total time in the oven to reach 74°C, which means the exterior has less time to overcook. Pat each breast completely dry on all surfaces with paper towels, pressing firmly against the surface and replacing with fresh paper towel if the first becomes saturated; any moisture remaining on the surface will steam and prevent browning.
If the breasts are uneven in thickness, place each one between two sheets of plastic wrap and pound with the flat face of a meat mallet in firm, even strokes from the thickest point outward toward the edges until the breast is a consistent 2 to 2.5cm throughout.
Combine the garlic powder, smoked paprika, onion powder, salt, and black pepper in a small bowl. Apply the seasoning blend to both sides of each breast, pressing it gently into the surface with your fingertips rather than sprinkling from a height; direct contact ensures even coverage rather than the spices sitting loosely on top.

Chef’s Note: Applying seasoning immediately before cooking rather than 30 minutes or more ahead is a deliberate choice for this recipe. Salt applied early draws moisture from the chicken surface through osmosis; at 30 minutes this has time to partially reabsorb and seasons the chicken more deeply, which is desirable in some preparations. For this sear-then-oven method, the goal is the driest possible surface at the moment the chicken meets the oil; season right before the pan goes on, not 15 minutes before.
Step 2: Heat the Pan Properly
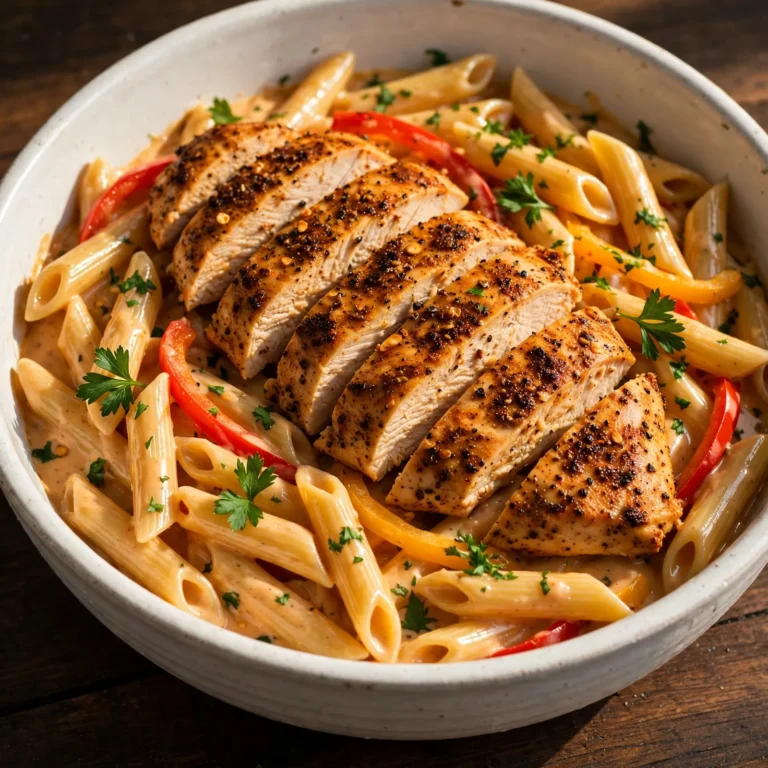
Place the oven-safe skillet over medium-high heat and let it heat completely empty for 90 seconds to 2 minutes. A pan that goes from cold to hot with oil already in it heats the oil gradually rather than presenting the chicken with immediate, sustained high heat; the chicken placed into warming oil sits in the fat rather than searing against it. Add the oil to the fully-preheated pan and allow it to heat for an additional 30 seconds until it shimmers actively across the surface. Drop a small pinch of the spice blend into the oil, as in Cajun Chicken Pasta; if it sizzles immediately and vigorously, the pan is ready.
Chef’s Note: This two-stage heating protocol, pan first, oil second, is the most practical way to reach consistent searing temperature without burning the oil during the preheat. Oil heated from cold in a pan can overshoot its smoke point on high heat before you realize it; oil added to an already-hot pan heats to the right temperature quickly and visibly, and you control the timing of when the chicken goes in.
Step 3: Sear the First Side
Preheat the oven to 200°C (400°F) before or during the searing stage so it’s fully ready when the chicken moves from stovetop to oven.
Lower the seasoned chicken breasts away from you into the hot oil, smooth side down, placing them gently rather than dropping them to prevent oil splatter. Leave at least 3cm of space between each breast; a crowded pan drops in temperature immediately and produces steaming rather than searing. Sear completely undisturbed for 3 to 4 minutes. Do not press, move, or lift the chicken during this time; any movement before the crust has set tears the forming browning layer from the surface. The chicken is ready to flip when it releases from the pan surface with very light pressure from a spatula; if it resists, wait 30 more seconds.
Food safety note: Wash hands and any surfaces that contacted the raw chicken before touching anything else in the kitchen.
Step 4: Sear the Second Side and Optional Baste
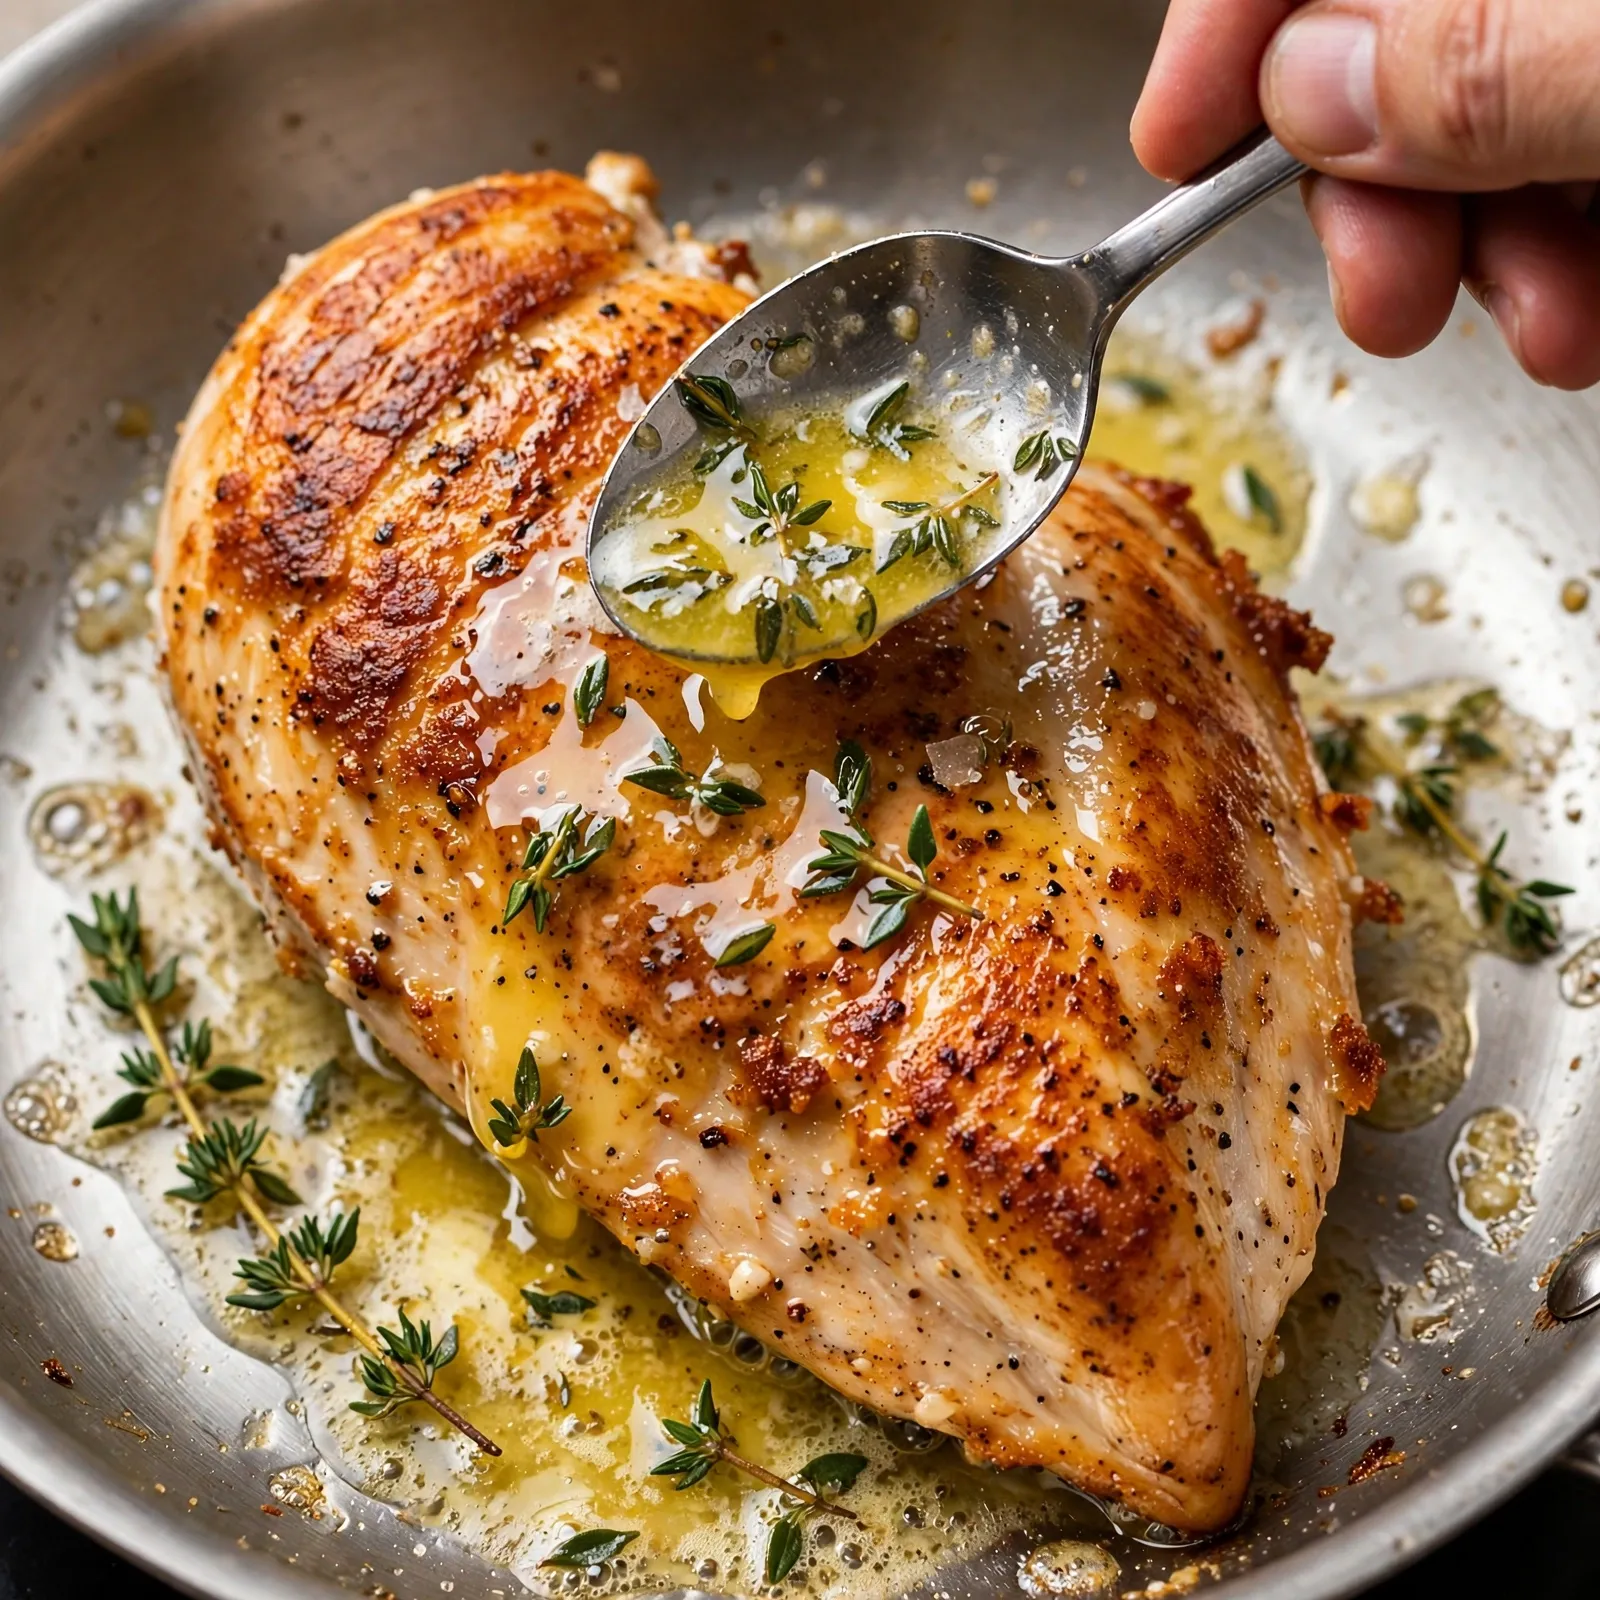
Flip each breast and sear the second side for 2 to 3 minutes until it also reaches a consistent golden-brown color. If using the optional butter baste, add the butter, smashed garlic cloves, and thyme sprigs to the pan alongside the chicken now. As the butter melts, tilt the pan slightly and use a spoon to scoop the foaming butter from the pool and pour it over the top surface of each chicken breast continuously for 60 to 90 seconds. The basting adds an aromatic layer to the crust and encourages deeper caramelization on the surface without requiring additional cooking time.
Chef’s Note: The basting technique, tilting the pan and spooning the melted butter-and-herb mixture over the chicken repeatedly, produces a result that’s noticeably richer and more aromatic than a plain sear because the butter’s milk solids brown alongside the chicken surface and the thyme’s volatile oils bloom in the hot fat and transfer directly to the crust. It takes 60 seconds of attention and the flavor difference is immediately perceptible in the finished dish.
Step 5: Finish in the Oven
Transfer the skillet directly to the preheated 200°C oven. Roast for 8 to 12 minutes until the internal temperature at the thickest point of the largest breast reads 74°C (165°F). Start checking at 8 minutes; a 170g breast pounded to 2cm may be done in 8 minutes while a 220g breast at 2.5cm may need 11 to 12. The visual cue of clear juices running from the puncture point of the thermometer is a supporting indicator but not a substitute for the temperature reading itself.
Step 6: Rest and Slice
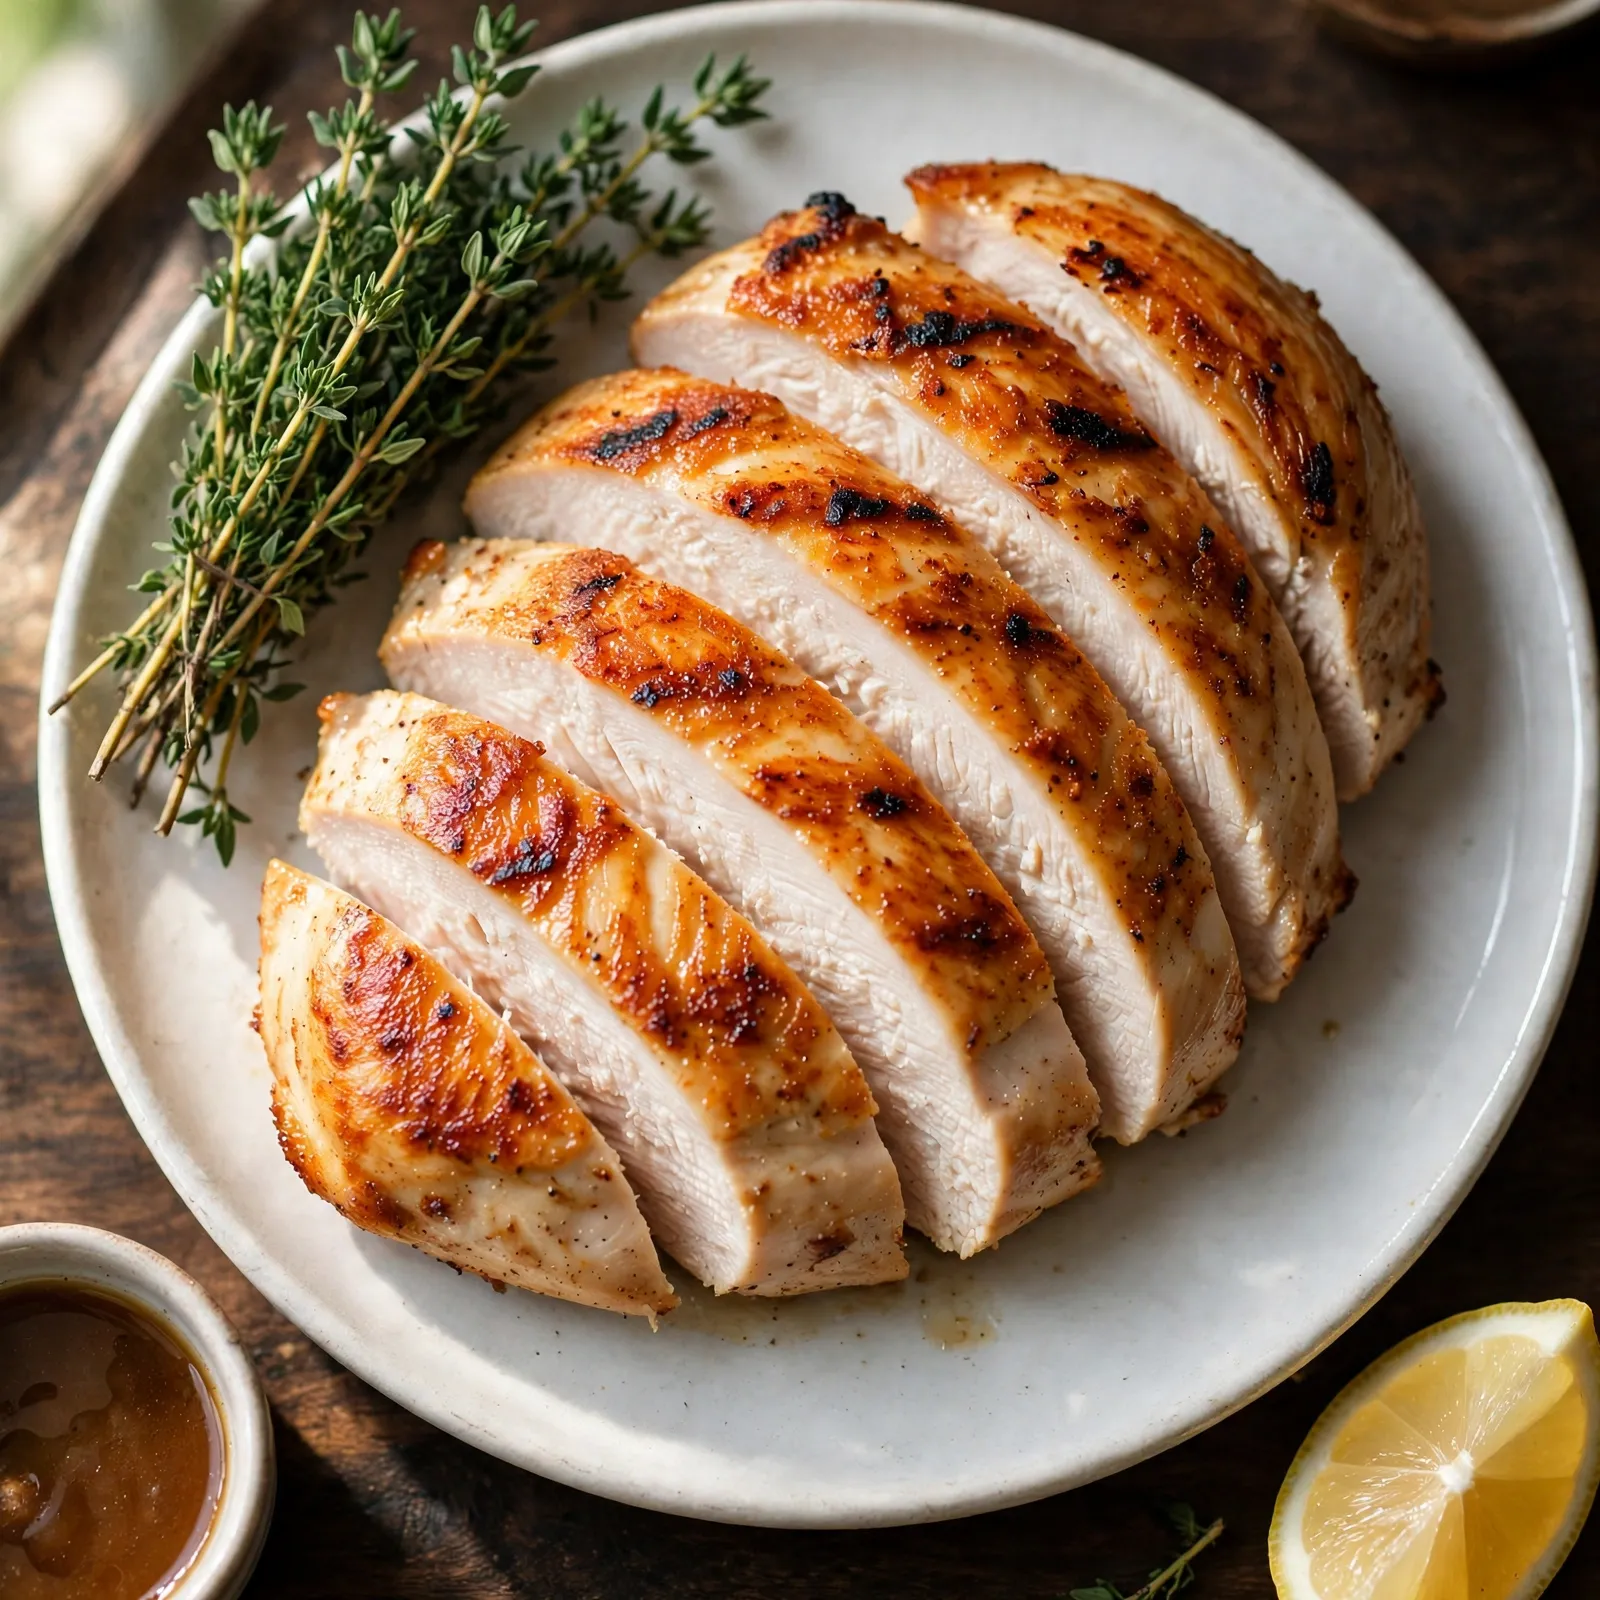
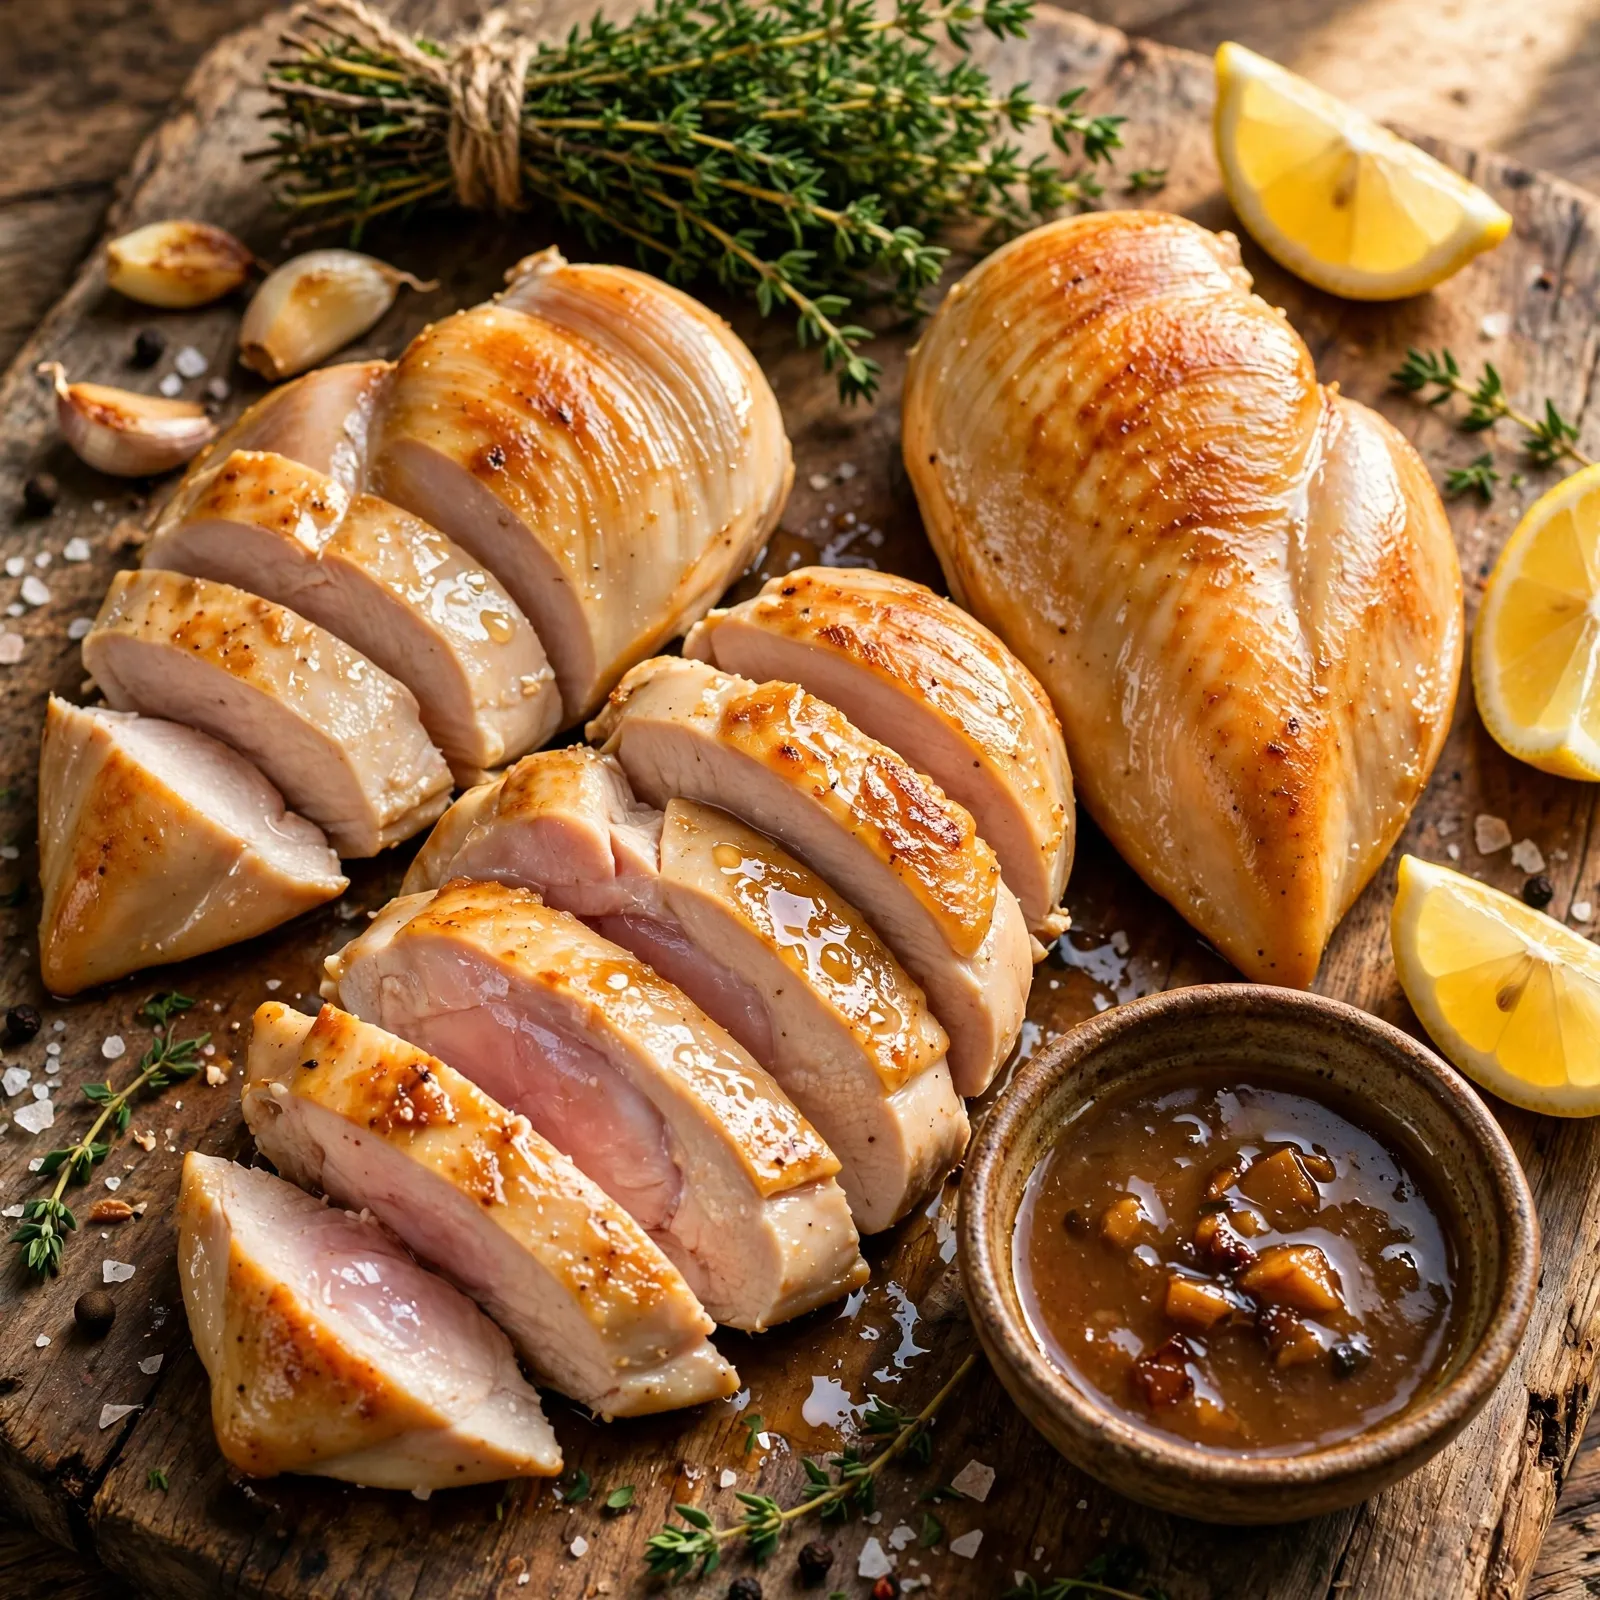
Transfer the cooked chicken from the pan to a clean cutting board and rest for 5 minutes uncovered before slicing. Resting allows the internal juices that concentrated at the center of the breast during oven cooking to redistribute toward the edges; a breast sliced immediately releases a visible pool of juice onto the cutting board, while a properly rested breast releases very little. Slice against the grain, which runs lengthwise down the breast; cutting perpendicular to the grain produces shorter muscle fiber segments that feel more tender when chewed than long unbroken fibers, perfect for serving over pasta.
Common Mistakes and Troubleshooting
| Problem | Cause | Solution |
|---|---|---|
| Chicken dry and chalky | Overcooked past 74°C, or cooked too long in the oven | Always use a thermometer; check temperature from 8 minutes and pull immediately at 74°C; the 5-minute rest will bring it up another 1 to 2°C |
| No golden-brown crust, pale surface | Pan or oil not hot enough, or chicken surface was wet | Preheat the pan for 2 full minutes before oil; preheat oil until shimmering; always pat completely dry before seasoning |
| Crust stuck to pan, tears when flipping | Sear time too short; crust not fully set | Never force the flip; if it resists, wait 30 more seconds; a properly seared crust releases cleanly |
| Chicken cooked unevenly, one end raw | Breast not pounded to even thickness before cooking | Always pound to 2 to 2.5cm consistent thickness; skip this step and the thinnest part will always overcook while the thickest remains underdone |
| Interior pink even though temperature reads 74°C | Thermometer not inserted deep enough, or read at the thinner edge not the thickest point | Insert the probe from the side of the breast at the geometric center, not the thinner tip or the edge |
| Chicken loses moisture and shrinks dramatically | Started cold directly from the refrigerator with no rest time | Allow 15 minutes at room temperature before cooking; the reduced temperature differential means less muscle fiber contraction during the initial heat exposure |
Variations and Substitutions
- Lemon garlic chicken breast: After searing both sides and before transferring to the oven, add 3 tablespoons of fresh lemon juice and the zest of 1 lemon directly to the pan alongside the chicken. The acid immediately lifts any fond from the pan base and creates a simple, bright pan sauce that develops further in the oven. Spoon the pan juices over the chicken twice during the oven time. Finish with fresh parsley at the table.
- Italian herb chicken breast: Replace the smoked paprika with 1 teaspoon of dried Italian seasoning and add 1/4 teaspoon of dried rosemary to the spice blend. After the sear and before the oven, add 3 tablespoons of low-sodium chicken broth to the pan to prevent the herbs from burning during the oven finish. The herbs bloom in the oven and produce a distinctly Mediterranean-flavored crust.
- Honey garlic chicken breast: After searing both sides, mix 2 tablespoons of honey with 2 teaspoons of soy sauce and 1 teaspoon of minced fresh garlic in a small bowl. Brush this glaze across the top surface of each breast before the skillet goes into the oven. The honey caramelizes during the 8 to 12 minutes of oven time and produces a sticky, sweet-savory glaze that changes the character of the dish completely while using the same base method.
- Stuffed chicken breast: Before searing, cut a horizontal pocket into each breast without cutting all the way through, fill with a mixture of cream cheese, finely chopped sun-dried tomatoes, and fresh spinach (approximately 2 tablespoons per breast), and secure the opening with one or two toothpicks. The sear-then-oven method works identically; extend the oven time to 14 to 16 minutes and confirm 74°C at the thickest point, not the stuffed center.
- Spice-crusted chicken breast: Replace the standard spice blend with 1 teaspoon of ground cumin, 1/2 teaspoon of ground coriander, 1/2 teaspoon of turmeric, 1/2 teaspoon of cayenne pepper, 1/2 teaspoon of cinnamon, 1 teaspoon of fine salt, and 1/2 teaspoon of black pepper. The resulting crust has a warm, complex, Middle Eastern-spiced flavor profile that works well served over rice with a drizzle of tahini and fresh herbs; for a cheesy crusted alternative, try Parmesan Crusted Chicken
- Chicken breast for meal prep: Cook 4 to 6 breasts at once using the same method scaled to a larger skillet or two pans simultaneously. Slice after resting, allow to cool completely, and refrigerate in sealed containers. Having a batch of perfectly cooked sliced chicken breast ready in the refrigerator reduces a weekday lunch or dinner to assembly rather than cooking; the quality stays acceptable for 3 to 4 days without any noticeable dry-out when stored in the cooking juices.
Serving Suggestions
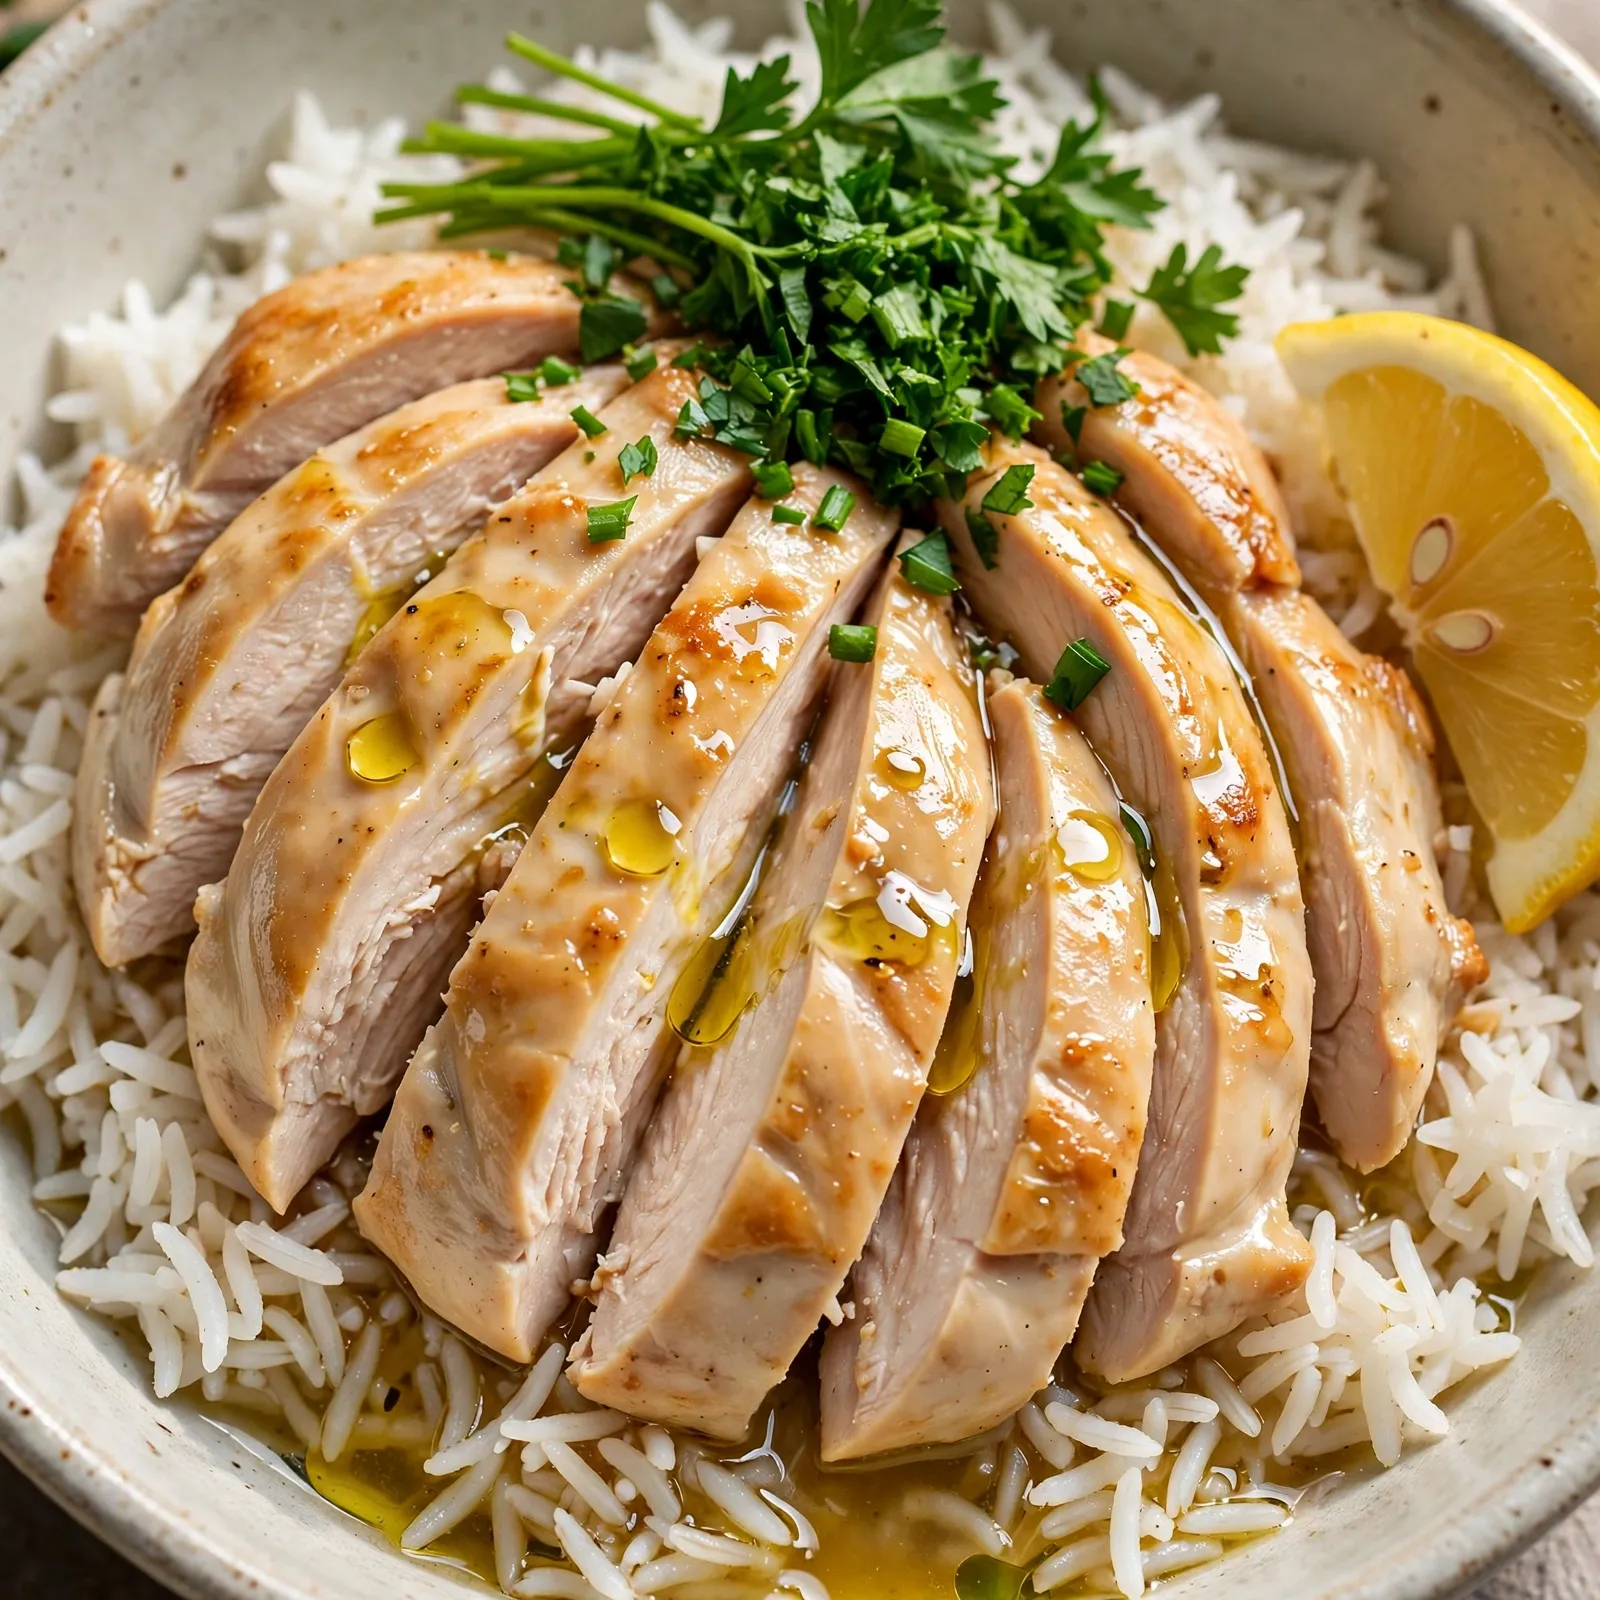
- Slice across the grain and serve over a bed of steamed basmati rice with the pan juices poured over as a simple pan sauce; use the same skillet while the chicken rests, add 3 tablespoons of chicken broth and a teaspoon of butter, scrape all the fond, and pour directly over the rice.
- Fan the sliced chicken over a simple green salad of mixed leaves, cherry tomatoes, sliced cucumber, and a lemon vinaigrette for a composed plate that works for lunch or a light dinner without any additional cooking.
- Serve alongside roasted vegetables prepared in the oven during the chicken’s rest time; sweet potato wedges, broccoli florets, or asparagus spears at 200°C take about the same time as the chicken’s oven finish and come out together.
- Use sliced chicken as the protein base for a grain bowl: place cooked quinoa or bulgur wheat in a wide bowl, add the sliced chicken, and top with a tahini drizzle, sliced avocado, pickled onions, and fresh herbs; this assembly takes 5 minutes if the grain is pre-cooked.
- Stuff the sliced chicken into a warm flatbread or pita with hummus, shredded lettuce, sliced tomatoes, and a drizzle of garlic yogurt sauce for a fast, filling wrap that uses the same chicken for a completely different meal format; the same approach works in Chicken Enchiladas.
- Pair with cold sparkling water with cucumber or a simple homemade lemonade; both provide a clean, refreshing contrast to the savory, spiced crust and complement the bright lemon finish if the lemon garlic variation was used.
Tips for the Best Results
- Use a thermometer every single time, without exception. The 74°C target is not a suggestion; it is the single reliable indicator of safe, fully-cooked chicken, and it’s the only measurement that accounts for the actual thickness and starting temperature of the specific breasts in your pan. Relying on a timer for chicken breast produces inconsistent results because breast size, refrigerator temperature, and pan heat all vary; the thermometer reads the actual result of all those variables combined.
- Pat completely dry and mean it. Hold a paper towel against each surface of the breast for a full 3 seconds of firm pressure; a quick pass over the surface leaves moisture behind. The visible difference between a dry breast and a moist one at the moment of searing is immediately apparent: the dry breast sizzles loudly the instant it hits the oil; the moist one produces a lower, steamier sound for the first 30 seconds. The loud immediate sizzle means browning is happening; the steam sound means it isn’t yet.
- Don’t reduce the sear temperature to be safe. The most common instinct when cooking chicken is to reduce the heat to avoid burning, but high heat for a short time produces better results than moderate heat for longer. At high heat, the surface reaches the Maillard browning threshold quickly before the interior has time to heat through; the oven finish then gently brings the interior to temperature without adding further color to the already-browned crust. At moderate heat throughout, the surface and interior heat at similar rates and the breast is often overcooked on the inside by the time the outside has developed any meaningful color.
- Rest the chicken before slicing and resist the urge to cut in. The 5-minute rest is the recovery period after the high-stress environment of the sear and the oven. During that time the chicken goes from hotter-than-serving-temperature to serving temperature, the muscle fibers relax slightly, and the moisture redistributes from center to edge. Every minute of resting improves the final juiciness; at 5 minutes the improvement is measurable and worth the wait every time.
- Slice against the grain, not with it. The grain of a chicken breast runs lengthwise from thick to thin end; cutting parallel to that direction produces long, intact muscle fiber strands that feel chewy and require more effort to eat. Cutting perpendicular, producing round or diagonal slices across the width of the breast, shortens those fibers into manageable segments that feel considerably more tender even though the actual texture of the meat hasn’t changed.
Storage Tips
Refrigerator
Cooked chicken breast keeps in the refrigerator in a sealed container for up to 4 days. Store whole rather than pre-sliced if possible; sliced chicken has more surface area exposed to the drying effect of refrigerator air and becomes noticeably drier faster than whole stored breasts. Add any remaining pan juices to the container before sealing; the juices keep the chicken surface moist during storage. For meal prep purposes, slice only as much as needed for immediate use and store the remainder whole.
Freezer
Cooked chicken breast freezes well for up to 3 months. Cool completely before freezing; freeze in individual portions for practical thawing. Wrap each breast tightly in plastic wrap, then in a layer of aluminum foil to prevent freezer drying, and place in a sealed freezer bag. Thaw overnight in the refrigerator rather than at room temperature; slow thawing preserves the texture better than rapid thawing. Raw chicken breast also freezes well; freeze the seasoned raw breasts on a parchment-lined sheet, then transfer to bags once frozen solid.
Reheating
The stovetop produces the best reheating result for sliced chicken breast. Place the slices in a skillet with 2 to 3 tablespoons of low-sodium chicken broth or water, cover with a lid, and warm over medium-low heat for 3 to 4 minutes until heated through; the steam from the liquid rehydrates the surface and the enclosed heat warms the interior without additional drying. For whole breasts, the oven at 160°C (325°F) with a small splash of broth in a covered baking dish for 10 to 12 minutes produces the closest result to fresh-cooked. Microwave reheating at 60% power in 60-second intervals with a damp paper towel draped over the chicken works for a quick single portion but produces a slightly softer, less distinctly seasoned result than stovetop.
Make-ahead note: This recipe is practical for a full week of meal prep. Cook 4 to 6 breasts on Sunday, rest and cool them completely, store in the cooking juices in sealed containers, and use through the week. Reheat to order for each meal or slice cold directly into salads and grain bowls where hot chicken is not required.
Nutrition Information
Per serving, approximately one cooked chicken breast (1/4 of the recipe, without optional butter baste):
| Nutrient | Amount |
|---|---|
| Calories | 220 kcal |
| Protein | 38g |
| Total Carbohydrates | 1g |
| Dietary Fiber | 0.2g |
| Total Sugar | 0g |
| Total Fat | 6g |
| Saturated Fat | 1g |
| Cholesterol | 110mg |
| Sodium | 420mg |
| Vitamin C | 1mg |
| Calcium | 20mg |
| Iron | 1.2mg |
| Potassium | 440mg |
Nutrition values are approximate and may vary based on breast size, seasoning applied, and use of optional butter baste. Sides not included.
Why This Recipe Works
The central problem in cooking chicken breast is a thermodynamic one: the exterior of the breast reaches Maillard browning temperature (above 150°C) almost immediately in a hot pan, while the interior needs to reach only 74°C to be safe and moist. These two temperature targets are widely separated, and the challenge is reaching the second without dramatically overshooting it while achieving the first. The sear-then-oven method solves this by separating the two cooking phases into environments optimized for each one. The stovetop provides very high, concentrated heat ideal for surface browning in a short window (3 to 4 minutes per side) before the interior has time to heat through significantly. The 200°C oven provides surrounding ambient heat that penetrates the interior gradually without adding further color to the already-browned surface. In practical terms, the chicken finishes cooking from the inside outward in the oven while the exterior simply holds what the stovetop already gave it.
The Maillard reaction that produces the golden-brown crust requires two things simultaneously: surface temperature above approximately 150°C and a dry surface. When a moist chicken breast is placed in oil, the surface temperature first rises to 100°C, at which point the surface moisture begins to evaporate. The temperature at that surface cannot rise above 100°C until the moisture is fully evaporated; the latent heat of vaporization absorbs all the incoming energy until the water is gone. This is why a wet chicken breast sears poorly: it spends 60 to 90 seconds of contact time effectively simmering in its own steam before the surface moisture has evaporated enough for the temperature to rise toward the Maillard threshold. A completely dry breast hits the Maillard range within seconds of contact, which is why the patting-dry step has such an immediate, visible effect on crust color and quality.
The 5-minute rest protocol involves a specific mechanical phenomenon called moisture migration reversal. During the sear and the oven finish, the exterior of the breast is hotter than the interior; heat flows inward and simultaneously drives the moisture in the muscle tissue from the hot exterior toward the slightly cooler center through a pressure gradient. By the time the breast reaches 74°C at the center, the moisture distribution inside the breast has shifted toward the geometric center; there is relatively less moisture in the outer 5mm of the breast and relatively more in the center. The internal pressure gradient that drove this migration relaxes as the temperature differential between exterior and interior equalizes during the rest; moisture flows back from the wetter center toward the drier exterior over the 5-minute window. A breast cut at 74°C will release juice; a breast cut 5 minutes later retains considerably more of that same juice because it redistributed before the cut was made.
The pounding step’s effect on cooking evenness is directly traceable to a simple heat-transfer equation: thicker sections require more time for heat to penetrate to the center. In an uneven breast where one end is 3cm thick and the other is 1.5cm, the thin end reaches 74°C approximately 4 to 6 minutes before the thick end in the same thermal environment. During those 4 to 6 minutes, the thin end continues to cook from 74°C upward toward 80 to 85°C, which is the temperature at which the muscle fibers have expelled so much moisture that the texture becomes characteristically dry and stringy. Pounding to a consistent 2 to 2.5cm eliminates this differential entirely; every point of the breast reaches 74°C within approximately the same 60-second window.
I’ve cooked this recipe at three different initial sear temperatures: medium, medium-high, and high, using the same seasoning, breast size, and oven finish temperature. Medium heat produced a pale, soft-surfaced breast with minimal Maillard development even after 5 minutes per side; the oven finish produced a dull beige crust. Medium-high produced the ideal result: a deep amber-gold crust in 3 to 4 minutes per side with the interior still at a temperature well below 74°C before the oven. High heat (smoking oil) produced a crust that was close to burnt at the edges and overcooked the outer 3mm of the breast before the crust was fully set. Medium-high is the correct sear temperature because it reaches Maillard browning quickly without overshooting the surface temperature into burning territory.
Frequently Asked Questions
How do I keep chicken breast from drying out?
The three decisions that prevent dry chicken breast are: pound to an even 2 to 2.5cm thickness before cooking so the entire breast reaches temperature at the same time; use a thermometer and pull the chicken at exactly 74°C (165°F) rather than guessing or timing; and rest for 5 minutes uncovered before slicing so the moisture that concentrated at the center during cooking can redistribute throughout the breast before the first cut. Missing any one of these three produces a noticeably drier result than all three together.
How long should I cook chicken breast in the oven?
After a stovetop sear, a chicken breast pounded to 2 to 2.5cm thickness needs 8 to 12 minutes at 200°C (400°F) to reach 74°C (165°F) internally. Thinner breasts (under 2cm) may be done in 8 minutes; thicker ones (2.5cm) typically need 11 to 12. These numbers change with every oven, every pan, and every starting temperature of the chicken, which is why timing is a rough guide and a thermometer is the actual answer.
Can I cook chicken breast without searing it first?
Yes, but the result is different. Baking chicken breast directly in the oven at 200°C (400°F) for 20 to 25 minutes (depending on thickness) produces a fully cooked breast with a pale, lightly browned surface that lacks the concentrated Maillard flavor of a seared crust. For meal prep where the chicken will be sliced into other dishes, oven-only is practical and produces a moist result if the temperature is monitored carefully. For a standalone dinner where the chicken is the centerpiece of the plate, the sear adds a meaningful layer of flavor and visual appeal that oven-only doesn’t replicate.
What temperature should chicken breast be cooked to?
74°C (165°F) at the thickest point is the safe internal temperature for chicken breast established by food safety guidelines. At this temperature the breast is fully cooked and, with proper resting, noticeably moist and tender. Above 80°C the muscle fibers have contracted enough to expel a significant amount of moisture and the texture begins to feel dry and stringy. The target zone of 74°C to 77°C produces the best combination of safety and texture.
Is chicken breast healthy?
Chicken breast is one of the highest-protein, lowest-fat cuts of any commonly available protein; a single 170g breast provides approximately 38g of protein and under 5g of fat without any skin. It contains no carbohydrates and is naturally gluten-free and dairy-free as an ingredient. The cooking method affects the nutritional profile; pan-searing with a small amount of oil adds modest fat, while the optional butter baste adds calories from dairy fat. Serving chicken breast is a reasonable choice for people monitoring fat, carbohydrate, or calorie intake.
Can I marinate chicken breast before using this method?
Yes, and a marinade improves the flavor and can also help moisture retention. Marinate for 30 minutes to 4 hours in the refrigerator; longer than 4 hours with acid-based marinades (lemon juice, vinegar) can begin to chemically denature the outer protein layer and change the texture. Pat the marinated breast completely dry with paper towels before searing; marinade left on the surface produces steam and prevents browning just as plain moisture does. The sear-then-oven method works identically with a marinated breast.
Can I use frozen chicken breast directly?
Cooking chicken breast directly from frozen is not recommended for this recipe because the sear-then-oven method requires a consistent starting temperature to produce predictable results. A frozen breast has an exterior that appears to be searing while the interior is still partially frozen; the resulting temperature differential produces an overcooked outer layer and an undercooked center. Always thaw chicken breast fully in the refrigerator overnight before cooking with this method.
Conclusion
Chicken breast is worth mastering because the technique transfers to practically every protein and every cooking format. The principles that make it juicy, a thermometer rather than a timer, high heat for browning followed by gentler heat for the interior, and a rest before cutting, apply equally to turkey, pork loin, and duck breast. Learning the method here produces reliably good chicken breast but also teaches a framework that applies much further.
The biggest return on investment in this recipe is buying a reliable instant-read thermometer if you don’t own one. That single tool eliminates the most common cooking failure across all proteins and pays for itself on the first use. Every chicken breast cooked correctly from that point forward is a direct result of having it.
If you loved this recipe, save it to your easy chicken dinners and meal prep recipes Pinterest board so you can find it easily later. For more recipes and daily food inspiration, follow TheCookingVibes on Pinterest.
Juicy Chicken Breast
Ingredients
Equipment
Method
- Remove chicken from the refrigerator 15 minutes before cooking. Pat each breast completely dry with paper towels on all surfaces. Pound to an even 2 to 2.5cm thickness using a meat mallet or heavy pan. Combine garlic powder, smoked paprika, onion powder, salt, and pepper; season both sides of each breast firmly by pressing the spice blend in with fingertips.
- Preheat oven to 200°C (400°F). Heat an oven-safe skillet over medium-high heat for 90 seconds to 2 minutes. Add oil and heat until shimmering, about 30 more seconds.
- Add chicken smooth-side down without overcrowding. Sear undisturbed 3 to 4 minutes until the crust releases cleanly from the pan. Flip and sear the second side 2 to 3 minutes. If basting, add butter, smashed garlic, and thyme now; tilt pan and spoon the foaming butter over the chicken surface continuously for 60 to 90 seconds.
- Transfer the skillet directly to the preheated oven. Roast 8 to 12 minutes until an instant-read thermometer reads 74°C (165°F) at the thickest point. Check from 8 minutes; pull immediately at 74°C.
- Transfer to a cutting board. Rest uncovered 5 minutes. Slice against the grain and serve immediately with lemon wedges.
Notes
- Never skip the pound-to-even-thickness step; uneven chicken has one overcooked end and one undercooked end every time.
- Always pat completely dry; any surface moisture steams rather than sears and prevents browning.
- Use a thermometer, not a timer; every breast is different and only the temperature tells the truth.
- Rest uncovered, not covered; covering traps steam and softens any crust that formed during searing.