Southern Squash Casserole — Creamy Filling, Golden Cracker Crust
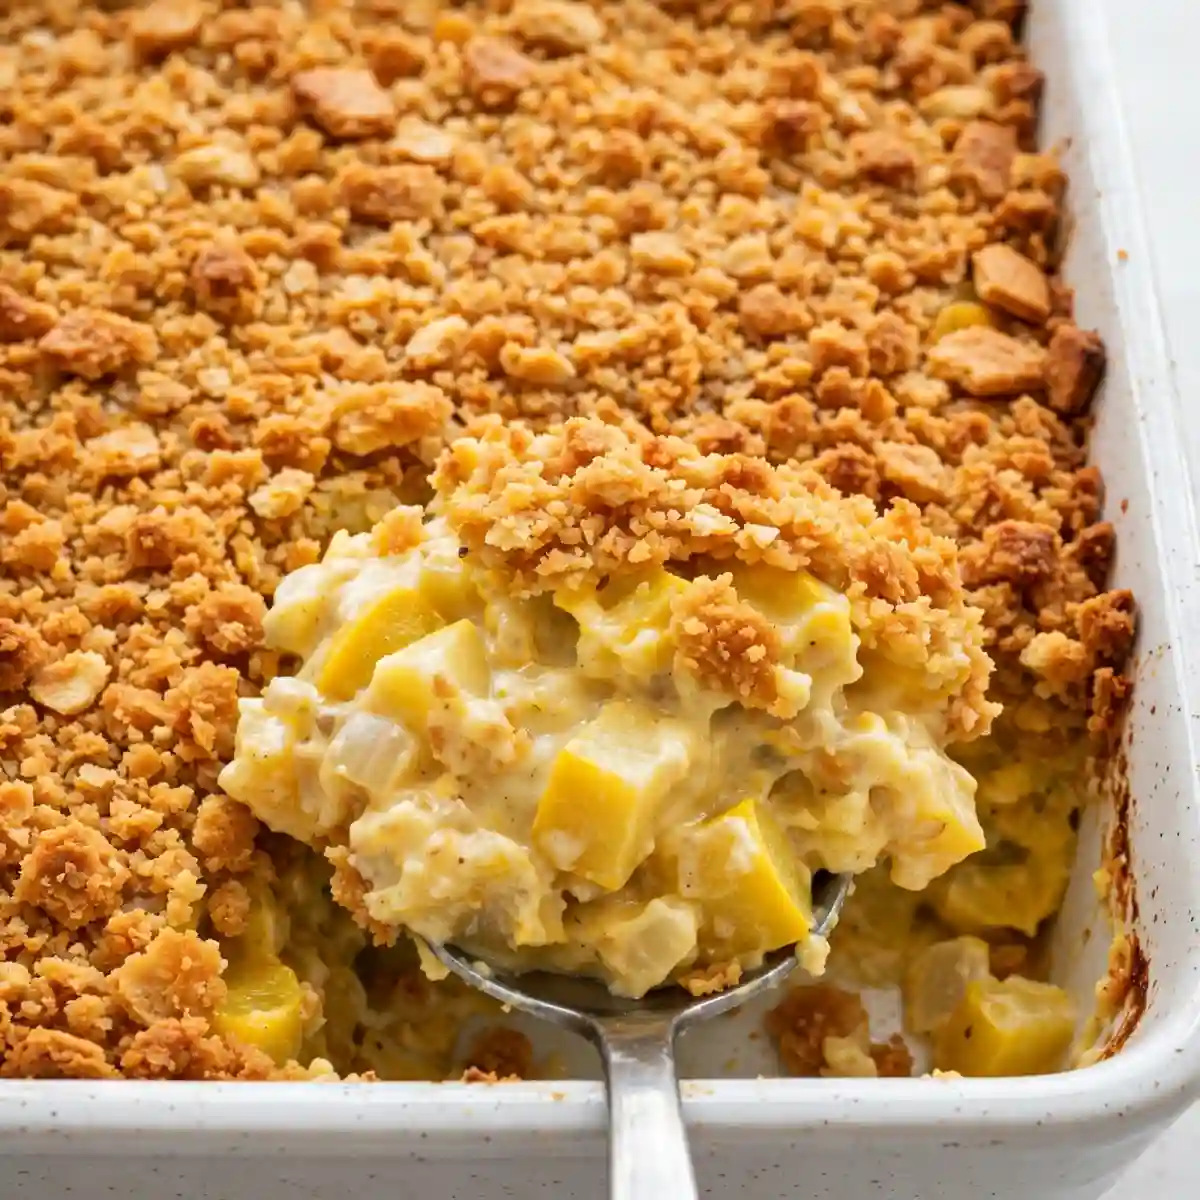
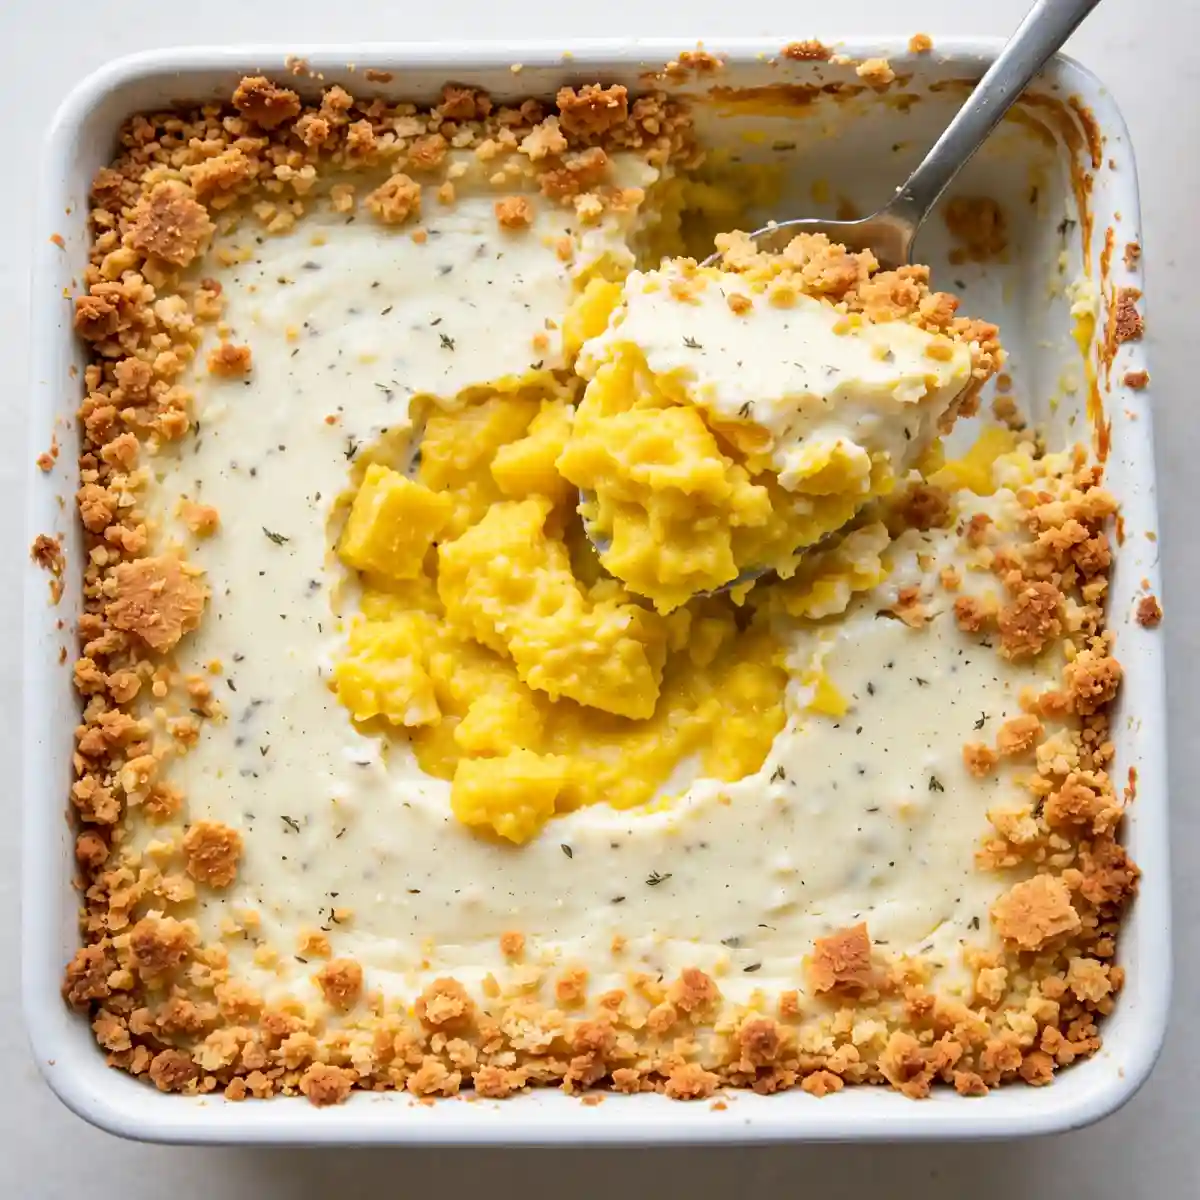
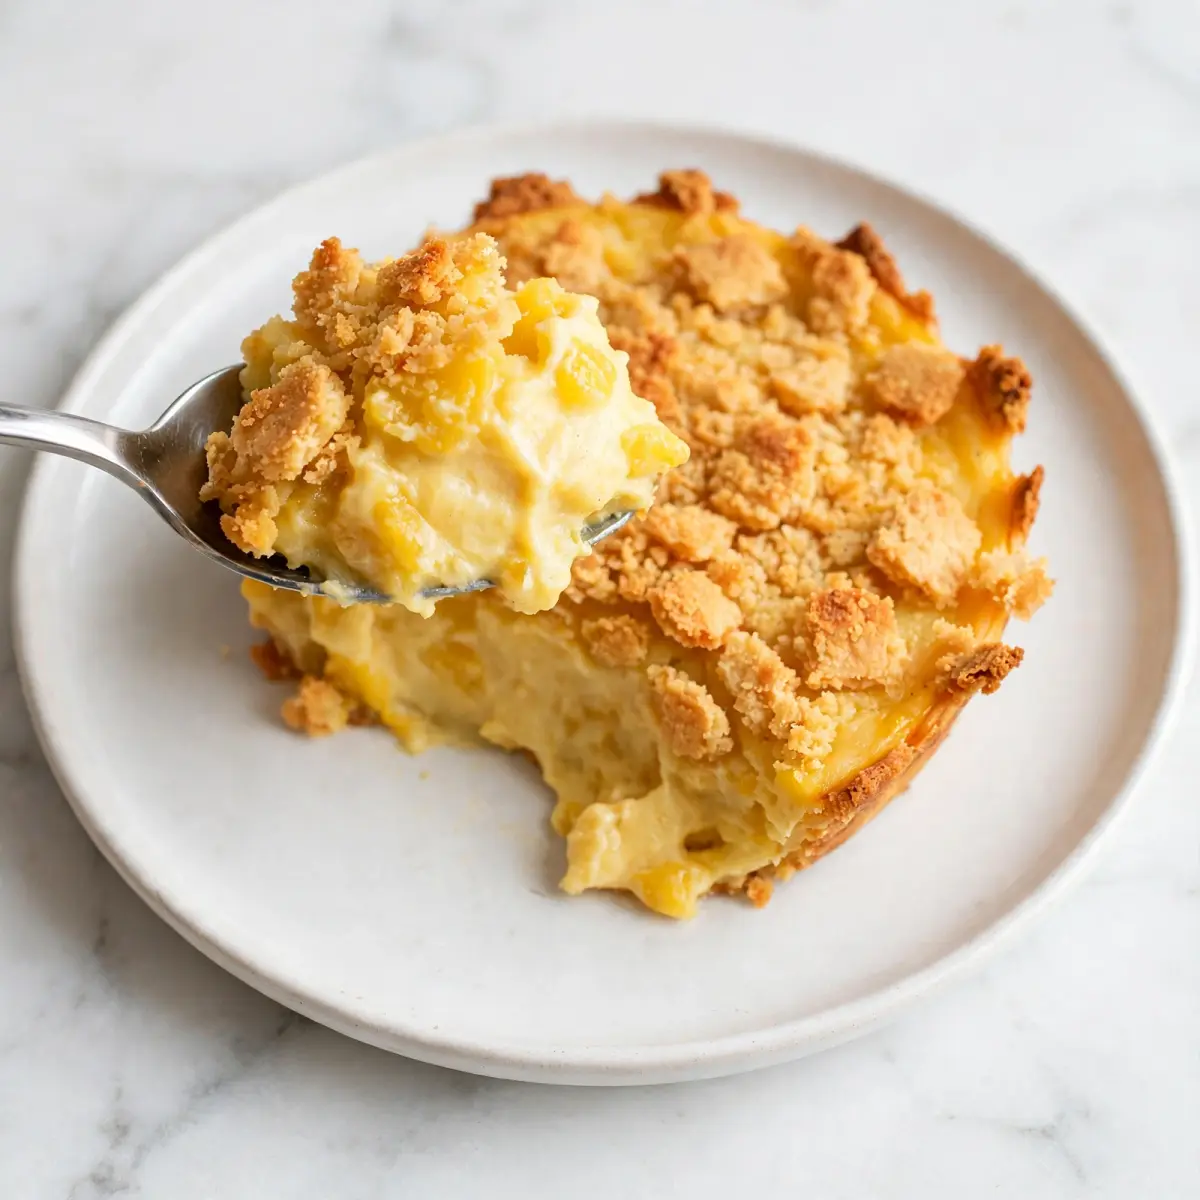
There’s something about a baking dish of squash casserole pulled hot from the oven that makes an entire table settle in. The cracker topping is golden and buttery, the cheddar underneath is fully melted into a rich, creamy filling, and the squash itself has cooked down just enough to become tender without turning into mush. It’s a Southern side dish that earns its reputation every time it shows up at a potluck or holiday table.
This squash casserole recipe starts with yellow summer squash cooked with onion until soft, then drained thoroughly before it goes into the casserole so the filling stays creamy rather than watery. A mixture of sour cream, cheddar, egg, and a touch of cream of mushroom soup binds the squash into a cohesive, rich filling. The buttery cracker topping toasts to a satisfying crunch that contrasts the softness underneath. It makes eight generous servings, works as a holiday side or a weeknight vegetable dish, and reheats well the next day without losing its texture.
Why You’ll Love This Squash Casserole
- Creamy, not watery. The step most squash casserole recipes skip is draining the cooked squash thoroughly before combining it with the filling. This recipe makes it mandatory because excess water from the squash is the reason most casseroles turn soupy in the oven rather than thick and creamy.
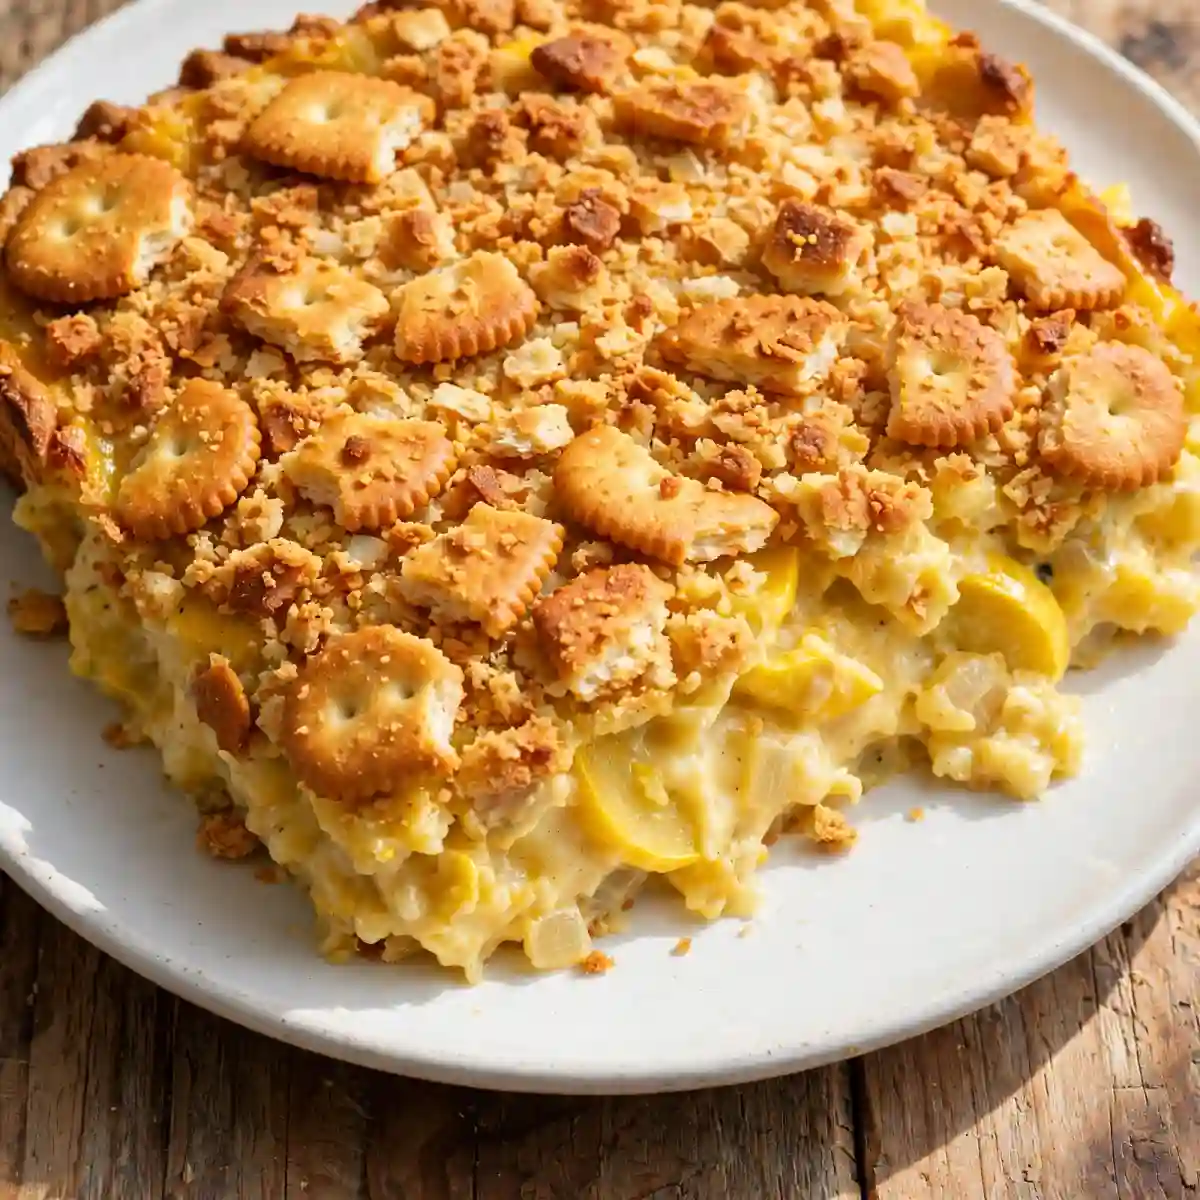
- Golden, crunchy cracker topping that holds through serving. Buttery cracker crumbs mixed with melted butter and scattered across the top toast to a genuinely crispy layer that doesn’t go soggy within minutes of leaving the oven, which is what happens when the crumb layer is too thin.
- Sharp cheddar throughout, not just on top. Cheese folded into the filling gives every bite the same richness rather than concentrating it only at the surface. The filling tastes like a proper cheesy casserole rather than seasoned squash with cheese on top.
- Feeds eight from one dish. This is a crowd-compatible side dish that holds its shape when served and doesn’t require multiple pans or complicated prep.
- Works for weeknights and holiday tables equally. The prep is 15 minutes of active cooking. The oven does the rest. It’s a practical dish that looks and tastes like you spent more effort than you did.
Ingredients You’ll Need
Recipe Timing
| Detail | Info |
|---|---|
| Servings | 8 |
| Difficulty | Easy |
| Course | Side Dish |
| Cuisine | American, Southern |
| Prep Time | 15 minutes |
| Cook Time | 45 minutes |
| Total Time | 60 minutes |
Use fresh yellow summer squash for this recipe rather than frozen. Frozen squash releases significantly more water during cooking and even thorough draining often isn’t enough to prevent a watery filling. Fresh squash gives you control over how much moisture goes into the casserole. Look for squash that feels firm and heavy for its size, with smooth, unblemished skin. Smaller squash (about 15 to 20 cm long) tend to be less watery and more flavorful than very large ones, which can be seedy and bland.
For the cracker topping, use a standard buttery round cracker. Crush them in a zip-lock bag to a medium-fine crumb; you want some texture variation rather than a uniform powder, which produces a more interesting finished crust.
For the Squash Filling:
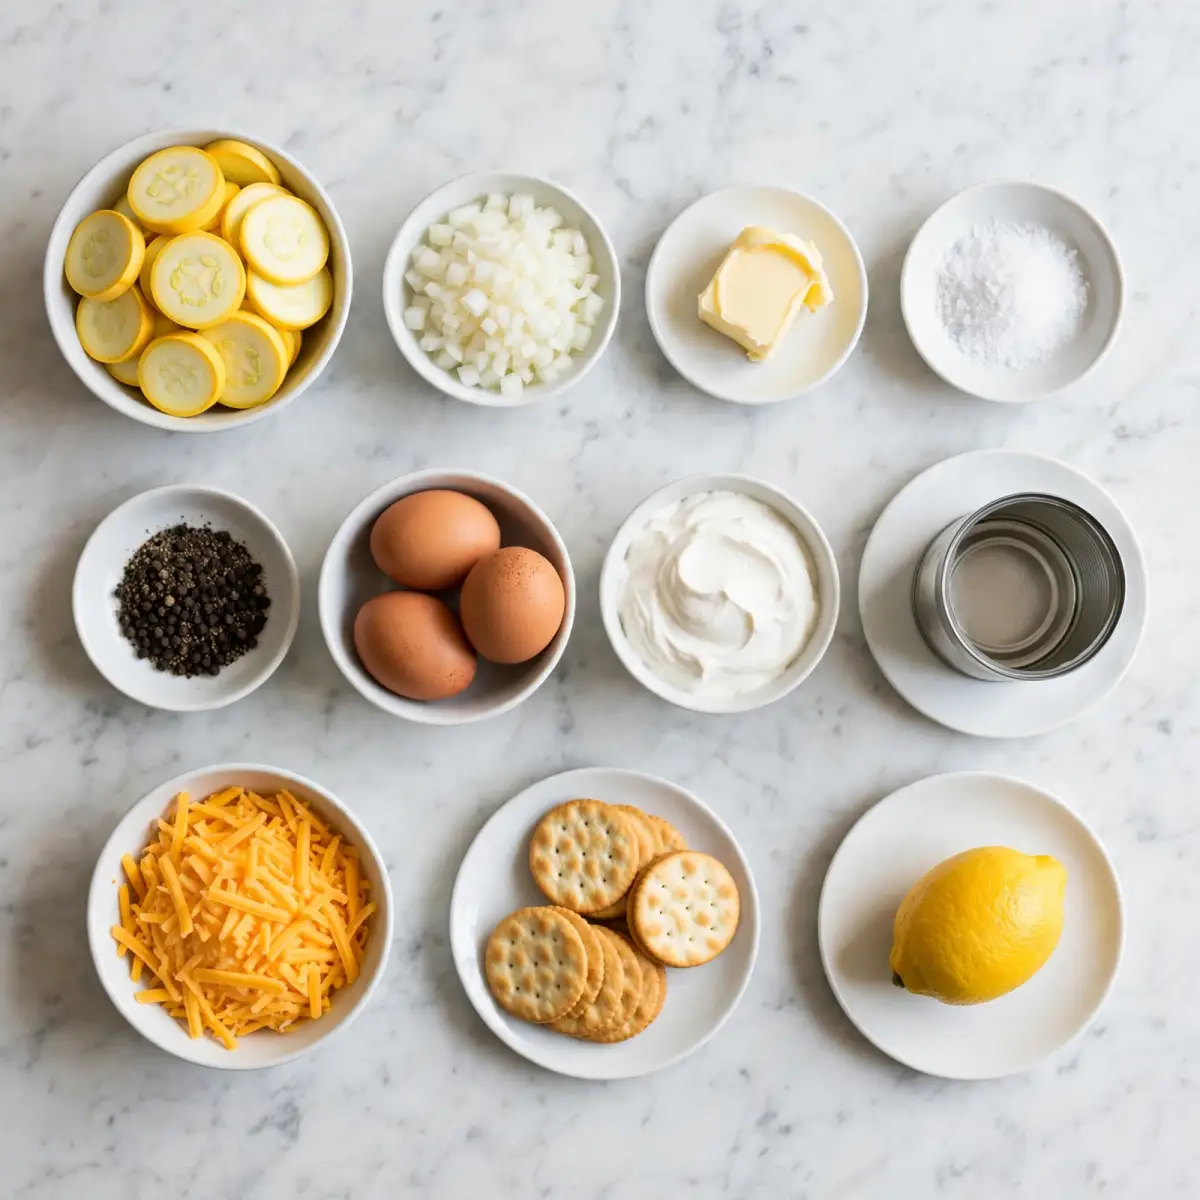
- 1 kg (about 2.2 lbs) fresh yellow summer squash, sliced into 1 cm rounds — The star of the dish. See selection notes above. If you can only find larger squash, halve the rounds before cooking so they soften evenly.
- 1 medium yellow onion, finely diced — Cooked with the squash to soften and sweeten, then drained together. The onion adds aromatic depth that keeps the filling from tasting one-dimensional.
- 2 tbsp unsalted butter — For sautéing the squash and onion. It also adds a background richness to the filling before the other dairy ingredients go in.
- 1 tsp fine salt, divided — Half goes into the squash while cooking to draw out moisture; the other half seasons the filling mixture.
- 1/2 tsp ground black pepper
For the Creamy Filling:
- 1 can (298g / 10.5 oz) condensed cream of mushroom soup, undiluted — Provides the savory, creamy backbone of the filling without requiring a from-scratch sauce. Don’t dilute it; the condensed form is intentionally thick and concentrated to handle the moisture the squash releases during baking.
- 1 cup (240g) full-fat sour cream — Adds richness, a faint tang, and body to the filling. Low-fat sour cream is thinner and makes the filling slightly looser after baking; full-fat produces a creamier, more cohesive result.
- 1 large egg, lightly beaten — Binds the filling and helps it set during baking so it holds together when served rather than slipping apart.
- 1.5 cups (150g) sharp cheddar cheese, freshly shredded, divided — 1 cup goes into the filling; the remaining 1/2 cup is scattered on top before the cracker layer. Sharp cheddar has enough flavor concentration to come through in a filling this creamy. Mild cheddar tastes flat here.
- 1/2 tsp garlic powder — Adds background depth without identifiable garlic flavor.
- 1/4 tsp smoked paprika — Contributes a subtle smokiness to the filling and adds a faint orange color that makes the finished dish look richer.
For the Cracker Topping:
- 1.5 cups (about 45 crackers) buttery round crackers, coarsely crushed — The classic topping for Southern squash casserole. Their inherent butteriness means you need less added fat than a plain breadcrumb topping would require.
- 3 tbsp unsalted butter, melted — Binds the cracker crumbs together and encourages even browning across the surface. Toss the crumbs with the melted butter until every crumb looks moistened before scattering across the casserole.
Allergen and Dietary Disclosure
This recipe contains dairy (butter, sour cream, and cheddar cheese), eggs, and gluten (buttery crackers and condensed cream of mushroom soup, which typically contains wheat starch).
For a gluten-free version, use certified gluten-free cream of mushroom soup (available from several brands) and replace the buttery crackers with an equal volume of crushed gluten-free crackers or gluten-free seasoned breadcrumbs tossed with the same amount of melted butter. Check that your cheddar cheese is also labeled gluten-free if you are managing celiac disease.
For a dairy-free version, replace the butter with a plant-based butter block, the sour cream with unsweetened coconut yogurt (the thicker, full-fat variety), and the cheddar with a dairy-free cheddar-style shred. The filling will be slightly less rich but holds together adequately with the egg still included.
For an egg-free version, omit the egg and add 2 tablespoons of plain Greek yogurt to the filling instead. The casserole will be slightly softer when scooped but the flavor is not affected.
This recipe has not been prepared in an allergen-free facility. Always verify individual product labels if you are managing a serious allergy.
Equipment Needed
- Large skillet or sauté pan — For cooking the squash and onion before they go into the casserole. A wide pan allows the squash to cook in an even layer and release its moisture more efficiently than a tall, narrow pot.
- Fine mesh strainer or colander — Essential for draining the cooked squash. A colander with large holes lets squash pieces fall through; a fine mesh strainer or one lined with paper towels retains all the squash while letting the liquid drain.
- 9×13 inch (23×33 cm) baking dish — The standard size for 8 servings at this filling volume. A smaller dish produces a thicker casserole that takes longer to heat through; a larger dish spreads the filling too thinly and dries the topping before the center is set.
- Large mixing bowl — For combining the filling ingredients before they go into the casserole dish.
- Box grater — For shredding the cheddar fresh from the block. Pre-shredded cheese contains anti-caking starch that prevents it from melting as smoothly into the filling.
Step-by-Step Directions
Step 1: Preheat the Oven and Prep the Dish
Set your oven to 180°C (350°F). Lightly grease your 9×13 baking dish with butter or cooking spray on the bottom and sides. A greased dish prevents the filling from sticking to the edges and makes serving and cleanup easier.
Step 2: Cook the Squash and Onion
Melt the butter in your large skillet over medium heat. Add the sliced squash rounds and diced onion in an even layer, then sprinkle with 1/2 teaspoon of the salt. Cook for 10 to 12 minutes, stirring occasionally, until the squash is completely tender and has released most of its moisture into the pan. The rounds should press apart easily when you press one against the side of the pan. Don’t rush this step by raising the heat; squash cooked too fast browns on the outside before the interior softens, which makes it harder to drain and produces an uneven filling texture.

Chef’s Note: The 1/2 teaspoon of salt added while the squash cooks draws moisture out of the vegetable cells through osmosis, which is exactly what you want. The goal is to get as much liquid out of the squash before it enters the casserole as possible. Moisture that stays in the squash releases during baking and can make the filling watery even if the casserole looked thick going into the oven.
Step 3: Drain the Squash Thoroughly
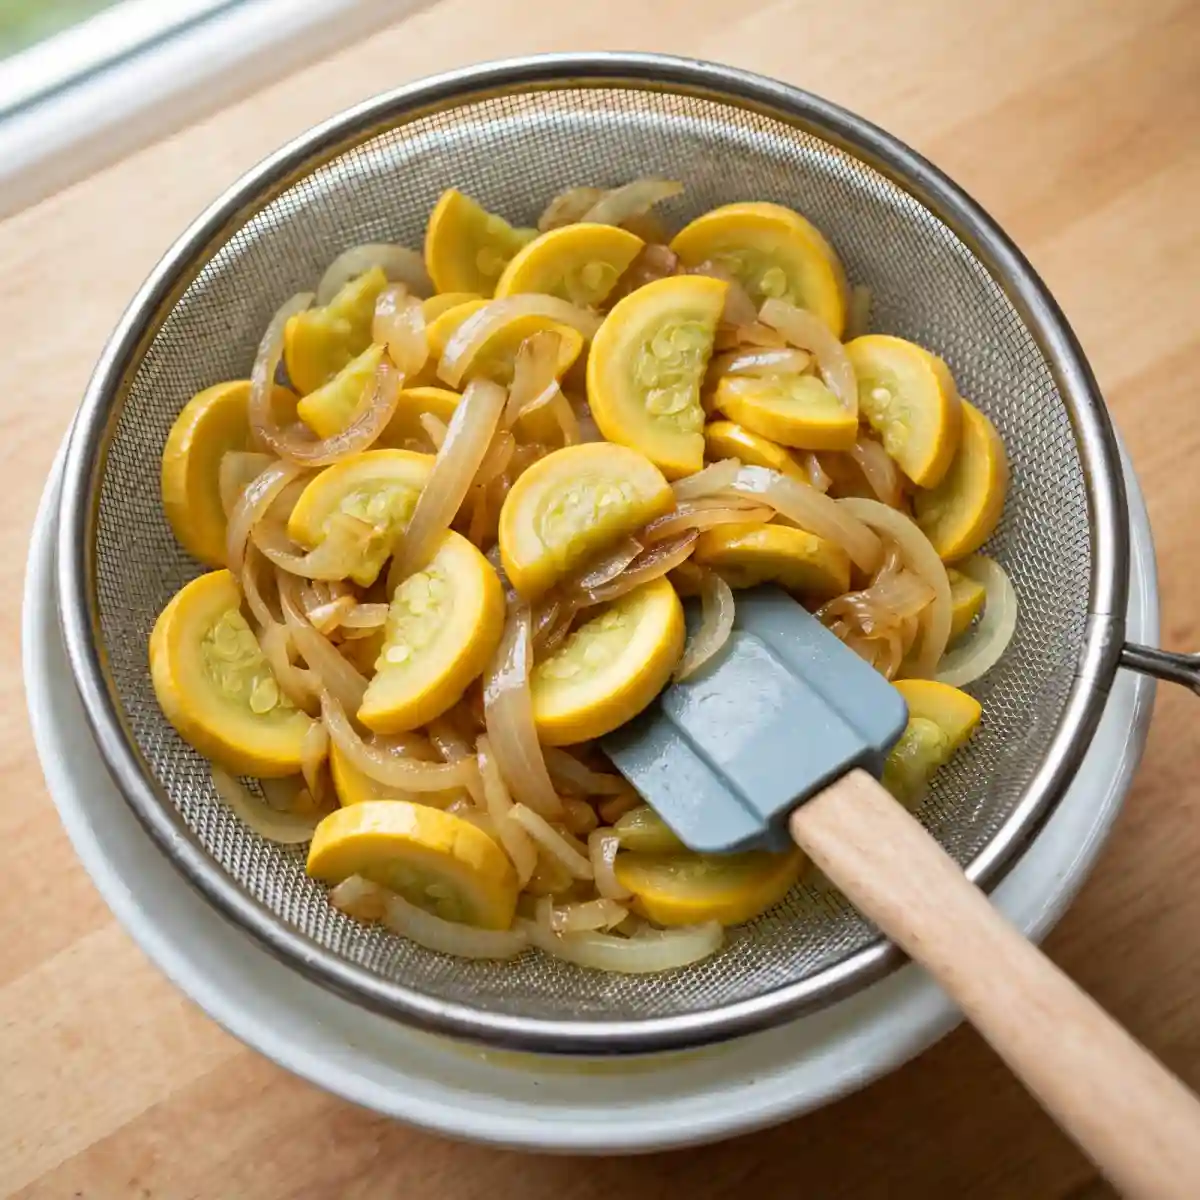
Transfer the cooked squash and onion to your fine mesh strainer set over a bowl or the sink. Let it sit and drain for 5 full minutes, pressing gently with the back of a spoon or a rubber spatula once or twice to push additional liquid through. The squash should feel noticeably drier after draining; you’ll see a significant amount of liquid in the bowl beneath it. Don’t skip or shorten this step.
Chef’s Note: I’ve tested this side by side with well-drained and lightly drained squash using the exact same filling recipe. The lightly drained version produced a visibly looser, slightly soupy filling after baking, and the cracker topping softened from the steam. The well-drained version set properly and the cracker top stayed crisp. The draining step is the single biggest determinant of whether the final casserole is creamy or watery.
Step 4: Mix the Filling
In your large mixing bowl, combine the condensed cream of mushroom soup, sour cream, beaten egg, 1 cup of the shredded cheddar, garlic powder, smoked paprika, the remaining 1/2 teaspoon of salt, and the black pepper. Stir until fully combined into a uniform, pale yellow mixture. Fold the drained squash and onion into the filling mixture with a rubber spatula until every piece of squash is coated and the filling looks evenly distributed.
Chef’s Note: Combining all the filling ingredients before adding the squash means you can fully incorporate the egg, cheese, and sour cream without having to stir around the squash vigorously, which would break the pieces into smaller fragments. A gentle fold after the base is uniform keeps the squash recognizable in the finished dish.
Step 5: Assemble the Casserole
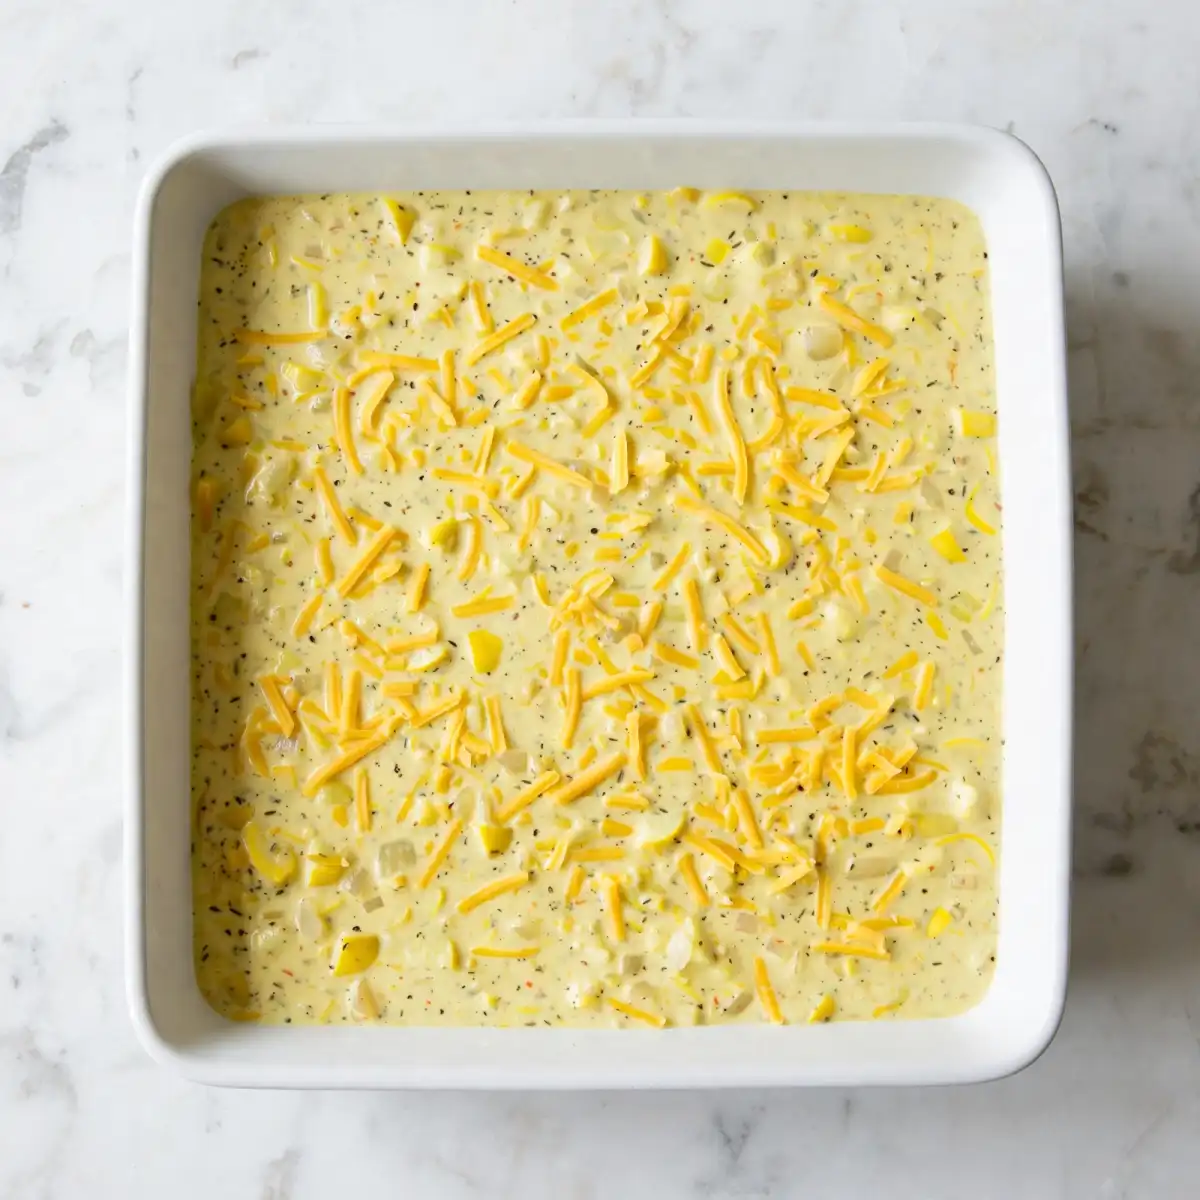
Pour the filling into the prepared baking dish and spread it evenly to all four corners with the spatula. Scatter the remaining 1/2 cup of shredded cheddar in an even layer across the filling surface. This cheese layer between the filling and the cracker topping melts during baking and creates a cohesive bond between the two, so the cracker crust doesn’t slide off the filling when you serve it.
Step 6: Add the Cracker Topping and Bake
Place the coarsely crushed cracker crumbs in a small bowl and pour the melted butter over them. Toss with a fork until every crumb looks moistened and slightly clumped. Scatter the buttered crumbs in an even, generous layer across the cheese-topped casserole, pressing down very lightly to adhere.
Bake at 180°C (350°F) for 30 to 35 minutes, uncovered, until the cracker topping is a deep golden brown across the full surface, the edges are bubbling actively, and a knife inserted into the center of the filling comes out hot to the touch rather than cool. If the topping browns fully before the 30-minute mark, check the filling temperature; if it isn’t bubbling at the edges yet, loosely tent a piece of foil over the dish and continue baking.
Step 7: Rest Before Serving
Remove the casserole from the oven and allow it to sit uncovered for 5 to 8 minutes before scooping. The filling is very hot and still slightly loose immediately out of the oven; the brief rest gives it time to set around the squash pieces so each serving holds together on the plate rather than spreading into a soft mound.
Common Mistakes and Troubleshooting
| Problem | Cause | Solution |
|---|---|---|
| Filling is watery and loose | Squash wasn’t cooked long enough to release moisture, or wasn’t drained thoroughly | Cook squash until completely tender and drain for a full 5 minutes, pressing with a spatula to push out as much liquid as possible. Never rush the draining step. |
| Cracker topping is soggy rather than crispy | Squash moisture steamed up through the topping, or butter wasn’t used to coat the crumbs | Drain squash thoroughly. Make sure every cracker crumb is coated in melted butter before scattering; dry crumbs absorb moisture from the filling instead of crisping. |
| Filling looks curdled or broken | Egg was added to filling that was too warm, or sour cream split during baking | Let cooked squash cool for 5 minutes before mixing into the filling. If the filling is already assembled and looks slightly broken, it will re-emulsify during baking; this is usually not a problem in the finished dish. |
| Casserole is browned on top but cold in the center | Oven not fully preheated, or dish was very cold from the refrigerator | Always start with a fully preheated oven. If baking from cold refrigerator temperature, add 10 minutes to the bake time and cover for the first 20 minutes to bring the center up to temperature. |
| Cheese on top is burnt before the filling is done | Oven temperature too high for the cheese layer | Keep the oven at 180°C (350°F), no higher. If the cheese is browning too fast in the first 20 minutes, loosely tent with foil and remove it for the final 10 to 15 minutes. |
Variations and Substitutions
Zucchini Squash Casserole: Replace half the yellow squash with an equal weight of zucchini, sliced to the same 1 cm thickness and cooked together. The color contrast between the yellow and green squash in the finished filling is visually appealing, and the flavor is very similar. Zucchini releases slightly more water than yellow squash, so drain for an extra 2 minutes.
Loaded Squash Casserole: Stir 1/2 cup of diced roasted red peppers (jarred, patted dry) and 1 teaspoon of dried Italian herb blend into the filling base before adding the squash. The peppers add sweetness, color, and a faint roasted depth that works well alongside the cheddar and cream base.
Spicy Version: Add 1/4 teaspoon of cayenne pepper and 2 finely diced jalapeños (seeds removed for mild heat) to the skillet with the squash while it cooks. Swap the sharp cheddar in the filling for a pepper jack-style dairy alternative or pepper-seasoned cheddar for double heat.
From-Scratch Cream Sauce: Replace the condensed cream of mushroom soup with a homemade béchamel: melt 2 tablespoons of butter, whisk in 2 tablespoons of flour, then slowly add 1 cup of whole milk, stirring constantly over medium heat until the sauce thickens to a condensed-soup consistency. Season with salt, pepper, and 1/4 teaspoon of onion powder. The flavor is cleaner and slightly less sodium-heavy than the canned version.
Gluten-Free Version: Use certified gluten-free cream of mushroom soup and replace the buttery crackers with an equal volume of gluten-free crackers or gluten-free seasoned breadcrumbs tossed with the same 3 tablespoons of melted butter. The topping will be slightly lighter in color but still crispy.
Serving Suggestions
- Serve alongside roasted or grilled chicken as a vegetable side that’s substantial enough to anchor the plate. The creamy, cheesy filling pairs with leaner proteins particularly well by adding richness the main course doesn’t always provide.
- Bring to a potluck or holiday spread as a casserole that holds its temperature well and doesn’t need last-minute attention at the stove. It stays warm in the dish for 30 to 40 minutes after coming out of the oven.
- Pair with a simple green salad dressed with lemon vinaigrette. The acidity of the dressing cuts through the richness of the cream filling in the same meal without competing with it.
- Serve as the main dish for a vegetarian dinner alongside cornbread and a side of braised green beans. The egg and cheese in the filling make it substantial enough to work as a complete meal for smaller appetites.
- Offer at Thanksgiving or Christmas dinner as a vegetable casserole option that appeals to both children (who often accept cheese-topped dishes) and adults. It reheats cleanly if the holiday timing gets complicated.
Tips for the Best Results
Drain the squash longer than feels necessary. Five full minutes of draining with active pressing removes most of the water that would otherwise turn the filling loose during baking. If you have time, spread the drained squash on a layer of paper towels for another 2 minutes before mixing it into the filling. The filling that goes into the dish should feel thick, not wet.
Shred the cheddar fresh. Pre-shredded cheddar from a bag melts adequately but not as smoothly as freshly grated block cheese, because it’s coated in starch to prevent clumping in the bag. Freshly shredded cheddar melts into the filling more evenly and produces a more cohesive, creamy texture throughout.
Butter every cracker crumb before topping. Tossing the crumbs with melted butter until every piece looks slightly moistened and slightly clumped produces a topping that crisps evenly across the surface. Dry crumbs on top of a wet filling absorb moisture from below rather than crisping from the oven heat above, and you end up with a soft rather than crunchy top layer.
Don’t dilute the condensed soup. The recipe uses it straight from the can in its thick, condensed form. Diluting it with water or milk thins the entire filling base and makes the texture looser than intended. The sour cream and squash moisture together provide all the liquid the filling needs.
Let the casserole rest. It’s tempting to scoop right out of the oven when the cracker top is golden and the cheese is bubbling. Giving it 5 to 8 minutes off the heat lets the filling set so each serving lifts cleanly from the dish rather than spreading across the plate.
Storage Tips
Refrigerator
Cool the casserole completely before covering tightly with plastic wrap or transferring portions to airtight containers. It keeps well in the refrigerator for up to 4 days. The cracker topping softens overnight as it absorbs moisture from the filling, which is expected; reheating in the oven rather than the microwave restores some crispness to the top.
Freezer
Squash casserole can be frozen, though the texture of the squash changes slightly after thawing since the vegetable cell walls break down during freezing. For the best result, freeze the casserole before baking: assemble fully through the cracker topping stage, cover tightly with two layers of plastic wrap followed by aluminum foil, and freeze for up to 2 months. Bake from frozen at 180°C (350°F) covered with foil for 40 minutes, then uncover for 20 to 25 minutes until the topping is golden and the filling is bubbling. Baked and frozen portions thaw overnight in the fridge and reheat adequately but the cracker top won’t regain full crispness.
Reheating
For the best reheated texture, place a portion in a small oven-safe dish, cover with foil, and bake at 180°C (350°F) for 15 minutes, then uncover for 5 more minutes to re-crisp the cracker top. Microwave reheating works for convenience: 2 to 3 minutes at 70% power with a damp paper towel loosely covering the container to prevent drying. The microwave version heats evenly but won’t restore any crispness to the cracker layer.
Make-Ahead Note: You can fully assemble the casserole, cover it tightly, and refrigerate it for up to 24 hours before baking. When baking from cold, add 10 minutes to the bake time. This makes it one of the most practical make-ahead options for holiday meals where oven space and timing are both constrained.
Nutrition Information
Per serving, based on 8 servings. Values are approximate.
| Nutrient | Amount |
|---|---|
| Calories | 290 kcal |
| Protein | 9g |
| Carbohydrates | 22g |
| Fiber | 2g |
| Sugar | 5g |
| Total Fat | 19g |
| Saturated Fat | 10g |
| Cholesterol | 65mg |
| Sodium | 680mg |
| Potassium | 390mg |
| Calcium | 185mg |
| Iron | 1.1mg |
| Vitamin C | 20mg |
Nutrition values are approximate and may vary based on brands and portion sizes.
Why This Recipe Works
The challenge with squash casserole is a vegetable that is mostly water. Yellow summer squash is about 94% water by weight, which is higher than most vegetables used in casseroles. If that water isn’t extracted before the casserole goes into the oven, it releases into the filling during baking and the dish comes out as a creamy soup with squash floating in it rather than a cohesive casserole that holds its shape when served.
The two-step moisture extraction in this recipe (cooking with salt to draw out moisture, then actively draining) addresses this directly and from both angles. The salt during cooking triggers osmosis, pulling intracellular moisture out of the squash tissue and into the pan. The five-minute draining with active pressing then removes that surface and extracellular moisture before it goes into the filling. These two steps together can remove 60 to 80 ml of liquid from one kilogram of squash, which is a meaningful amount relative to the overall filling volume.
The condensed cream of mushroom soup is thick enough to absorb a small amount of residual moisture from the squash during baking without breaking down. A thinner sauce or a homemade béchamel at the same volume would need to be significantly reduced before use to perform the same function. The condensed soup’s viscosity is part of why the filling sets the way it does.
The cracker topping technique, buttering every crumb before it touches the dish, is the difference between a topping that crisps from the top down (by oven heat drying the surface) and one that absorbs moisture from the bottom up (from filling steam). Buttered crumbs are hydrophobic enough to resist moisture from below while still browning from the radiant heat above. Dry crumbs don’t have this protection.
The double cheese layer (one cup folded into the filling, half a cup scattered on top before the crackers) creates a structural seal between the creamy filling and the cracker crust. The top cheese layer melts during baking and bonds the cracker crumbs to the filling surface, preventing the topping from sliding when the casserole is scooped and plated.
Frequently Asked Questions
Can I make squash casserole the day before?
Yes, and it’s one of the most practical side dishes to make ahead. Assemble the casserole fully through the cracker topping step, cover tightly with plastic wrap, and refrigerate for up to 24 hours. When ready to bake, remove the plastic wrap and add 10 minutes to the bake time since the dish starts from a cold refrigerator temperature. The finished casserole tastes identical to one made and baked fresh the same day.
Why is my squash casserole watery?
Insufficient moisture extraction from the squash before baking is the cause in almost every case. The squash must be cooked until completely tender and then drained for a full 5 minutes with active pressing. If you’re still getting a watery result, try spreading the drained squash on paper towels and pressing gently for 2 extra minutes before mixing into the filling. Also check that you’re using the condensed cream of mushroom soup undiluted, since diluting it removes the thickening capacity.
Can I use zucchini instead of yellow squash?
Yes. Zucchini works directly in this recipe at the same weight and thickness. It releases slightly more water than yellow squash, so drain it for 2 additional minutes. The flavor is very similar; the most noticeable difference is the color in the finished filling, which will be slightly greener. A combination of yellow squash and zucchini is also a good option and produces a visually appealing filling.
What can I use instead of cream of mushroom soup?
The closest substitution is a homemade béchamel thickened to roughly the same consistency as condensed soup: melt 2 tablespoons of butter, whisk in 2 tablespoons of flour, add 1 cup of whole milk, and stir over medium heat until thick enough to coat the back of a spoon heavily. Season with salt and 1/4 teaspoon of onion powder. Cool slightly before mixing into the filling. Condensed cream of chicken soup is also a direct substitute at the same quantity with a slightly different flavor profile.
How do I know when the squash casserole is done?
Look for three things simultaneously: a deep, uniform golden brown across the cracker topping surface, active bubbling at the edges of the filling visible around the perimeter of the dish, and a knife or thin skewer inserted into the center that comes out feeling hot when held briefly to the back of your hand. If any of these three are missing, the casserole needs more time. The topping may look done before the center is fully heated; cover with foil for the remaining time if that happens.
Can I make this casserole gluten-free?
Yes. Replace the condensed cream of mushroom soup with a certified gluten-free version (check the label specifically since many standard versions contain wheat starch) and use an equal volume of crushed gluten-free crackers tossed with the same 3 tablespoons of melted butter. Verify that your cheddar and sour cream are also labeled gluten-free if you are managing celiac disease. The rest of the recipe requires no changes.
Can I use dried cracker crumbs instead of whole crackers I crush myself?
Pre-made dried breadcrumbs don’t replicate the flavor or texture of buttered cracker crumbs; they produce a denser, less flavorful topping without the inherent butteriness that makes the classic casserole top so distinctive. If crackers aren’t available, the closest alternative is coarsely crushed Melba toast or any lightly salted round cracker, all tossed with the same 3 tablespoons of melted butter.
Conclusion
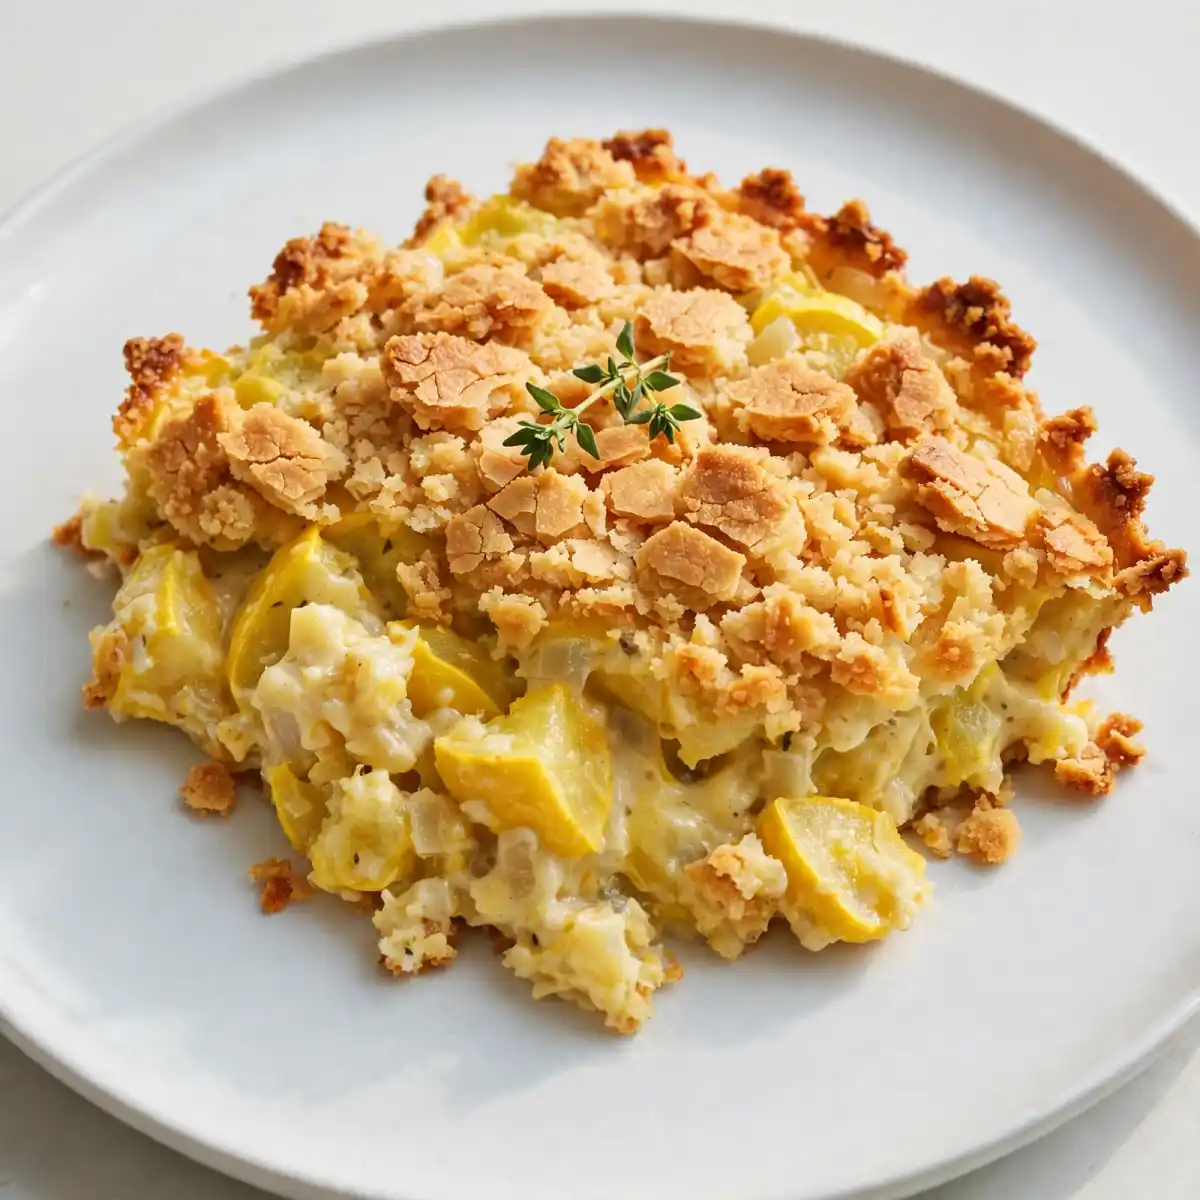
Squash casserole is one of those recipes where the technique matters more than the ingredient list. The squash is cheap and widely available; the other ingredients are pantry staples. What separates a properly made squash casserole from one that disappoints is understanding that summer squash carries more water than almost any other vegetable that goes into a casserole dish, and that water needs to come out before the filling is assembled, not during baking.
Drain it well, butter the cracker crumbs, use full-fat sour cream and sharp cheddar, and give the dish a proper rest after the oven. That combination produces a squash casserole that holds its shape, tastes genuinely rich, and earns a spot on any table it appears on.
If you loved this recipe, save it to your Southern side dish recipes Pinterest board so you can find it easily later. For more same recipes follow Thecookingvibes Pinterest account.
Southern Squash Casserole
Ingredients
Equipment
Method
- Preheat oven to 180°C (350°F). Lightly grease a 9×13 inch baking dish.
- Melt butter in a large skillet over medium heat. Add squash rounds and diced onion. Sprinkle with 1/2 teaspoon salt. Cook for 10 to 12 minutes, stirring occasionally, until squash is completely tender and has released its moisture.
- Transfer the cooked squash and onion to a fine mesh strainer set over a bowl. Drain for 5 full minutes, pressing with a spatula to push out as much liquid as possible. Set aside.
- In a large mixing bowl, combine the condensed cream of mushroom soup, sour cream, beaten egg, 1 cup of the shredded cheddar, garlic powder, smoked paprika, the remaining 1/2 teaspoon of salt, and black pepper. Stir until uniform. Gently fold in the drained squash and onion.
- Pour the filling into the prepared baking dish and spread evenly. Scatter the remaining 1/2 cup of cheddar across the surface.
- In a small bowl, toss the crushed cracker crumbs with the melted butter until every crumb looks moistened. Scatter evenly across the cheese layer.
- Bake uncovered at 180°C (350°F) for 30 to 35 minutes until the cracker topping is deep golden brown and the filling is bubbling at the edges. Rest for 5 to 8 minutes before serving.
Notes
- Drain the cooked squash for a full 5 minutes with active pressing. Insufficient draining is the most common reason this casserole turns watery.
- Use the condensed soup straight from the can, undiluted. Diluting it makes the filling too loose.
- Butter every cracker crumb before topping. Unbuttered crumbs absorb moisture from below rather than crisping from the oven heat.
- To make ahead: assemble fully, cover, and refrigerate for up to 24 hours. Add 10 minutes to the bake time when starting from cold.