Fudgy Sweet Potato Brownies (Rich, Dense, One Bowl)
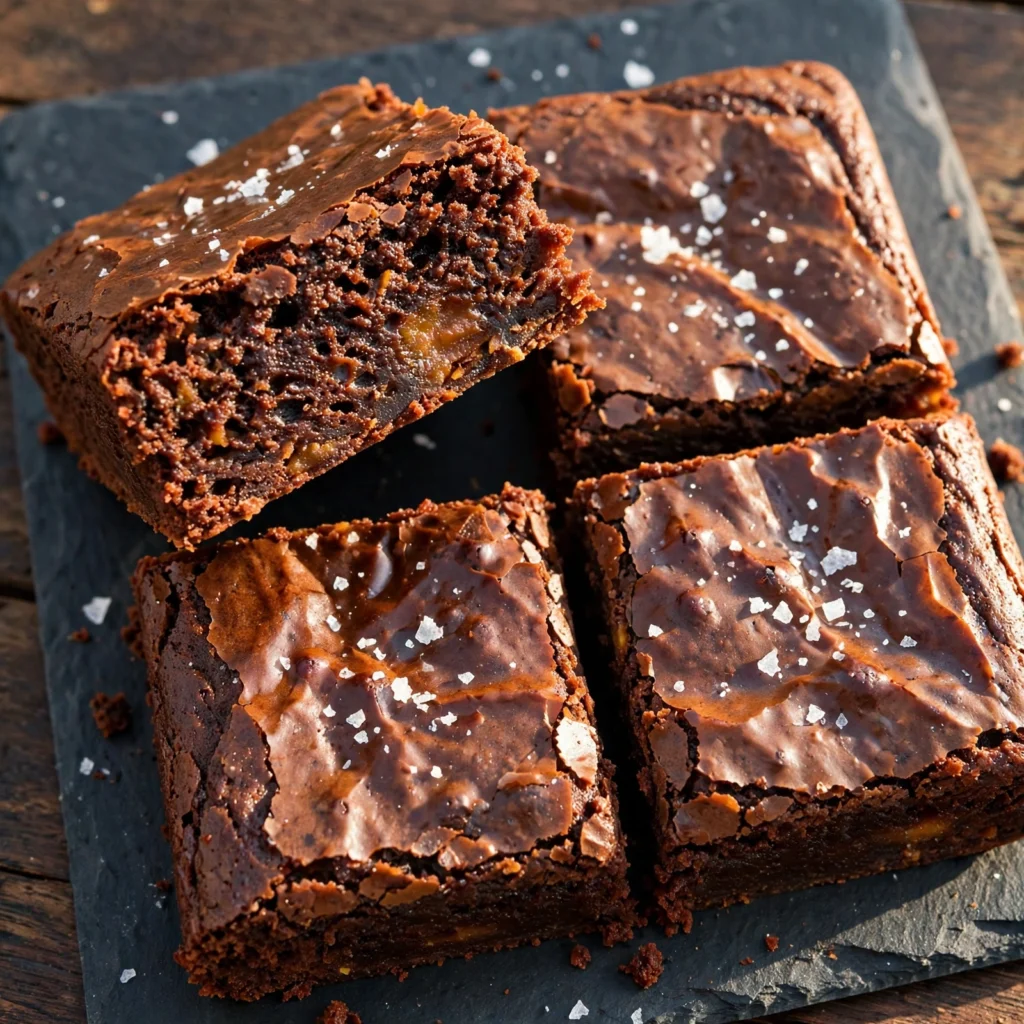
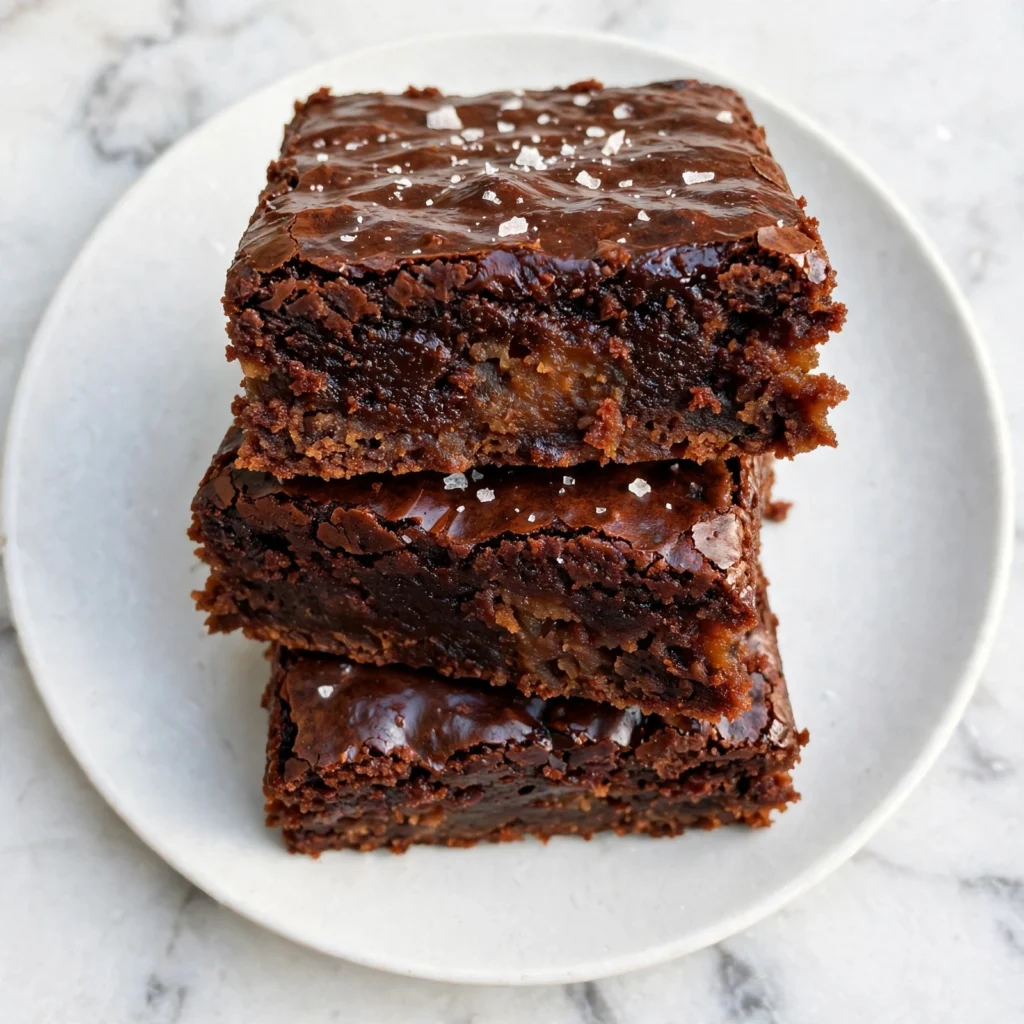
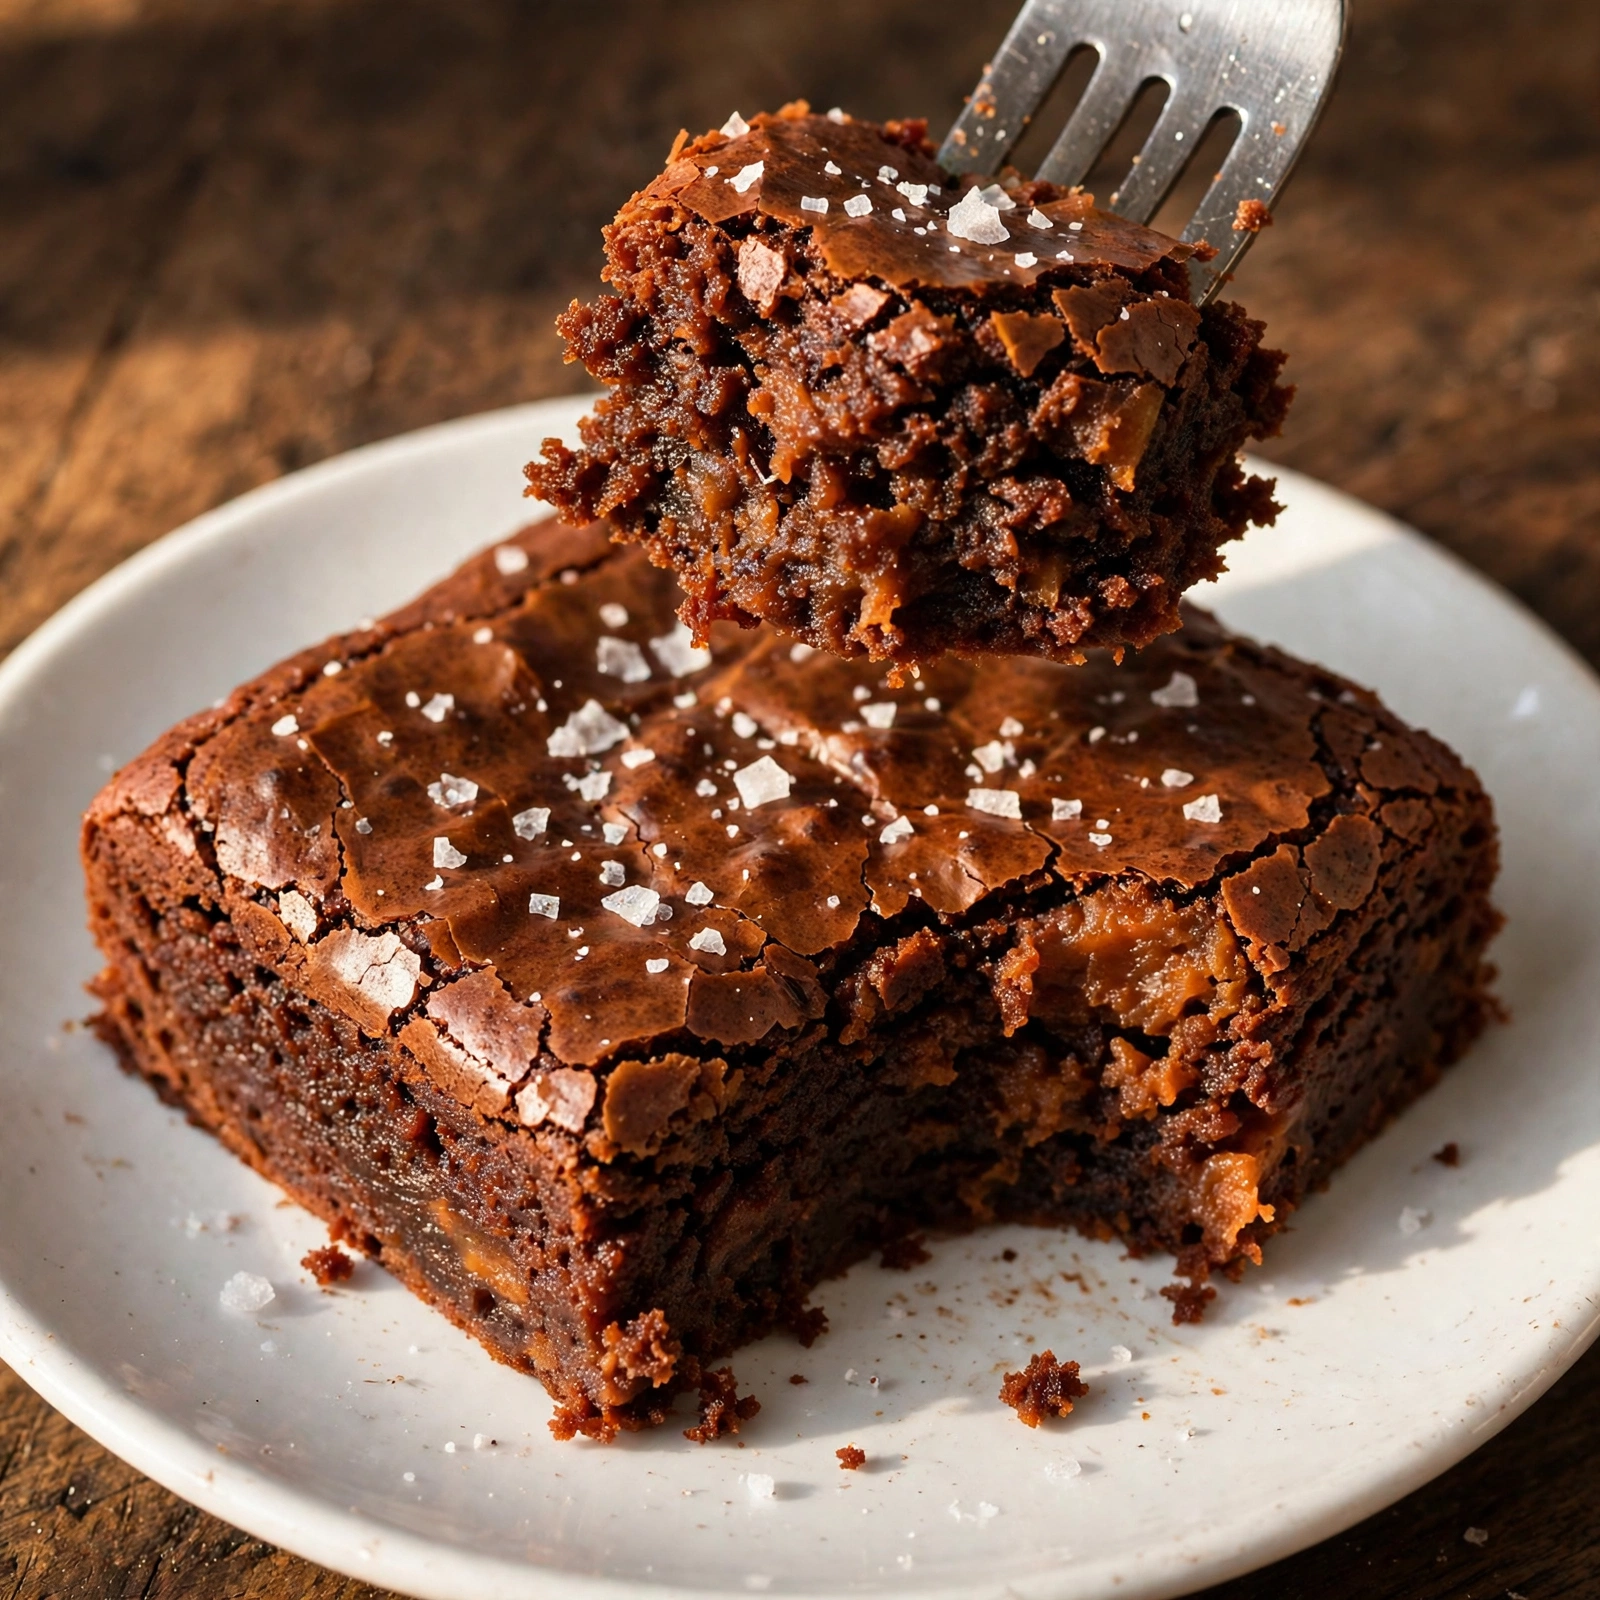
Pull a tray of sweet potato brownies from the oven and press the center lightly: it should give slightly under your finger and spring back slowly, which tells you the inside is set but not dry. Let them cool completely in the pan and the texture transforms: the edges firm up, the center densifies into something almost fudge-like, and the flavor deepens into a chocolate richness that is genuinely hard to believe came from a vegetable. Nobody identifies the sweet potato when they eat it. They just say the brownie is unusually moist.
This sweet potato brownies recipe uses cooked, mashed sweet potato as both a binding agent and a moisture source, replacing most of the flour and all of the oil that a conventional brownie recipe requires. Dark chocolate melted directly into the batter provides depth, cocoa powder adds intensity, and a small amount of coconut sugar or regular brown sugar rounds out the sweetness. One bowl, no electric mixer, and the whole recipe is ready in 45 minutes. They are naturally gluten-free when made with the right flour swap, and genuinely satisfying as a snack or dessert without tasting like a health compromise.
Why You’ll Love These Sweet Potato Brownies
- The texture is genuinely fudgy, not cakey. Mashed sweet potato adds dense, sticky moisture that conventional brownies get from oil and excess butter. The result is a brownie that holds together firmly when cut and yields slowly under a fork, which is exactly what fudgy means.
- One bowl, no mixer, minimal cleanup. Melt the chocolate, stir in the remaining ingredients in the same bowl, pour into the pan. There is no creaming, no separate wet and dry bowl, and no equipment beyond a saucepan, a bowl, and a spatula.
- The sweet potato is completely undetectable. Once baked into a chocolate batter with dark chocolate, cocoa, and vanilla, the sweet potato contributes moisture and binding without any identifiable flavor or texture. People who do not know it is there will not find it.
- Naturally lower in refined ingredients. Compared to a standard brownie, this recipe uses significantly less butter, no additional oil, and less flour because the sweet potato handles the roles those ingredients typically play. The result feels less heavy without tasting compromised.
- Naturally gluten-free with one swap. Replace the flour with a certified gluten-free 1:1 baking flour or oat flour and the recipe adapts completely. The sweet potato and melted chocolate handle the structure so the gluten-free swap changes almost nothing about the finished texture.
Ingredients You’ll Need
Recipe Timing
| Detail | Info |
|---|---|
| Servings | 16 brownies |
| Difficulty | Easy |
| Course | Dessert, Snack |
| Cuisine | American |
| Prep Time | 15 minutes |
| Cook Time | 25 minutes |
| Cooling Time | 20 minutes |
| Total Time | 45 minutes (plus 20 minutes cooling before cutting) |
The most important ingredient in this recipe is the sweet potato, and specifically its preparation. The sweet potato must be cooked until completely soft all the way through and then mashed until completely smooth with no lumps. Lumps of sweet potato in the batter create soft spots in the finished brownie that don’t have the same fudgy, cohesive texture as the rest of the batch. Roasting the sweet potato (rather than boiling it) produces a drier, more concentrated mash that distributes through the batter more evenly. A medium-large sweet potato roasted in its skin at 200°C (400°F) for 45 to 50 minutes, then scooped out and mashed, gives exactly the right consistency. Boiling works too but requires draining and drying the mash with paper towels afterward.
For the chocolate, use dark chocolate with a cocoa content between 70% and 80%. Lower percentage chocolate makes the brownies too sweet and produces a softer, less defined flavor. Above 80%, the bitterness can become too pronounced once baked. A good 70% dark chocolate bar chopped into small pieces melts faster and more evenly than chocolate chips, which contain stabilizers that prevent clean melting.
For the flour, this recipe uses just 2 tablespoons of flour as a minimal structural binder. All-purpose flour works well. For a gluten-free version, substitute a certified gluten-free 1:1 baking flour or fine oat flour in the same amount.
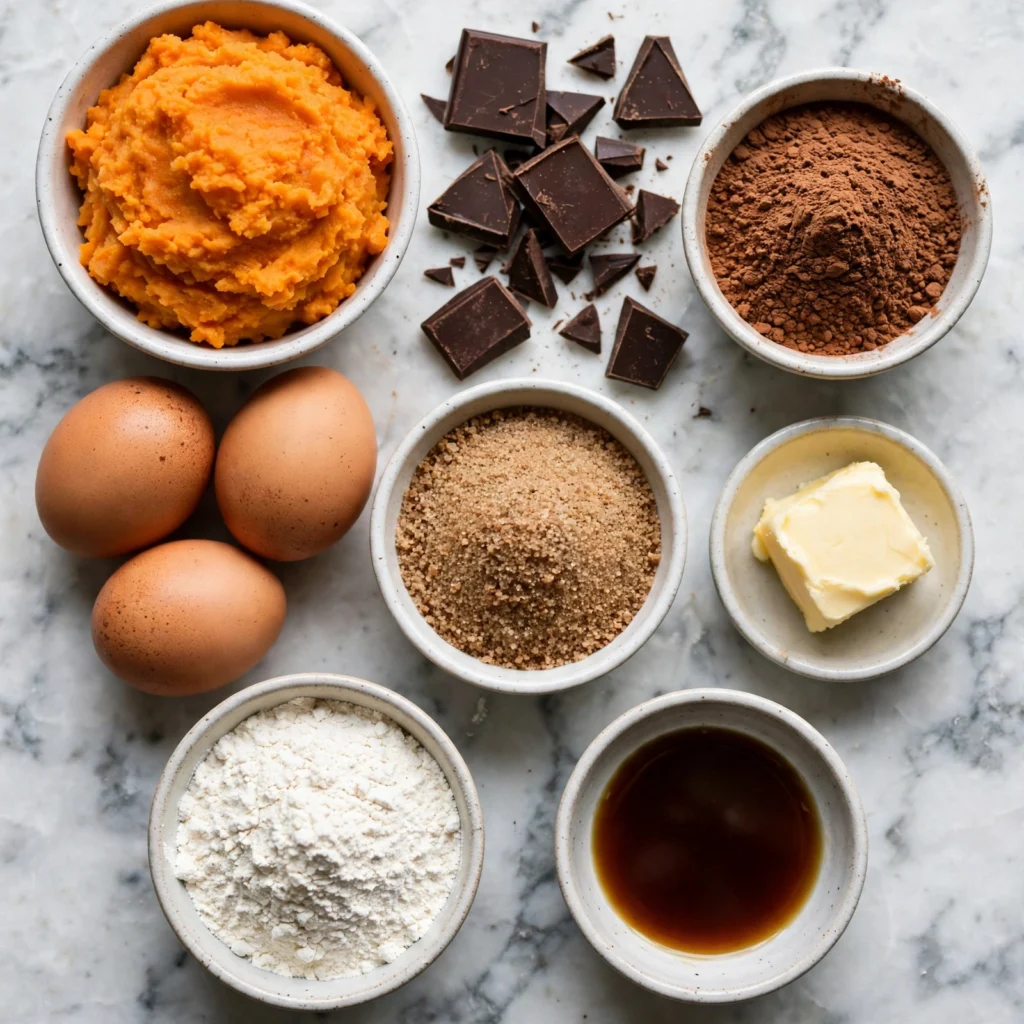
- 1 cup (245g) mashed sweet potato (from approximately 1 medium-large sweet potato). The primary moisture and binding agent. Must be smooth, lump-free, and cooled before use. Warm or hot mash will melt the chocolate prematurely if combined directly.
- 150g (5 oz) dark chocolate (70% cocoa), roughly chopped. Melted and stirred into the batter as the primary chocolate base. Use a bar rather than chips for cleaner melting.
- 3 tablespoons (45g) unsalted butter. Melted with the chocolate to add richness. Three tablespoons is significantly less than a standard brownie recipe uses, which is intentional: the sweet potato handles the moisture and fat role that butter alone would otherwise need to cover.
- 3/4 cup (150g) coconut sugar or light brown sugar. Sweetens the batter. Coconut sugar gives a slightly more caramelized, less sweet flavor that complements the dark chocolate well. Light brown sugar produces a more familiar brownie sweetness. Both work in the same quantity.
- 2 large eggs, at room temperature. Provide structure and hold the batter together during baking. Room-temperature eggs incorporate more smoothly into the warm chocolate mixture than cold eggs, which can seize the melted chocolate.
- 1 teaspoon pure vanilla extract. Rounds out the chocolate flavor and adds a warm aromatic note.
- 1/3 cup (35g) Dutch-process cocoa powder, sifted. Adds an additional layer of chocolate intensity beyond what the melted bar provides. Dutch-process cocoa is less acidic and deeper in color than natural cocoa, producing a richer, darker brownie.
- 2 tablespoons (15g) all-purpose flour (or gluten-free 1:1 flour). A minimal amount provides just enough structure to hold the brownies together through baking and cooling without making the texture cakey.
- 1/4 teaspoon fine sea salt. Balances the sweetness and sharpens the chocolate flavor throughout.
- 1/4 teaspoon baking powder. A very small amount promotes an even rise so the center sets at the same rate as the edges.
- Flaky sea salt, for topping (optional but recommended). Scattered over the surface just before baking, it creates a salt-chocolate contrast in every bite that makes the brownies taste more complex.
Allergen and Dietary Disclosure
This recipe contains dairy (unsalted butter) and eggs. As written with all-purpose flour, it also contains gluten.
For a gluten-free version, replace the all-purpose flour with an equal amount of certified gluten-free 1:1 baking flour or fine oat flour. The small quantity used (2 tablespoons) means the swap changes almost nothing about the finished texture.
For a dairy-free version, replace the unsalted butter with an equal amount of refined coconut oil (solid at room temperature, melted before use). The brownies will have a very faint coconut note in the background but the dark chocolate flavor is strong enough to make it barely detectable.
For a vegan version, replace the eggs with 2 flax eggs (2 tablespoons ground flaxseed mixed with 6 tablespoons water, rested 5 minutes until gel-like before use). The brownies will be slightly less structured and may need an extra 3 to 5 minutes of baking time, but they set well due to the binding properties of the sweet potato.
Free from nuts and soy as written. Not guaranteed safe for any specific allergy without checking all individual ingredient labels, particularly the dark chocolate, which is often processed in facilities that handle nuts and dairy.
Step-by-Step Directions
Step 1: Prepare the Sweet Potato Mash
If roasting: pierce the sweet potato several times with a fork and bake whole in its skin at 200°C (400°F) for 45 to 50 minutes until the flesh is completely soft when pressed through the skin and a knife meets no resistance. Scoop the flesh into a bowl and mash thoroughly until completely smooth. If boiling: peel and cube the sweet potato, boil for 15 to 18 minutes until the pieces collapse under a fork, drain thoroughly, and spread onto paper towels to absorb excess moisture before mashing. You need exactly 1 cup (245g) of smooth, dry mash. Cool the mash completely before using: warm mash added to melted chocolate causes premature re-solidification and an uneven batter.

Chef’s Note: Roasting produces a noticeably more flavorful and drier sweet potato mash than boiling. The oven heat caramelizes the natural sugars in the flesh and evaporates internal moisture simultaneously, while boiling adds water that must be actively removed afterward. For a brownie that needs the mash to integrate invisibly into a chocolate batter, drier and more concentrated is always better.
Step 2: Melt the Chocolate and Butter
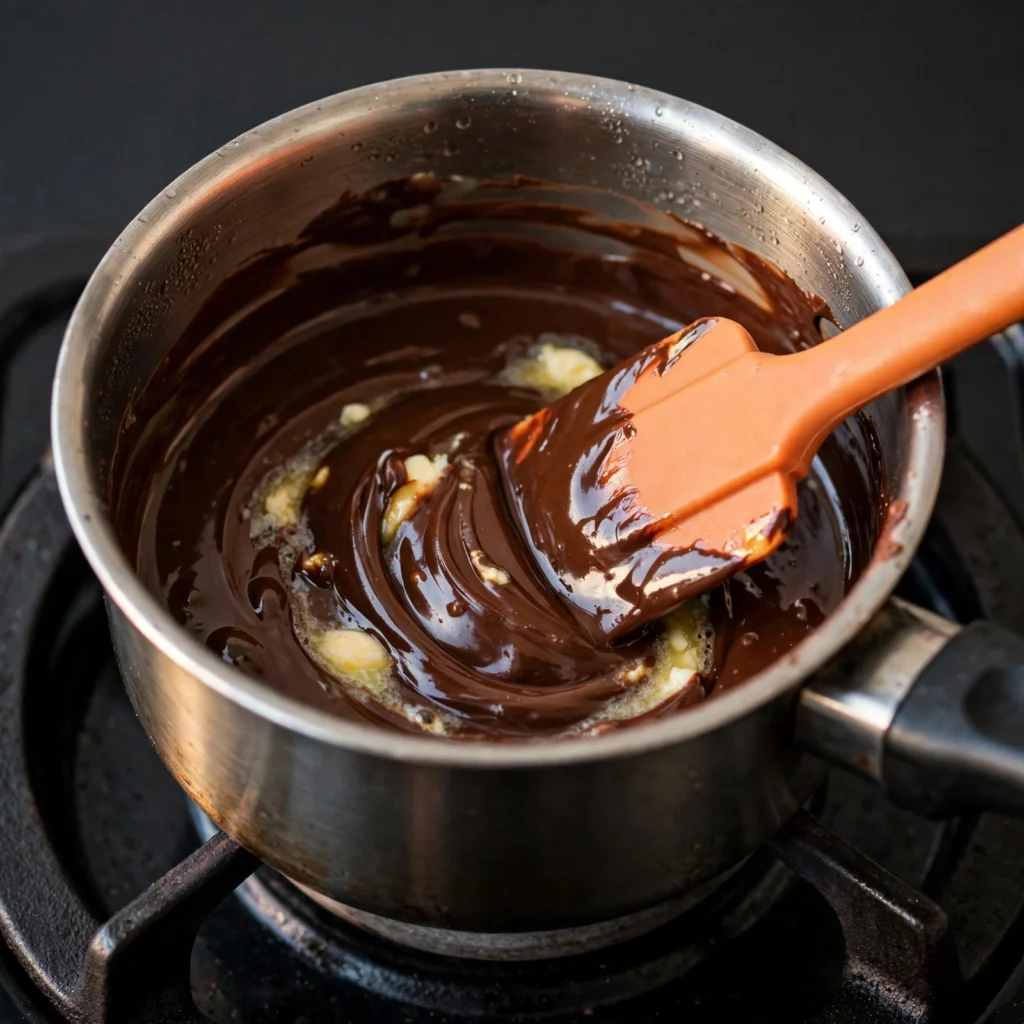
Place the chopped dark chocolate and butter together in a medium heatproof bowl. Set the bowl over a small saucepan of barely simmering water, making sure the bottom of the bowl does not touch the water surface. Stir slowly and continuously until the chocolate melts completely into the butter and the mixture is smooth, glossy, and uniform in color, about 3 to 4 minutes. Remove from the heat and leave the mixture to cool for 5 minutes before continuing. Adding other ingredients to chocolate that is too hot can partially cook the eggs in the next step.
Chef’s Note: The double boiler method (bowl over simmering water) gives you more control than the microwave because you can see and feel exactly when the chocolate is melted and can remove it from the heat immediately. Chocolate scorched in the microwave has a grainy, slightly bitter quality that carries through to the finished brownie.
Step 3: Add Sugar and Eggs to the Chocolate
Pour the sugar into the cooled melted chocolate and stir until fully incorporated: the mixture will look slightly grainy at this point, which is normal. Add the eggs one at a time, stirring vigorously after each addition until completely absorbed before adding the next. The batter should become noticeably smoother and slightly shinier after each egg is incorporated. Stir in the vanilla extract.
Chef’s Note: Adding eggs one at a time rather than both together gives each egg time to fully emulsify into the chocolate mixture. When both eggs go in at once, they can form a pool that the chocolate struggles to absorb evenly, which creates an uneven batter texture before the dry ingredients even go in.
Step 4: Fold in the Sweet Potato Mash
Add the cooled, smooth sweet potato mash to the chocolate mixture. Stir firmly with a rubber spatula, working in circular motions, until the mash is completely incorporated and no orange streaks remain visible against the dark chocolate batter. The combined mixture should look like a very dark, slightly thick chocolate paste. This step takes about 60 seconds of active stirring to achieve a fully uniform color throughout.
Step 5: Add Dry Ingredients and Combine
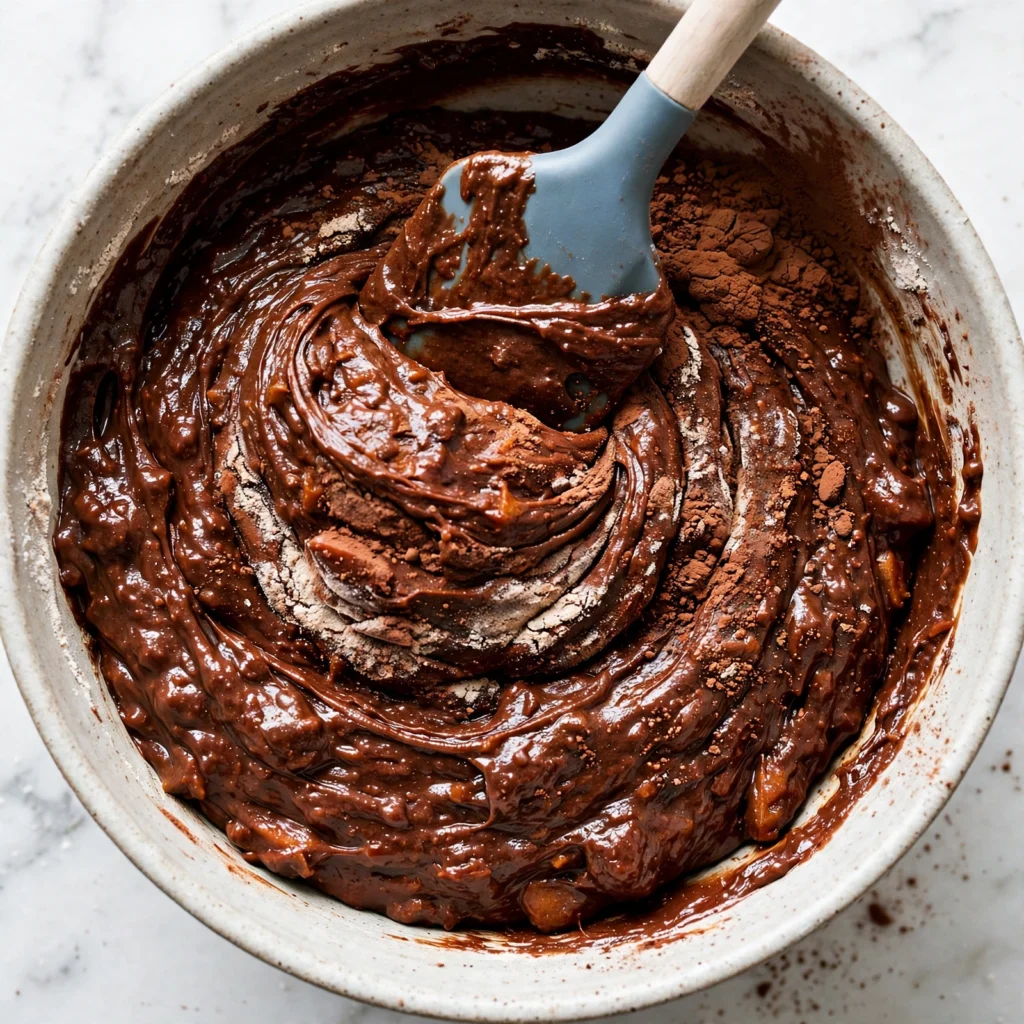
Sift the cocoa powder, flour, salt, and baking powder directly into the bowl over the chocolate-sweet potato mixture. Fold them in with a rubber spatula using the same gentle circular scooping motion, working until no dry pockets remain and the batter is cohesive and uniform. Don’t overmix: once the dry ingredients are fully incorporated and the batter looks smooth, stop. Overmixing at this stage can develop the small amount of flour’s gluten and make the texture slightly tougher than ideal.
Step 6: Bake the Brownies
Preheat the oven to 175°C (350°F). Line a 20x20cm (8×8 inch) square baking pan with parchment paper, allowing it to overhang on two sides for easy lifting. Pour the batter into the lined pan and spread it into an even layer with the spatula: the batter is thick and will not self-level. Scatter flaky sea salt evenly over the surface if using. Bake on the center rack for 22 to 25 minutes. The edges should look set and matte while the center still looks slightly underdone and glossy. A toothpick inserted 2cm from the edge should come out with moist crumbs: clean means overbaked, wet batter means under.
Chef’s Note: Sweet potato brownies look significantly underdone at the 20-minute mark even when they are correctly baked. The mash extends the setting time compared to a conventional brownie. Pull them at 22 to 25 minutes when the edges are visibly set and dry and the center has a glossy but firm surface, and trust the cooling process to finish the job.
Step 7: Cool Completely Before Cutting
Remove the pan from the oven and place it on a wire rack. Leave the brownies undisturbed in the pan for a minimum of 20 minutes before lifting them out using the parchment overhang. The brownies continue setting as they cool, and cutting them warm produces crumbling edges and a paste-like interior rather than the clean, fudgy squares the recipe delivers when fully cooled. For the cleanest cuts, refrigerate for 30 minutes after cooling to room temperature, then use a warm knife wiped clean between each cut.
Common Mistakes and Troubleshooting
| Problem | Cause | Solution |
|---|---|---|
| Brownies crumble when cut | Cut while still warm; not enough cooling time | Wait until completely cool (minimum 20 minutes in pan); refrigerate 30 minutes before cutting for cleanest edges |
| Batter looks lumpy and uneven | Sweet potato mash not smooth before mixing; cold mash added to warm chocolate | Mash until completely lump-free; cool sweet potato fully before combining with other ingredients |
| Brownies taste faintly of sweet potato | Boiled mash used with too much water retained; not enough chocolate flavor | Roast the sweet potato for a more concentrated, neutral mash; use 70% dark chocolate and full cocoa amount |
| Center is raw after stated bake time | Oven runs cool; pan size too large or too small | Use an oven thermometer to verify temperature; stick to a 20x20cm pan for this quantity of batter |
| Brownies too dry and cakey | Overbaked; sweet potato mash too dry; too much flour | Pull at 22 to 25 minutes when center still glossy; measure flour precisely at 2 tablespoons only |
| Chocolate seized when mixing | Eggs were too cold; chocolate still too hot when eggs added | Bring eggs to room temperature; let melted chocolate cool 5 minutes before adding any eggs or mash |
Variations and Substitutions
Peanut Butter Swirl: Drop 3 tablespoons of smooth peanut butter across the top of the batter in the pan before baking and use a toothpick or skewer to swirl it through in long S-shaped strokes. The peanut butter bakes into a distinct layer that adds a nutty, slightly salty contrast to the dark chocolate base in every bite.
Chocolate Chip Top: Scatter 80g of dark chocolate chips over the surface of the batter immediately after pouring it into the pan, pressing them gently so they sit half-submerged. They melt during baking and create pools of intensified chocolate flavor across the surface that look attractive and add texture contrast.
Tahini Marble Version: Replace the peanut butter swirl with 3 tablespoons of plain tahini for a slightly bitter, nutty note that complements dark chocolate in a more subtle way than peanut butter. Tahini is also nut-free, making this variation suitable for nut-free households.
Espresso Dark Chocolate: Add 1 teaspoon of instant espresso powder to the cocoa powder before sifting into the batter. The espresso does not make the brownies taste of coffee: it deepens the chocolate flavor significantly, sharpening the bitter edge of the dark chocolate and making the overall flavor more complex and less one-dimensional.
Extra Fudgy Version (No Flour): Omit the 2 tablespoons of flour entirely and reduce the baking powder to just a small pinch. The sweet potato provides enough binding for the brownies to set without any flour, and the result is a slightly denser, more intensely fudgy square that is also naturally gluten-free without any substitution required.
Spiced Sweet Potato Brownies: Add 1/2 teaspoon of ground cinnamon and a pinch of ground cardamom to the dry ingredients. The warm spices echo the natural sweetness of the sweet potato and add a subtle complexity that makes the brownie taste more layered. This works particularly well when coconut sugar is used in place of brown sugar.
Serving Suggestions
- At room temperature with nothing added. Once fully cooled and cut into squares, these brownies are complete as they are. The fudgy interior and glossy surface need no accompaniment to make an impression as a standalone dessert or snack.
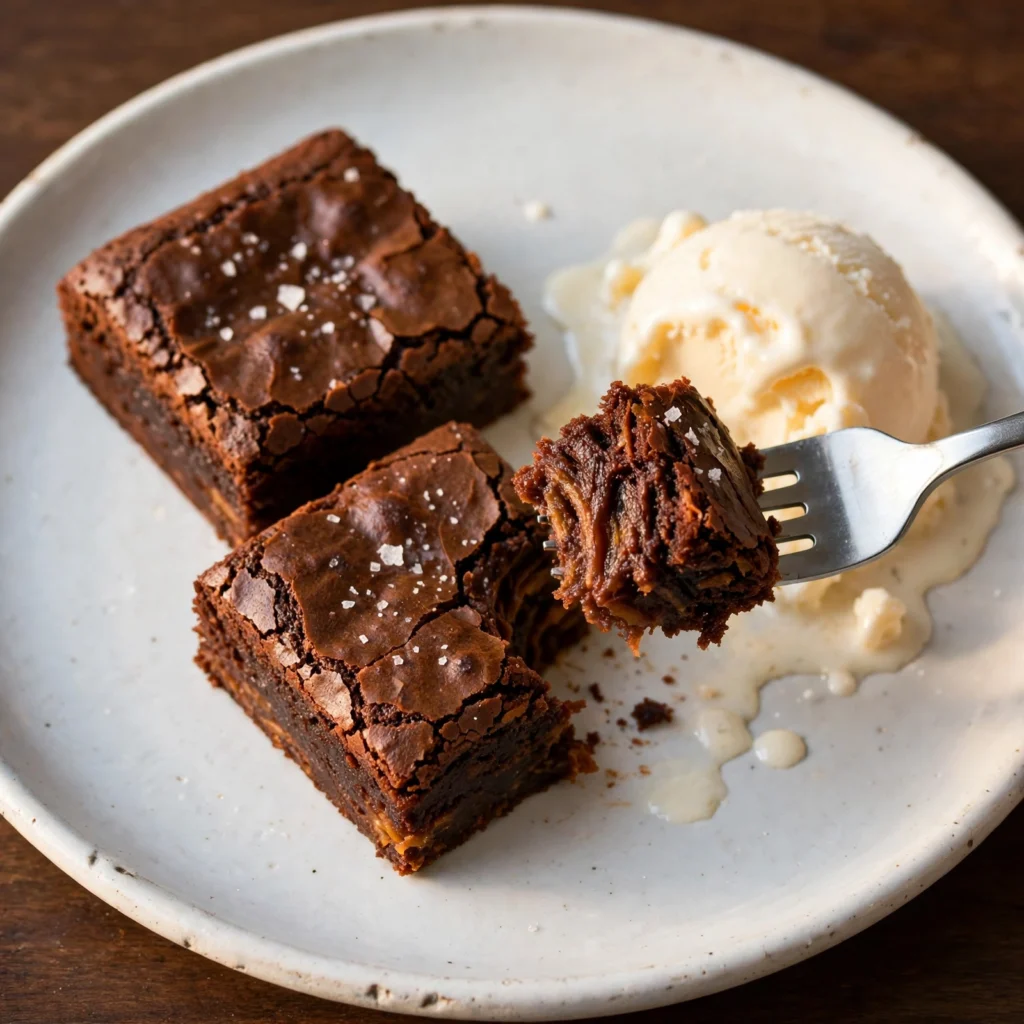
- Warmed briefly and served with vanilla ice cream. Ten seconds in the microwave at 50% power softens the center back to an almost molten quality. A scoop of plain vanilla ice cream alongside creates the hot-cold, chocolate-cream contrast that makes this combination a proper dessert rather than just a snack.
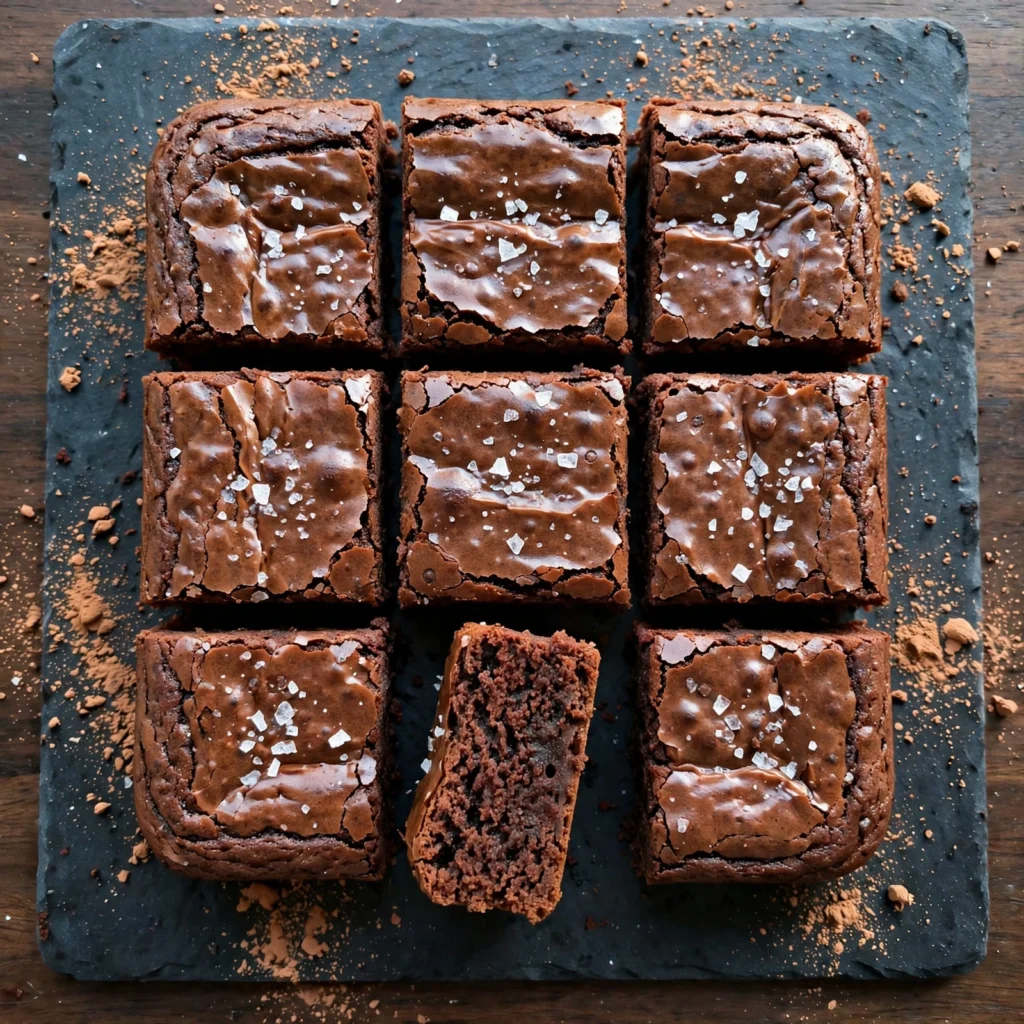
- Dusted with a small amount of cocoa powder. A light sift of Dutch-process cocoa over the cut squares immediately before serving adds a slightly bitter surface note and deepens the visual appearance of the brownies without adding sweetness.
- With a drizzle of tahini. A thin drizzle of plain tahini over the plated squares adds a savory, slightly nutty note that contrasts with the chocolate sweetness in an interesting way. This works particularly well as a dessert plating for a dinner gathering.
- Packed as a lunchbox snack. At room temperature, these brownies hold their shape well and don’t crumble in a container. The moderate sugar content and presence of sweet potato make them a more nutritionally substantive snack than a conventional brownie without tasting like a health food compromise.
- Alongside a strong coffee or black tea. The bitterness of a good dark coffee or unsweetened black tea balances the sweetness of the brownie and brings out the complexity of the dark chocolate. This is the most natural pairing for a mid-afternoon treat.
Tips for the Best Results
- Roast the sweet potato rather than boiling it. This is the single preparation decision that most affects the quality of the finished brownie. Roasted sweet potato is drier, more concentrated in flavor, and more neutral in taste than boiled sweet potato, which retains water that can make the batter wetter than intended and produce a softer, less defined brownie.
- Cool the mash before combining with anything. Hot or even warm sweet potato mash added to melted chocolate causes the chocolate to re-solidify in patches, making the batter difficult to mix evenly. Cool the mash to room temperature, or speed this up by spreading it thinly on a plate and refrigerating for 10 minutes.
- Do not skip the full cooling time. The 20-minute in-pan cooling period is when the brownies transition from a glossy, slightly fragile set state to their final fudgy texture. Cutting too early produces crumbling edges and a gummy interior. The patience required here is brief but necessary.
- Measure the flour precisely. Two tablespoons is a deliberately small amount. Adding even a full additional tablespoon shifts the texture noticeably from fudgy toward cakey. Use a level tablespoon measure, not a heaped one.
- Use a warm knife for clean cuts. Run a long kitchen knife under hot water, dry it with a clean cloth, and press straight down through the brownies without sawing. Rinse and dry between every cut. The warm blade glides through the chocolate and sweet potato without dragging and produces the sharp, defined squares that make the finished batch look as good as it tastes.
Storage Tips
Refrigerator
Store the cooled, cut brownies in an airtight container at room temperature for up to 3 days, or refrigerated for up to 6 days. At room temperature the texture stays soft and fudgy. Refrigerated brownies firm up slightly due to the chocolate fat re-solidifying in the cold, but 5 minutes at room temperature before eating is enough to soften them back. Stack layers between sheets of parchment paper to prevent sticking.
Freezer
Sweet potato brownies freeze exceptionally well because the mash is a naturally stable ingredient at freezing temperatures. Once completely cooled, cut into squares and freeze in a single layer on a parchment-lined tray until solid (about 2 hours), then transfer to a sealed freezer bag or container. Freeze for up to 3 months. The sweet potato helps maintain the fudgy texture through the freeze-thaw cycle better than a conventional brownie holds up.
Reheating
From room temperature: the brownies are ready to eat as stored and need no reheating. To serve warm: microwave individual squares at 50% power for 10 to 15 seconds until the center softens slightly. From frozen: thaw at room temperature for 30 to 45 minutes or overnight in the refrigerator. They are fully edible cold from the freezer but the texture at full room temperature is noticeably better.
Nutrition Information
Per serving (1 brownie, 1/16 of the batch)
| Nutrient | Amount |
|---|---|
| Calories | 145 kcal |
| Protein | 2.5g |
| Carbohydrates | 18g |
| Fiber | 1.5g |
| Sugar | 12g |
| Total Fat | 7g |
| Saturated Fat | 4g |
| Cholesterol | 30mg |
| Sodium | 75mg |
| Vitamin C | 3mg |
| Vitamin A | 1,100 IU |
| Calcium | 20mg |
| Iron | 1.5mg |
| Potassium | 130mg |
Nutrition values are approximate and may vary based on brands and portion sizes.
Why This Recipe Works
Sweet potato functions as a structural binder in this recipe because of its starch content. Cooked sweet potato is high in gelatinized starch, which is the same type of starch that sets sauces and puddings when heated. When mixed into a chocolate batter and baked at 175°C (350°F), the starch network in the sweet potato mash sets around the other ingredients, holding the brownie together in the absence of large amounts of flour. This is why the recipe only needs 2 tablespoons of flour: the sweet potato is already doing most of the structural work that flour handles in a conventional brownie.
The fat replacement logic is equally straightforward. A standard brownie recipe uses a large amount of butter or oil to provide moisture and a rich, dense mouthfeel. Sweet potato mash is approximately 85% water and contains pectin, a naturally occurring polysaccharide that holds moisture inside the food matrix rather than allowing it to evaporate during baking. This means the brownie retains its internal moisture from the sweet potato rather than requiring fat to carry that moisture. The 3 tablespoons of butter in this recipe provides richness and helps the chocolate melt smoothly, not moisture, which is the sweet potato’s role.
Using Dutch-process cocoa alongside the melted dark chocolate bar creates two separate layers of chocolate flavor. The melted bar provides fat-soluble chocolate compounds that distribute through the batter and create a rich, coating flavor. The cocoa powder provides water-soluble chocolate compounds that dissolve into the moisture of the sweet potato and eggs and create a more direct, slightly bitter chocolate intensity. The combination is why this brownie tastes more deeply chocolatey than a recipe using the same total amount of either ingredient alone would achieve.
The flaky sea salt on top serves both a sensory and a perceptual function. Salt suppresses bitterness receptors while enhancing the perception of sweetness in the surrounding food. A pinch of flaky salt on each bite of dark chocolate brownie makes the chocolate taste sweeter and more complex without any additional sugar being added to the batter. It is a finishing element that belongs in the recipe rather than being decorative.
The cooling period before cutting is a functional step, not an aesthetic preference. During baking, the starch in the sweet potato gelatinizes and the chocolate fat melts, creating a batter that is fully cooked but structurally soft. As the brownie cools, the chocolate fat re-solidifies and the gelatinized starch sets into a firmer matrix. A brownie cut at the 5-minute mark is structurally a liquid trapped in a solid casing: it will collapse and crumble at the cut edges. A brownie cut at the 20-minute mark has completed its structural transformation and will hold a clean edge.
I’ve tested this recipe with both roasted and boiled sweet potato in multiple batches. The roasted version consistently produced a brownie with a cleaner chocolate flavor, firmer structure at the edges, and a more cohesive center. The boiled version, even when thoroughly drained and dried, introduced slightly more moisture into the batter and produced a center that was softer and less defined at the same bake time.
Frequently Asked Questions
Can I make sweet potato brownies ahead of time?
Yes, and they actually improve by day two. The flavors deepen and the texture becomes more cohesive as the sweet potato starch fully sets overnight. Make a full batch, cool completely, cut into squares, and store in an airtight container at room temperature for up to 3 days or refrigerated for up to 6. They also freeze well for up to 3 months. The overnight-cooled brownie has a noticeably better texture than one eaten the same day.
Why did my brownies come out cakey instead of fudgy?
Cakey sweet potato brownies almost always come from one of two things: too much flour, or overbaking. This recipe uses only 2 tablespoons of flour, and even a slightly generous measure can shift the texture. Use a level tablespoon measure. Overbaking is the other common cause: pull the brownies at 22 to 25 minutes when the center still looks slightly glossy rather than matte all the way across. The cooling process finishes the job.
Can I use canned sweet potato puree instead of fresh?
Yes, with one condition: the puree must be pure sweet potato with no added sugar, spices, or water. Canned sweet potato pie filling is too sweet and already seasoned and will not work as a substitute. Plain canned sweet potato puree used in the same 245g quantity works well and saves significant prep time. Check the texture: if it looks very wet or watery, spread it onto paper towels and press gently to absorb excess moisture before measuring.
How do I know when sweet potato brownies are done baking?
The correct doneness for these brownies sits at 22 to 25 minutes at 175°C (350°F) in a 20x20cm pan. At that point, the edges should look completely set and matte while the center still has a glossy, slightly underdone appearance. A toothpick inserted 2cm from the edge should come out with moist crumbs, not wet batter and not clean. If the toothpick comes out completely clean, the brownies are overbaked. If wet batter clings to it, give them 2 to 3 more minutes and check again.
Are sweet potato brownies gluten-free?
As written with all-purpose flour, no. But this recipe is very easy to make fully gluten-free because the flour quantity is just 2 tablespoons: replace it with the same amount of certified gluten-free 1:1 baking flour or fine oat flour. The sweet potato provides the main structural binding so the gluten-free swap changes almost nothing about the texture. Confirm that your dark chocolate, cocoa powder, and baking powder are also labeled gluten-free, as these sometimes contain wheat-based ingredients in standard versions.
Can I taste the sweet potato in these brownies?
No, when the recipe is made correctly. Once roasted, mashed smooth, and baked into a batter with 150g of dark chocolate, Dutch-process cocoa, vanilla, and sugar, the sweet potato flavor is completely unidentifiable in the finished brownie. What it contributes is moisture, binding, and density: all texture and structural qualities rather than flavor. People who know it is there often still cannot identify it after eating.
Can I make these without eggs?
Yes. Replace each egg with a flax egg: 1 tablespoon of ground flaxseed mixed with 3 tablespoons of water, rested for 5 minutes until it forms a gel. Use 2 flax eggs in place of the 2 regular eggs. The brownies will be slightly less structured and the center may need an extra 3 to 5 minutes of baking time to fully set. The sweet potato provides significant binding support, which is why this vegan swap works better in this recipe than in conventional brownie recipes that rely heavily on eggs for structure.
Conclusion
Sweet potato brownies work because the sweet potato is not a substitute for something else: it is doing a specific job that it happens to be well suited for. The starch sets the structure, the pectin holds the moisture, and the neutral flavor disappears completely into the dark chocolate. What you end up with is a brownie that is genuinely fudgy, holds its shape, and tastes purely of chocolate in a way that does not announce its ingredients. The recipe is straightforward, the cleanup is minimal, and the result holds up for days in a way that makes a batch worth making whenever brownies are needed. Make these sweet potato brownies once with the proper cooling time and the right bake, and they will become your default brownie recipe.
If you loved this recipe, save it to your chocolate desserts Pinterest board so you can find it easily later. For more healthy recipes and daily food inspiration, follow TheCookingVibes on Pinterest.
Fudgy Sweet Potato Brownies
Ingredients
Equipment
Method
- Roast sweet potato whole at 200°C (400°F) for 45 to 50 minutes until completely soft. Scoop flesh, mash until completely smooth, measure 1 cup (245g), and cool to room temperature.
- Preheat oven to 175°C (350°F). Line a 20x20cm baking pan with parchment paper with overhang on two sides.
- Place chopped chocolate and butter in a heatproof bowl over a saucepan of barely simmering water. Stir until melted and smooth. Remove from heat and cool 5 minutes.
- Stir sugar into the melted chocolate until fully combined. Add eggs one at a time, stirring well after each. Stir in vanilla.
- Add cooled sweet potato mash and stir firmly until no orange streaks remain and the batter is uniform dark chocolate in color.
- Sift in cocoa powder, flour, salt, and baking powder. Fold with a rubber spatula until just combined with no dry pockets. Do not overmix.
- Pour batter into the lined pan and spread evenly. Scatter flaky sea salt over the top if using. Bake 22 to 25 minutes until edges are set and matte and center is still slightly glossy. A toothpick 2cm from the edge should come out with moist crumbs.
- Cool in pan on a wire rack for minimum 20 minutes before lifting out. For cleanest cuts, refrigerate 30 minutes after cooling, then use a warm dry knife between each cut.