Fluffy Pancakes Recipe (Tall, Soft, Golden Every Time)
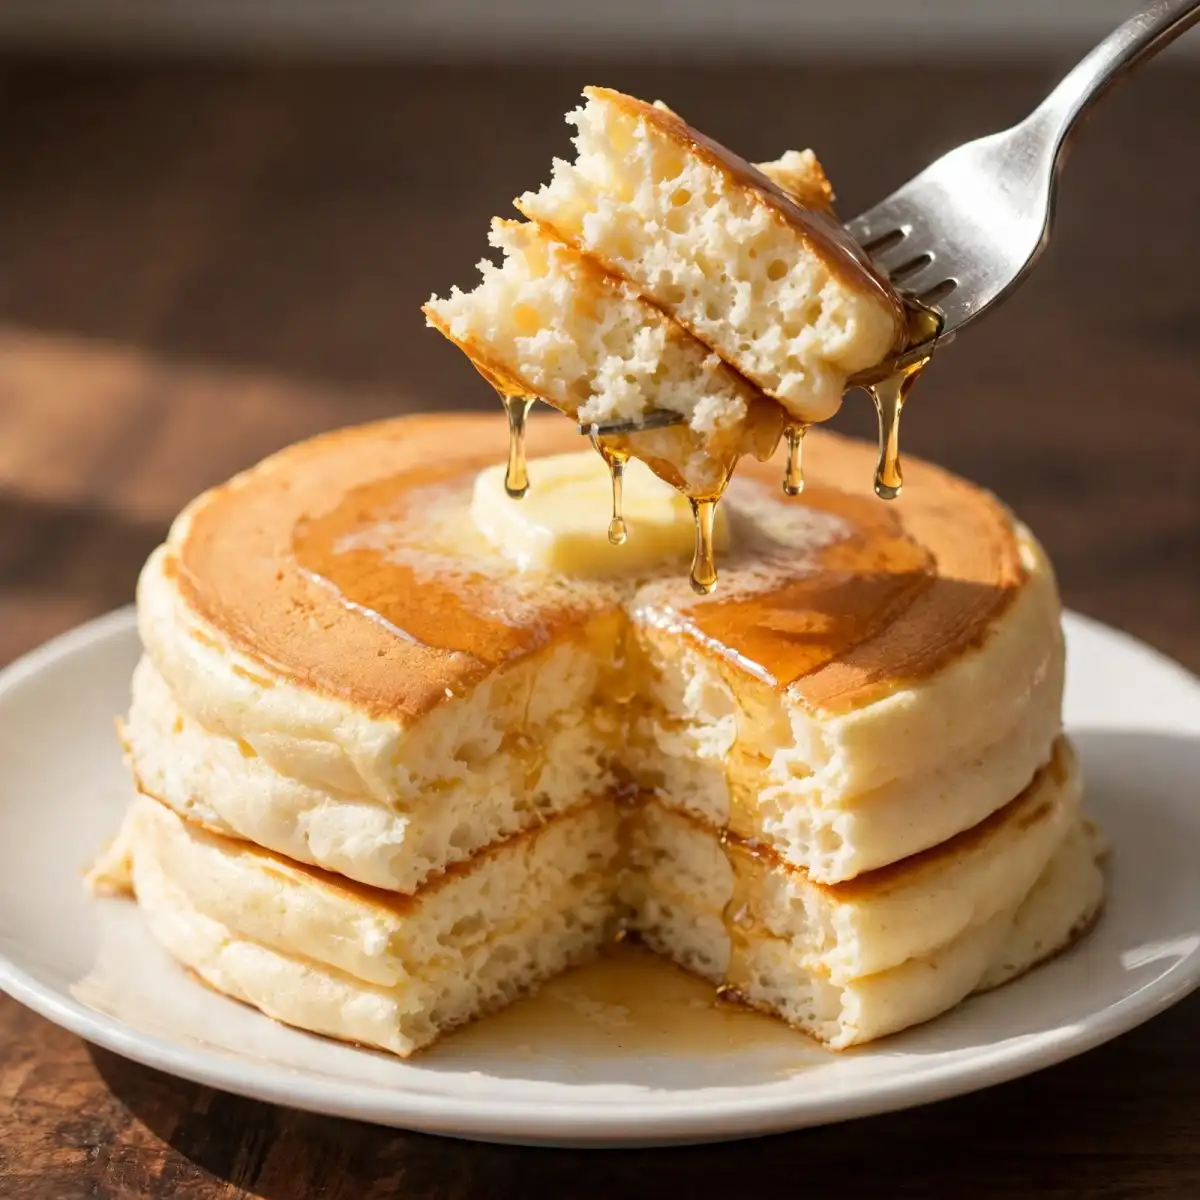
A truly fluffy pancake has a specific quality that is immediately obvious when you cut into it: the inside is almost cloud-like, with a fine, open crumb that holds a small pool of syrup rather than absorbing it instantly into a dense, gummy mass. The outside is golden with slightly crisp edges that give way to the soft interior without resistance. Most homemade pancakes don’t achieve this because of two things: too much mixing and not enough resting time before the batter hits the pan.
This fluffy pancakes recipe fixes both. The batter is mixed only until the dry ingredients disappear (lumps are correct and expected), then rested for 5 minutes while the pan heats. That rest allows the gluten to relax, the leavening to begin activating, and the flour to fully hydrate, which produces a batter that puffs visibly when it hits the hot pan rather than spreading flat. The recipe uses a combination of baking powder and a small amount of baking soda with buttermilk to maximize lift, and melted butter rather than oil for a richer, more flavorful result. Twenty-five minutes total, makes eight to ten pancakes, serves four.
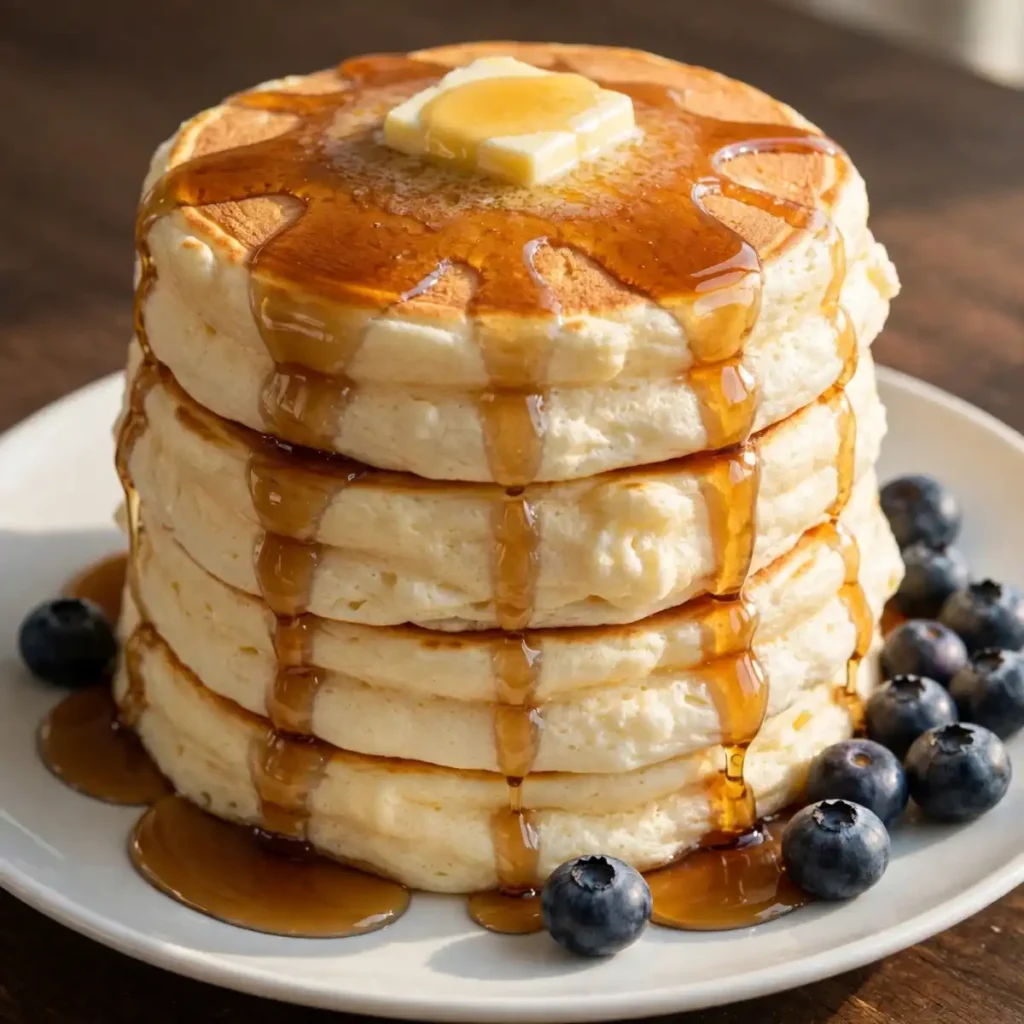
Table of Contents
- Why You’ll Love These Fluffy Pancakes
- Ingredients You’ll Need
- Allergen and Dietary Disclosure
- Equipment Needed
- Step-by-Step Directions
- Common Mistakes and Troubleshooting
- Variations and Substitutions
- Serving Suggestions
- Tips for the Best Results
- Storage Tips
- Nutrition Information
- Why This Recipe Works
- Frequently Asked Questions
- Conclusion
Why You’ll Love These Fluffy Pancakes
- The resting trick is the entire secret. Five minutes of batter rest before cooking allows the gluten to relax and the baking powder to begin working, so pancakes puff upward rather than spreading sideways when they hit the pan. It costs nothing and changes the result completely.
- Buttermilk is not interchangeable with regular milk. The lactic acid in buttermilk reacts with the baking soda to produce extra carbon dioxide bubbles, giving the batter more lift per square inch than milk alone. The flavor is also noticeably richer and more complex.
- Melted butter produces a better crumb than oil. Butter contributes milk solids that add flavor and a slight tenderness that neutral oil cannot replicate. The pancakes taste richer without being heavier.
- One bowl, no electric mixer, 25 minutes. The whole recipe requires a bowl, a whisk, and a griddle or pan. Everything mixes by hand in under 5 minutes.
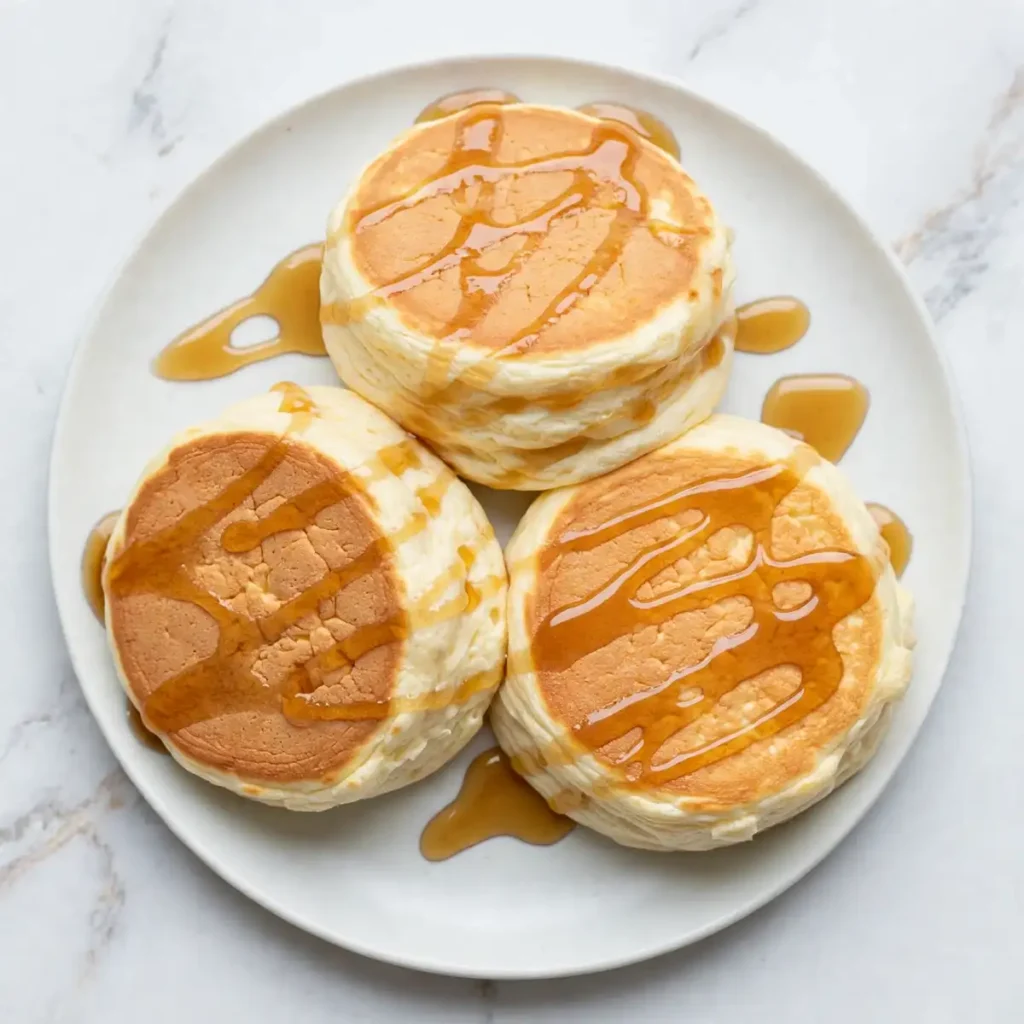
- Consistently golden, never burnt or pale. Medium heat with a small amount of butter per batch produces the golden color and crisp edge every time, without the first few pancakes being pale while the rest of the batch burns.
Ingredients You’ll Need
Recipe Timing
| Detail | Info |
|---|---|
| Servings | 4 (8 to 10 pancakes) |
| Difficulty | Easy |
| Course | Breakfast, Brunch |
| Cuisine | American |
| Prep Time | 10 minutes |
| Rest Time | 5 minutes |
| Cook Time | 15 minutes |
| Total Time | 30 minutes |
The most consequential ingredient choice in this recipe is buttermilk versus regular milk. Buttermilk is thicker than regular milk and contains lactic acid that reacts chemically with the baking soda in the dry ingredients to produce carbon dioxide bubbles throughout the batter before it even touches the pan. This pre-activation gives the finished pancake more lift, a more tender crumb (since the acid partially inhibits gluten development), and a subtly tangy, more complex flavor. Full-fat buttermilk produces the richest result. If you don’t have buttermilk, the best substitute is to add 1 tablespoon of white vinegar or fresh lemon juice to 1 cup of regular whole milk, stir once, and let it sit for 5 minutes until slightly curdled: this produces a functional but slightly less flavorful replacement.
For the flour, standard all-purpose flour works well and is what most people reach for. Cake flour (which has a lower protein content) produces an even more tender, delicate crumb if you want to take the fluffiness one step further. Use it in the same quantity as all-purpose flour if you have it. Bread flour is not suitable: its high protein content produces too much gluten even with minimal mixing, resulting in chewy rather than fluffy pancakes.
For the fat, melted unsalted butter is the preferred choice. It incorporates smoothly into the wet ingredients and distributes evenly through the batter. Cool it slightly before adding it to the egg and buttermilk so it doesn’t scramble the egg or curdle the cold buttermilk on contact.
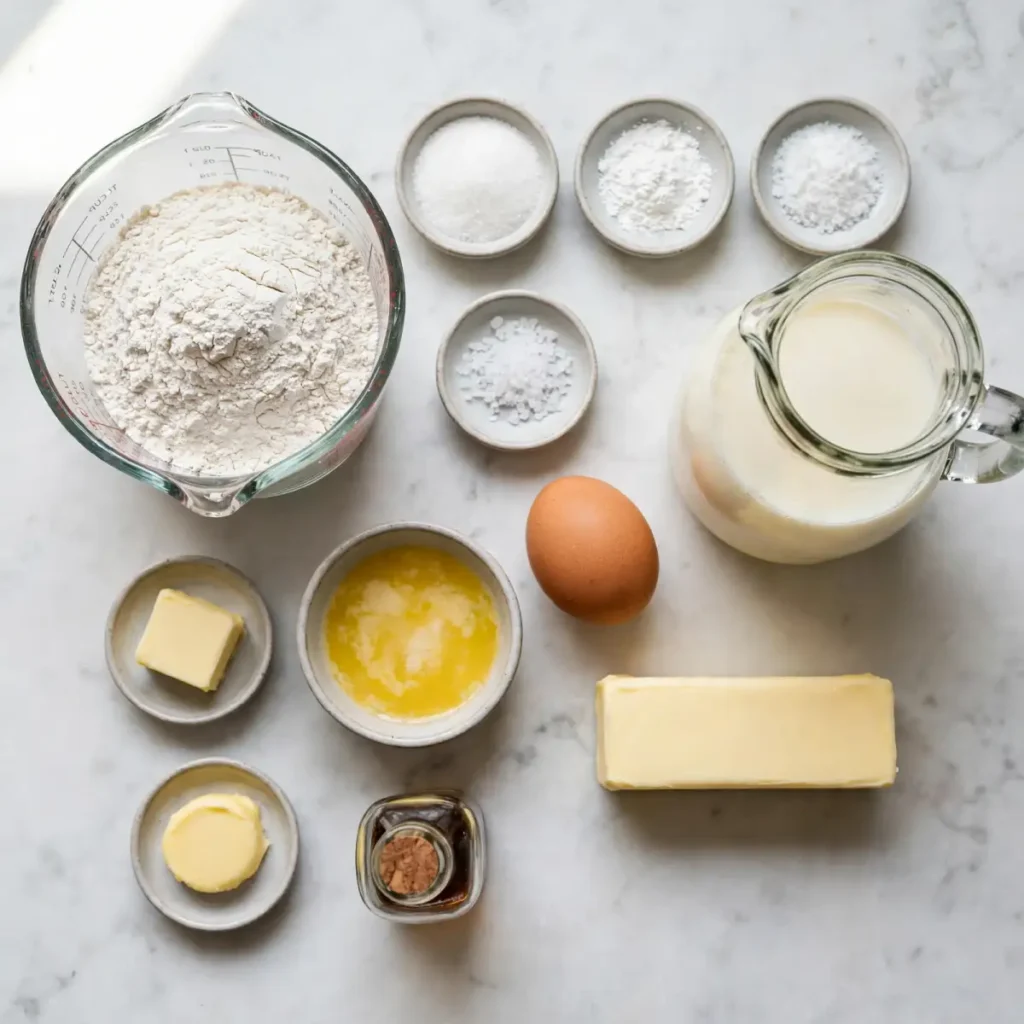
- 1 and 1/2 cups (190g) all-purpose flour. Measured by spooning into the cup and leveling, not scooping directly from the bag. Scooping packs the flour and can add 20 to 30g extra, producing dense, dry pancakes.
- 2 tablespoons (25g) granulated white sugar. Adds a mild sweetness and helps the edges brown evenly. Not enough to make the pancakes taste like dessert.
- 2 teaspoons baking powder. The primary leavening agent. Fresh baking powder is essential: test it by dropping half a teaspoon into hot water and looking for vigorous bubbling.
- 1/2 teaspoon baking soda. Works with the acidic buttermilk to produce additional lift and a slightly more tender crumb.
- 1/2 teaspoon fine sea salt. Balances the sweetness and sharpens the flavor of the finished pancake without being detectable on its own.
- 1 cup (240ml) full-fat buttermilk, room temperature. The key liquid. Room temperature buttermilk incorporates more smoothly with the other wet ingredients than cold buttermilk straight from the fridge.
- 1 large egg, room temperature.
- 3 tablespoons (45g) unsalted butter, melted and cooled to warm.
- 1 teaspoon pure vanilla extract. Adds a warm, slightly sweet background note that makes plain pancakes taste more considered. Use real vanilla extract rather than artificial for the best result.
- Additional butter or neutral oil for the pan. A small amount per batch, wiped across the pan surface with a folded paper towel between each batch, ensures consistent browning without excessive greasiness.
Allergen and Dietary Disclosure
This recipe contains dairy (buttermilk, butter), eggs, and gluten (all-purpose flour).
For a gluten-free version, replace the all-purpose flour with a certified gluten-free all-purpose flour blend that contains xanthan gum. The pancakes will be slightly more delicate when flipping and may spread a little more than the wheat version, but the flavor and fluffiness remain close to the original. Add an extra tablespoon of flour if the batter seems too thin.
For a dairy-free version, replace the buttermilk with 1 cup of unsweetened oat milk or almond milk combined with 1 tablespoon of apple cider vinegar (rested 5 minutes to curdle). Replace the butter with melted refined coconut oil in the same quantity. The pancakes will have a slightly less rich flavor but remain fluffy.
For an egg-free version, replace the egg with 1 flax egg (1 tablespoon of ground flaxseed mixed with 3 tablespoons of water, rested 5 minutes). The pancakes will be slightly less structured and may tear more easily when flipping, but the flavor is good.
Free from nuts and soy as written. Not guaranteed safe for any specific allergy without checking all individual ingredient labels.
Equipment Needed
A flat griddle or large non-stick skillet. A flat cast iron griddle or a 30cm non-stick skillet is the ideal surface for pancakes. The flat surface allows you to cook 3 to 4 pancakes simultaneously at an even temperature, and the heat distribution across a large flat surface produces more consistent browning than a curved skillet. If using a standard frying pan, cook in batches of 2 and expect slightly less even browning at the curved edges.
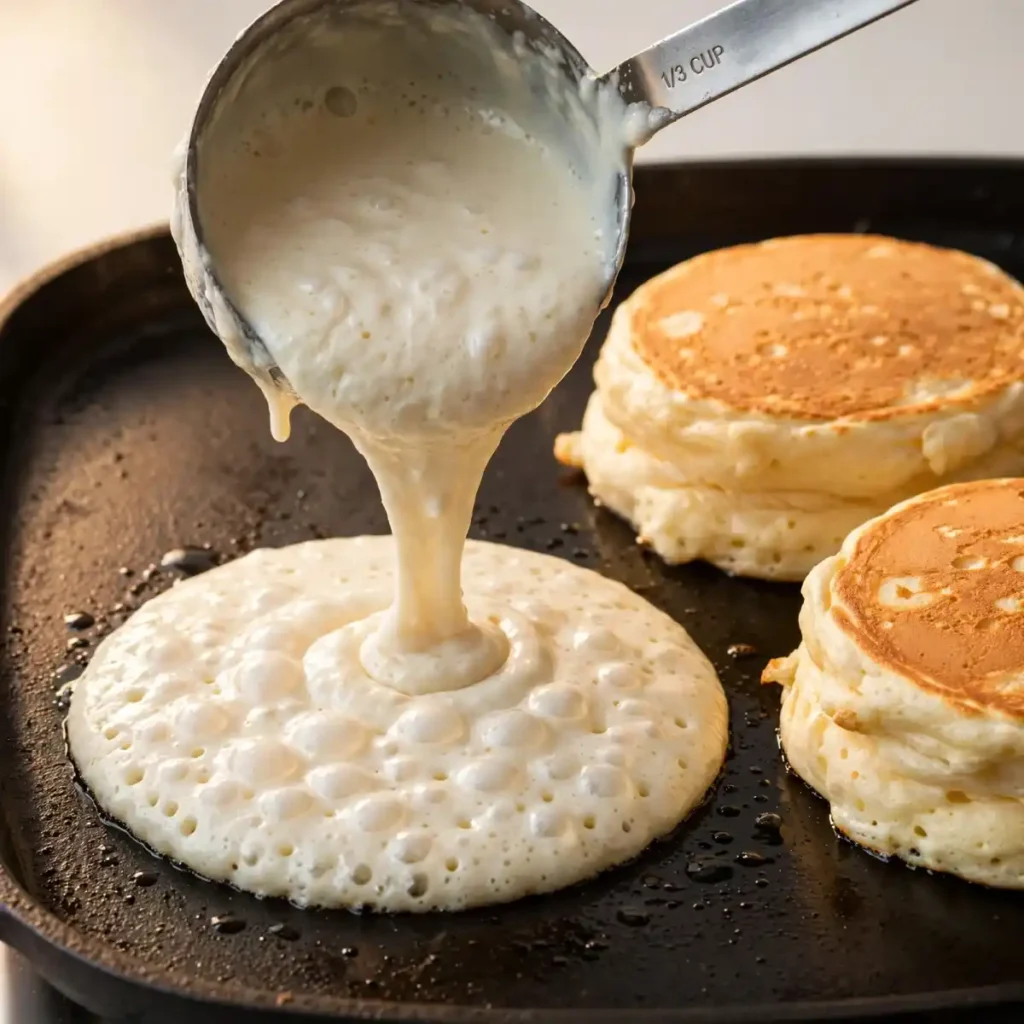
A ladle or large spoon measuring approximately 1/3 cup (80ml). Portioning the batter consistently produces pancakes that are all the same size and cook in the same amount of time. A 1/3 cup ladle or a standard soup ladle produces a 12 to 13cm pancake: compact enough to flip cleanly, wide enough to feel substantial on the plate.
A wide, thin spatula. A wide, flexible spatula (at least 10cm across) gives you the surface area to get completely under a pancake before flipping. A narrow or thick spatula folds or tears the edge of the pancake during the flip rather than lifting it cleanly as a whole.
An oven set to 90°C (195°F) for keeping finished pancakes warm. Place finished pancakes in a single layer on a baking sheet in the low oven while the remaining batches cook. Stacking them while hot traps steam and makes the bottom pancakes slightly soggy before serving.
Step-by-Step Directions
Step 1: Mix the Dry Ingredients
Combine the flour, sugar, baking powder, baking soda, and salt in a large mixing bowl. Whisk them together for 15 seconds until the leavening is fully distributed through the flour. Distributing the baking powder and soda evenly before the wet ingredients go in ensures that the lift is consistent throughout the batter rather than concentrated in pockets.

Chef’s Note: Pre-whisking the dry ingredients is not just a mixing step: it aerates the flour slightly and ensures the leavening agents (which are more dense than flour and tend to settle) are evenly suspended before the wet ingredients are added. Skipping this means risking uneven leavening distribution, which produces pancakes with inconsistent lift across the batch.
Step 2: Whisk the Wet Ingredients Separately
In a separate smaller bowl or a large measuring jug, whisk together the room-temperature buttermilk, egg, cooled melted butter, and vanilla extract until fully combined and uniform in color. The mixture should look slightly frothy from the egg being worked into the buttermilk. If the butter seizes or creates small solid flecks when it contacts the cold buttermilk, the butter was too warm: next time, let it cool slightly longer before combining.
Step 3: Combine Wet and Dry
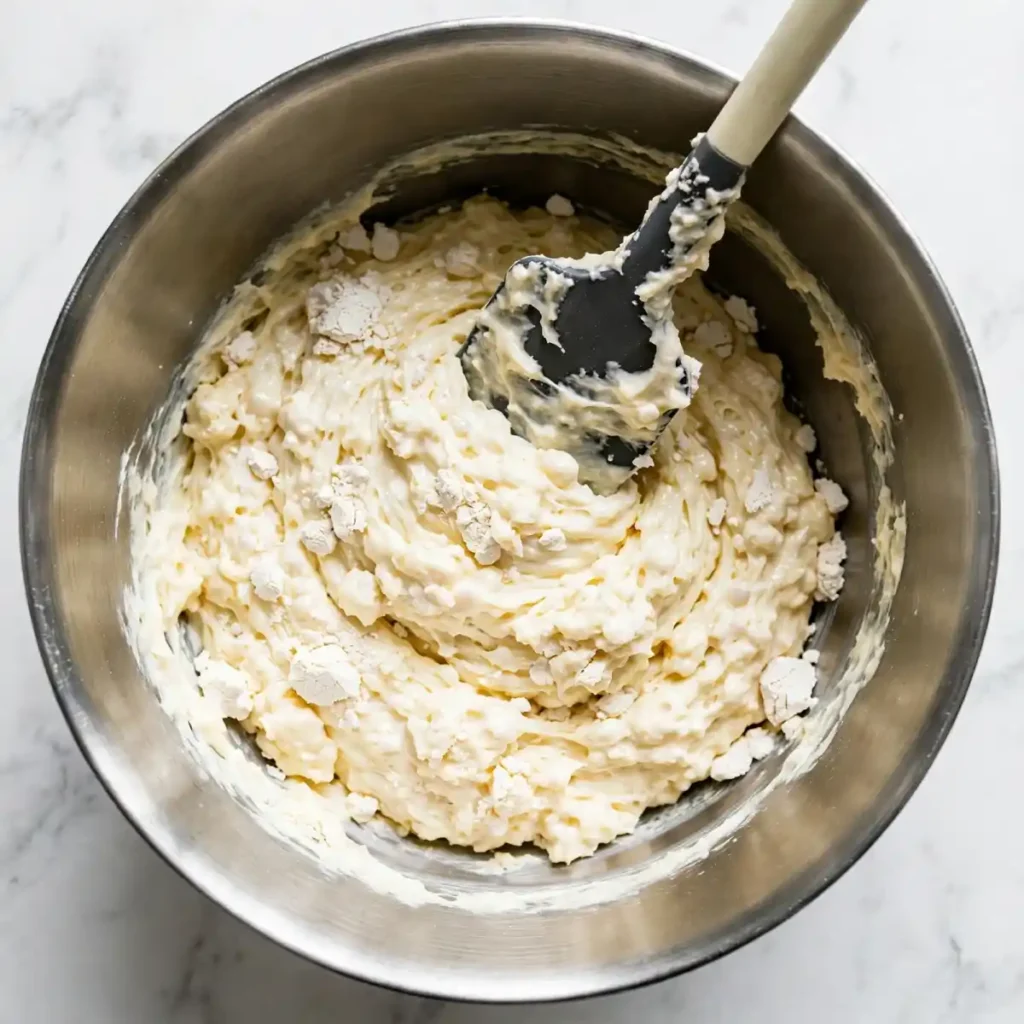
Pour the wet ingredient mixture into the bowl of dry ingredients all at once. Using a rubber spatula or a large spoon, fold the two together with slow, deliberate strokes. Count the folds: 10 to 12 strokes should be enough to bring the batter together. The batter will be lumpy, thick, and uneven-looking, with visible clumps of flour not fully dispersed. This is correct. A smooth, lump-free pancake batter is an overmixed batter, and overmixed batters produce flat, tough pancakes rather than fluffy ones.
Chef’s Note: The lumps in the batter are not a problem to solve: they are hydrated pockets of flour that will finish hydrating during the 5-minute rest and during cooking. Trying to eliminate them by stirring further develops gluten, which is the structure that prevents the batter from rising. Leave the lumps and trust the rest.
Step 4: Rest the Batter
Set the bowl of batter aside uncovered at room temperature for exactly 5 minutes. During this rest, the baking powder begins producing small carbon dioxide bubbles throughout the batter (you may see the surface become very slightly foamy at the edges), the flour hydrates fully, and the gluten networks that formed during mixing relax and shorten. At the end of the rest, the batter will look slightly puffier and the surface will have small visible bubbles. Do not stir again after the rest: stirring deflates the gas bubbles that have already formed and undoes the benefit of the wait.
Chef’s Note: The 5-minute rest is the single step most home cooks skip, and it is the step most responsible for the difference between a flat, dense homemade pancake and a tall, fluffy one. The carbon dioxide produced during the rest is already in the batter when it hits the pan, which means the initial expansion is faster and more dramatic than in un-rested batter.
Step 5: Heat the Pan Correctly
While the batter rests, place your griddle or skillet over medium heat. Let it heat for 2 to 3 minutes until a few drops of water flicked onto the surface skitter and evaporate in under 2 seconds: this is the correct temperature. Add a small amount of butter (about 1/2 teaspoon) and swirl or spread it across the surface with a folded paper towel. The butter should foam immediately and settle within 10 seconds without browning. If it browns immediately, the pan is too hot: reduce the heat and wait 60 seconds before proceeding.
Step 6: Cook the First Side
Using your ladle or 1/3 cup measure, pour the batter onto the heated buttered surface without spreading it. The batter is thick and will form its own round shape naturally. Cook undisturbed for 2 to 3 minutes until: the edges of the pancake look dry and matte rather than wet and glossy; bubbles have appeared across the entire surface of the pancake (not just at the edges); and the bubbles at the center are beginning to burst and leave small open holes that hold their shape rather than filling back in. All three of these signs together indicate the bottom is set and golden and the pancake is ready to flip.
Step 7: Flip Once and Finish
Slide the spatula completely under the pancake in one smooth, confident motion and flip it in a single deliberate action. The second side cooks for 1 to 2 minutes until golden-brown: it will not develop quite as even a color as the first side because the second side cooks faster on a hotter surface. Press the center of the pancake very lightly with the spatula: it should feel just barely firm and spring back immediately, with no soft, raw-batter give in the center. Transfer to the warm oven to hold while cooking the remaining batches. Wipe the pan surface with the buttered paper towel between each batch to remove any browned bits and re-grease.
Common Mistakes and Troubleshooting
| Problem | Cause | Solution |
|---|---|---|
| Pancakes flat and dense | Batter overmixed; baking powder old; no resting time | Mix only 10 to 12 strokes; test baking powder in hot water before using; always rest batter 5 minutes |
| First pancakes pale, later ones burnt | Pan not at correct temperature before first pour; heat too high for subsequent batches | Heat pan 2 to 3 full minutes before first pancake; reduce heat slightly after the first batch |
| Batter too thick to pour | Too much flour from scooping; buttermilk too cold | Spoon and level flour; bring buttermilk to room temperature; thin with 1 tablespoon of milk if needed |
| Pancakes tear when flipping | Flipped before edges were dry and surface bubbles set; spatula too narrow | Wait for all three doneness signs; use a wide flexible spatula at least 10cm across |
| Gummy, undercooked center | Heat too high setting a crust before the center cooks through; too thick a pour | Keep heat at medium; use no more than 1/3 cup of batter per pancake |
| Pancakes taste bland | Salt or vanilla omitted; buttermilk swapped for water | Follow the recipe as written; buttermilk contributes flavor as well as lift |
Variations and Substitutions
Blueberry Fluffy Pancakes: Scatter 6 to 8 fresh blueberries across the top of each pancake immediately after pouring the batter onto the griddle, before the surface begins to set. Press them in very lightly with the back of the spoon. The berries soften and burst during cooking, creating pockets of jammy fruit throughout the pancake. Fresh blueberries produce a cleaner result than frozen ones, which release more moisture and can make the batter wet around them.
Chocolate Chip Pancakes: Sprinkle 8 to 10 mini chocolate chips across each poured pancake immediately after it goes on the griddle, same technique as the blueberries. Mini chips distribute more evenly and melt more fully into the batter than full-size chips, which can remain solid in the center. This version is particularly popular with children and holds up well reheated from frozen.
Banana Fluffy Pancakes: Mash one very ripe banana (about 100g peeled) into the wet ingredients before combining with the dry. The banana adds natural sweetness, moisture, and a mild banana flavor throughout. Reduce the sugar by 1 tablespoon to compensate for the added sweetness, and expect the pancakes to brown slightly faster than the plain version due to the banana’s natural sugars.
Lemon Ricotta Pancakes: Replace 1/4 cup of the buttermilk with 1/4 cup of full-fat ricotta stirred until smooth, and add 1 teaspoon of lemon zest to the wet ingredients. The ricotta adds a creamy richness and a slight density that makes these pancakes feel more substantial, while the lemon zest adds a bright citrus note that pairs particularly well with fresh berries and honey.
Whole Wheat Fluffy Pancakes: Replace half the all-purpose flour with whole wheat flour (keeping the total flour quantity the same). The pancakes will have a slightly nuttier flavor, a denser crumb, and more fiber per serving. Add 1 extra tablespoon of buttermilk if the batter seems very thick. The whole wheat version still produces a good rise with the resting technique but won’t be quite as tall as the all-white-flour version.
Spiced Fluffy Pancakes: Add 1/2 teaspoon of ground cinnamon, 1/4 teaspoon of ground nutmeg, and 1/4 teaspoon of ground cardamom to the dry ingredients. The spice blend adds warmth without competing with the maple syrup and butter topping. This version works particularly well in autumn and winter and pairs naturally with sliced bananas or poached pears on top.
Serving Suggestions
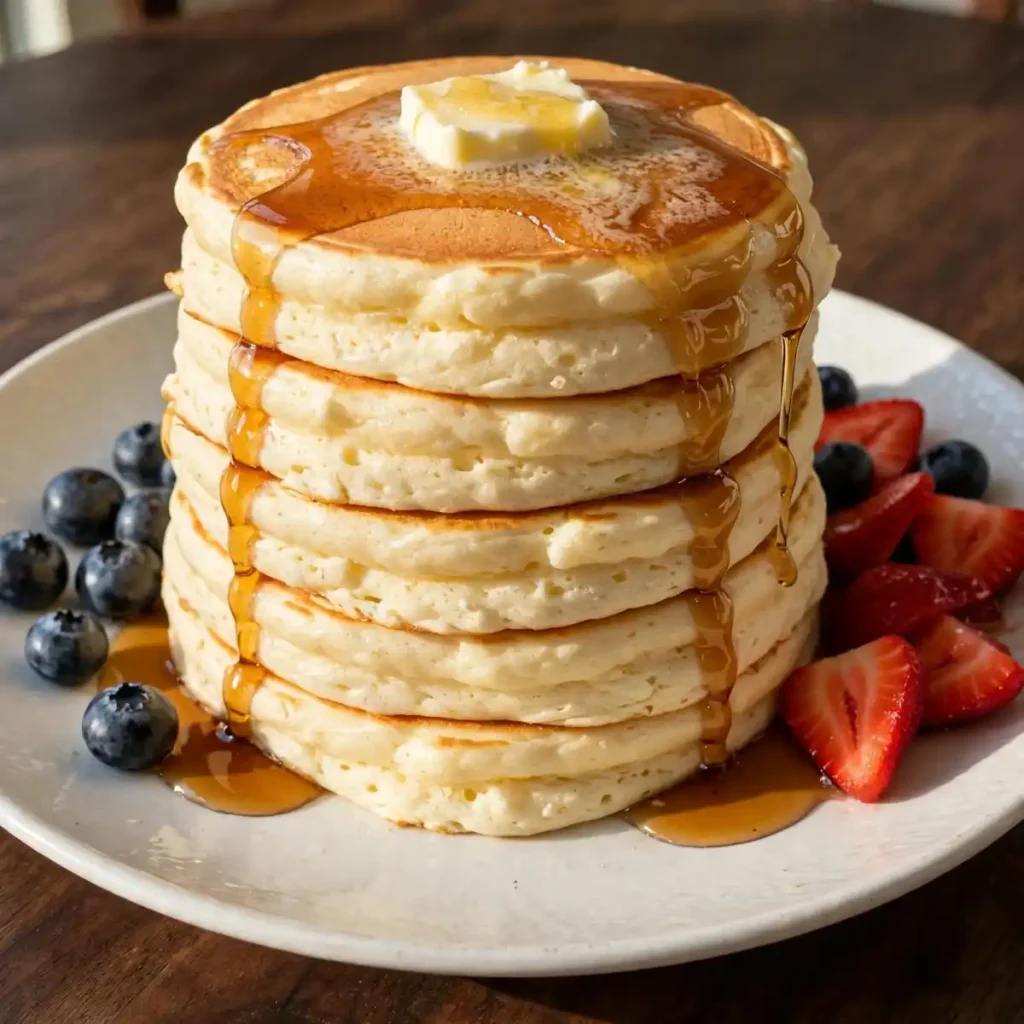
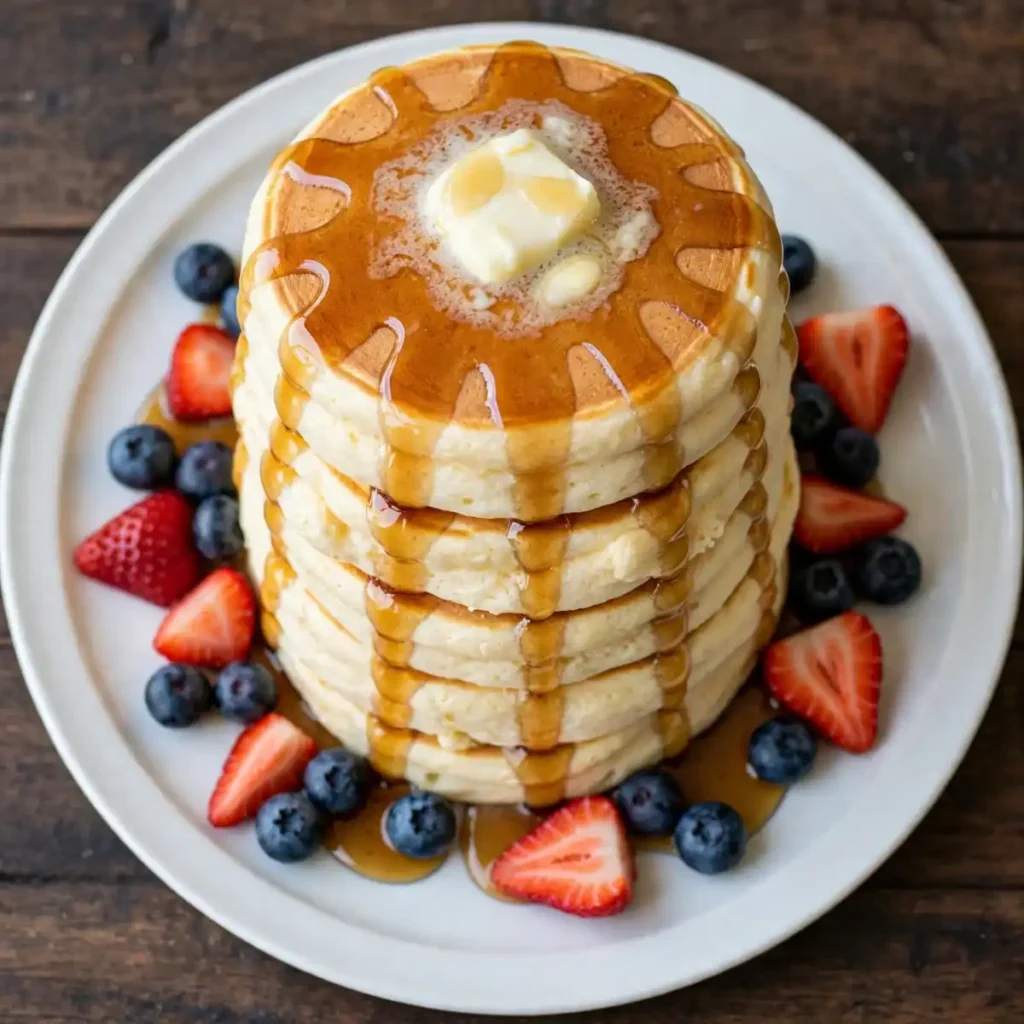
- With real maple syrup and salted butter. The classic combination exists because it works: the pure sweetness of maple syrup against slightly salty butter against the neutral, tender pancake crumb is complete without anything else. Use real maple syrup rather than pancake syrup (which is corn syrup with artificial maple flavoring) for a noticeably cleaner, more complex sweetness.
- With fresh fruit and a dusting of icing sugar. Sliced strawberries, fresh blueberries, or sliced banana scattered across a stack with a light dusting of icing sugar is a lighter alternative to syrup that works particularly well for a weekend brunch where the presentation matters as much as the eating.
- With whipped cream and berries for a brunch dessert. A tall stack with lightly sweetened whipped cream and fresh mixed berries sits at the border between breakfast and dessert in a way that makes it feel appropriate at any hour on a weekend.
- With honey and chopped nuts. A thin drizzle of raw honey over warm pancakes with a small handful of roughly chopped toasted walnuts or pecans adds richness, crunch, and a natural sweetness that is different enough from maple syrup to feel like its own serving style.
- As a pancake sandwich. Two pancakes with a spread of peanut butter and a few slices of banana between them is a filling, protein-rich breakfast that travels more easily than a fork-and-plate stack. It is as practical as it sounds and considerably better-tasting.
- With a soft-boiled egg and fresh juice alongside. For a full brunch plate, two to three pancakes alongside a soft-boiled egg and a glass of fresh orange juice covers sweetness, protein, and freshness in one meal without any additional cooking complexity.
Tips for the Best Results
- Room temperature ingredients combine better. Cold buttermilk mixed with melted butter can cause the butter to solidify into small flecks that never fully incorporate into the batter. Setting the buttermilk and egg on the counter for 20 minutes before you start, or placing them in a bowl of warm (not hot) water for 5 minutes, produces a batter that comes together more smoothly and results in a more uniform crumb.
- Never stir the batter after the rest period. The 5-minute rest produces carbon dioxide bubbles throughout the batter that are ready to expand the moment the batter hits the hot pan. Stirring after the rest collapses those bubbles and wastes the leavening activation. Pour directly from the resting bowl.
- Medium heat throughout, not high. The goal is a golden surface from sustained, moderate heat contact over 2 to 3 minutes, not a fast char from high heat. Pancakes cooked over high heat develop a dark, slightly bitter crust before the interior has time to cook through, producing the gummy center that is the most common pancake complaint. If the butter in the pan browns within 10 seconds of going in, the heat is too high.
- Fresh baking powder makes a material difference. Baking powder loses its potency over time and an open container stored in a humid kitchen can begin degrading within a few months. Test it before every batch by dropping 1/2 teaspoon into 2 tablespoons of hot water: strong, vigorous bubbling means it is active. Weak or absent bubbling means it has lost its potency and needs replacing. Old baking powder is the most common cause of flat pancakes in an otherwise correct recipe.
- Keep finished pancakes in a low oven, never stacked. Resting finished pancakes in a single layer on a baking sheet in a 90°C (195°F) oven keeps them warm, dry, and structurally intact until the full batch is ready to serve. Stacking hot pancakes on a plate traps steam between them, which softens the bottom surfaces and makes the lower pancakes wet and dense before they reach the table.
Storage Tips
Refrigerator
Cool pancakes completely on a wire rack before storing. Stack with a small piece of parchment or paper towel between each pancake to prevent them from sticking together, then place in an airtight container or sealed zip-lock bag. Refrigerate for up to 3 days. The pancakes will lose some of their initial fluffiness as they absorb ambient moisture in the refrigerator, but reheat well and are still noticeably more tender than many other pancake recipes.
Freezer
Fluffy pancakes freeze exceptionally well for up to 2 months. Cool completely, then freeze in a single layer on a baking sheet for 1 hour until solid before transferring to a freezer bag: this prevents them from freezing into a single block. Once frozen solid, stack them freely in the bag. Individual portions can be pulled out as needed without thawing the whole batch. Label with the date.
Reheating
From frozen: microwave one to two pancakes on a plate at 50% power for 60 to 90 seconds until warmed through and soft. Alternatively, place frozen pancakes directly on the rack of a 160°C (325°F) oven for 8 to 10 minutes until heated through: the oven method restores a slight surface dryness that the microwave cannot replicate. From the fridge: 30 seconds at full power in the microwave is enough for 1 to 2 pancakes. For a crisp edge on refrigerated pancakes, place them in a dry skillet over medium-low heat for 1 minute per side.
Nutrition Information
Per serving (2 to 3 pancakes, approximately 1/4 of the full batch, plain without toppings)
| Nutrient | Amount |
|---|---|
| Calories | 285 kcal |
| Protein | 7g |
| Carbohydrates | 40g |
| Fiber | 1g |
| Sugar | 9g |
| Total Fat | 11g |
| Saturated Fat | 6.5g |
| Cholesterol | 75mg |
| Sodium | 440mg |
| Vitamin C | 0mg |
| Calcium | 115mg |
| Iron | 2mg |
| Potassium | 170mg |
Nutrition values are approximate and may vary based on brands and portion sizes. Toppings (syrup, butter, fruit) are not included.
Why This Recipe Works
The combination of baking powder and baking soda in the same batter is a deliberate double-leavening strategy rather than redundancy. Baking powder is a complete leavening system: it contains both an acid and a base and produces carbon dioxide in two stages, first when it contacts moisture in the batter and again when exposed to heat in the pan. Baking soda is a base only and requires an external acid (the buttermilk) to react. By using both, the batter benefits from: the initial moisture-activated lift of the baking powder at room temperature during the rest period; the additional acid-activated lift of the baking soda reacting with the buttermilk; and the second heat-activated burst from the baking powder when the batter hits the hot pan. Each stage contributes to the overall height and openness of the crumb, and removing either agent produces a noticeably flatter result.
The 5-minute resting period works through three simultaneous mechanisms. First, the baking powder and soda react with the buttermilk and begin producing carbon dioxide bubbles that are suspended throughout the batter, giving it a slight pre-rise before cooking starts. Second, the flour’s starch granules fully hydrate during the rest, which means the starch absorbs moisture more evenly and produces a more uniform crumb during cooking. Third, the gluten networks that formed during mixing begin to relax as the wheat proteins lose the tension created by folding: shorter, less tense gluten networks offer less resistance to the expanding carbon dioxide during cooking, which allows the pancake to rise more freely rather than fighting against a tight, elastic dough structure.
Buttermilk’s contribution to pancake fluffiness is both chemical and physical. The lactic acid in buttermilk lowers the batter’s pH, which affects two outcomes. First, it reacts with the baking soda to produce CO2, as described above. Second, the acidic environment partially breaks the disulfide bonds in the gluten proteins, which weakens the gluten network’s overall strength and produces a more tender, less chewy crumb than the same recipe made with neutral milk. The slight sourness of buttermilk also balances the sweetness of the sugar and maple syrup in a way that plain milk, which adds no counterpoint flavor, cannot.
Minimal mixing (10 to 12 strokes maximum) is not simply a guideline for gentleness: it is a gluten management technique with a measurable textural outcome. Glutenin and gliadin proteins in the flour begin linking into gluten networks the moment they contact water, and each additional stroke of mixing extends and strengthens those networks. A short-mixed batter has short, loosely linked gluten networks that offer minimal structural resistance to expanding gas bubbles, allowing pancakes to rise tall and freely. A long-mixed batter has long, strong, interconnected gluten networks that restrict expansion and trap the CO2 in elongated tunnels rather than a fine, open crumb. The characteristic horizontal tunnels through an overmixed pancake are physically formed by gas being forced through a dense, resistant structure rather than being able to expand freely in all directions.
Melted butter produces a more evenly tender pancake than vegetable oil because of the milk solids it contains. These proteins and lactose brown slightly during baking and contribute a mild, toasted dairy flavor. More importantly, the milk solids physically interrupt the gluten network during mixing by coating some of the flour proteins and preventing them from linking. This fat-inhibited gluten development is why butter-based pancake batters produce a more consistently tender crumb than oil-based ones at the same mixing level, and why the two fats are not fully interchangeable even at the same quantity.
I’ve tested this recipe with resting times of 0, 5, and 10 minutes in separate batches. The un-rested batch produced the flattest pancakes with the densest crumb. The 5-minute rest produced tall, fluffy pancakes with a fine, open crumb. The 10-minute rest produced pancakes that were very slightly taller but had a noticeably more sour flavor from the extended buttermilk-and-soda reaction, and the batter was harder to pour cleanly as the leavening had already begun deflating slightly. Five minutes is the optimal rest for this recipe.
Frequently Asked Questions
Can I make pancake batter the night before?
You can prepare the dry and wet ingredients separately the night before and store them in covered containers in the refrigerator, then combine them in the morning. However, mixing the full batter the night before and storing it overnight is not recommended: the leavening activates fully within hours of contact with the wet ingredients and loses most of its potency by morning, producing flat, dense pancakes. For the best result, mix the batter fresh in the morning: the full process takes under 10 minutes.
Why are my pancakes flat even though I followed the recipe?
Flat pancakes from an otherwise correct recipe almost always trace back to one of three causes: old baking powder that has lost its potency (test it in hot water before using), overmixing the batter after the dry and wet ingredients combine, or skipping the rest period. Any one of these is enough to significantly reduce the rise. If your baking powder bubbles vigorously in hot water, mix only 10 to 12 strokes, and rest the batter for 5 minutes without stirring afterward, the pancakes will be tall.
Can I use regular milk instead of buttermilk?
Yes, with a small adjustment. Add 1 tablespoon of white vinegar or fresh lemon juice to 1 cup of whole milk, stir once, and leave it for 5 minutes until it curdles slightly. This creates a homemade buttermilk substitute that reacts with the baking soda in a similar way. The finished pancakes will be slightly less flavorful and marginally less fluffy than the genuine buttermilk version, but still significantly better than plain milk without acid, which produces a denser, less leavened result.
How do I know when to flip a pancake?
Three signs together indicate the right moment: the edges of the pancake look completely dry and matte rather than glossy and wet; bubbles have broken through the surface across the entire pancake (not just the outer edge); and those burst bubbles at the center hold their shape as small open holes rather than filling back in. When all three are present, the bottom is golden and the batter is set enough to hold together through the flip. Flipping before all three signs appear tears the top surface and produces a misshapen, sticky second side.
Are fluffy pancakes gluten-free?
As written, no: the recipe uses all-purpose wheat flour. For a gluten-free version, replace the all-purpose flour with a certified gluten-free all-purpose flour blend that includes xanthan gum, which mimics the structural role that gluten plays in holding the pancake together during the flip. The rest of the recipe stays identical. The pancakes will be slightly more fragile when flipping but still fluffy and flavorful. Verify that your baking powder is also certified gluten-free, as some brands use a wheat-based starch as a filler.
Why do my pancakes have a gummy center?
A gummy, undercooked center in an otherwise browned pancake is caused by heat that is too high. When the pan is too hot, the outer surface of the batter sets and browns quickly, trapping the uncooked batter inside where it cannot evaporate its moisture or finish cooking through. The cure is to reduce the heat to medium and cook more slowly: 2 to 3 minutes on the first side rather than 60 to 90 seconds. The correct temperature is one where butter foams but doesn’t brown immediately, and the pancake takes a full 2 minutes to show the bubbling and dry-edge signs of readiness.
Can I double this recipe for a larger group?
Yes, directly. Double all ingredients in proportion and mix in a large bowl. The only practical adjustment: cook in more batches and keep finished pancakes in the low oven between batches rather than trying to cook them all at once. The batter from a doubled recipe can sit in the bowl for up to 15 minutes while earlier batches cook without significant loss of leavening potency, though it will be slightly less fizzy by the final batch than the first. Don’t stir the batter between batches.
Conclusion
Fluffy pancakes are not about a secret ingredient: they are about understanding why each step matters and following through on it. Rest the batter because the leavening needs time to activate. Mix minimally because gluten needs to be kept short and relaxed. Use buttermilk because the acidity does real chemical work on both lift and tenderness. Keep the heat at medium because patience is what produces gold rather than char. When those four decisions are made correctly, the result is a stack of fluffy pancakes with a tall, tender crumb that holds syrup, stays warm, and makes a Saturday morning feel genuinely worth the effort.
If you loved this recipe, save it to your breakfast recipes Pinterest board so you can find it easily later. For more same recipes must follow Thecookingvibes Pinterest account.
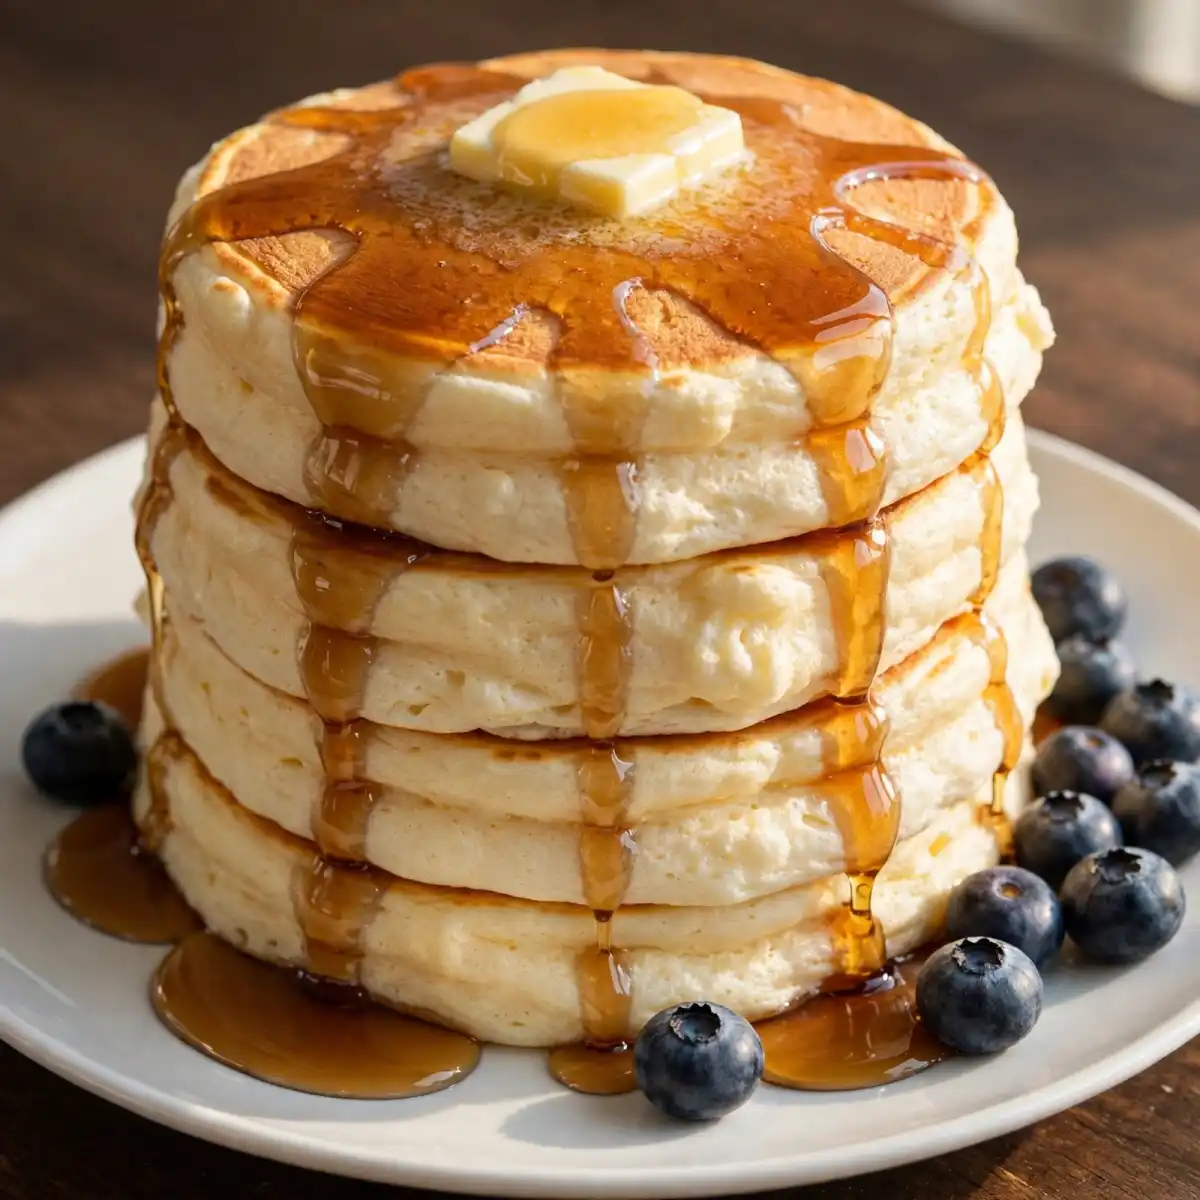
Fluffy Pancakes
Ingredients
Equipment
Method
- Whisk flour, sugar, baking powder, baking soda, and salt in a large bowl until fully combined and leavening is evenly distributed.
- In a separate bowl, whisk buttermilk, egg, cooled melted butter, and vanilla until uniform in color and slightly frothy.
- Pour wet ingredients into dry ingredients all at once. Fold with a rubber spatula using 10 to 12 strokes until no dry flour streaks remain. Batter will be lumpy and thick: do not smooth it out.
- Leave batter to rest uncovered for 5 minutes without stirring. Heat griddle or skillet over medium heat during this time.
- Add a small amount of butter to the heated surface and spread with a folded paper towel. Butter should foam but not immediately brown.
- Pour 1/3 cup of rested batter per pancake onto the surface. Cook undisturbed for 2 to 3 minutes until edges are dry and matte, bubbles appear across the full surface, and burst bubbles hold their shape.
- Flip once with a wide spatula. Cook second side for 1 to 2 minutes until golden. Transfer to a baking sheet in a 90°C (195°F) oven to keep warm. Wipe pan with buttered paper towel between batches.
Notes
- Never stir the batter after the 5-minute rest: stirring deflates the carbon dioxide bubbles that have already formed.
- Use fresh baking powder: test in hot water before using to verify activity.
- Room-temperature buttermilk and egg incorporate more smoothly and produce a more even crumb.
- Keep heat at medium throughout: high heat browns the surface before the center cooks through.
- Allergens: Contains dairy (buttermilk, butter), eggs, and gluten (all-purpose flour). Free from nuts and soy as written. Use certified gluten-free flour blend for a gluten-free version. Use dairy-free milk with acid and coconut oil for a dairy-free version.
- Not guaranteed safe for any specific allergy without checking all individual ingredient labels.
- Nutrition values are approximate and may vary based on brands and portion sizes.