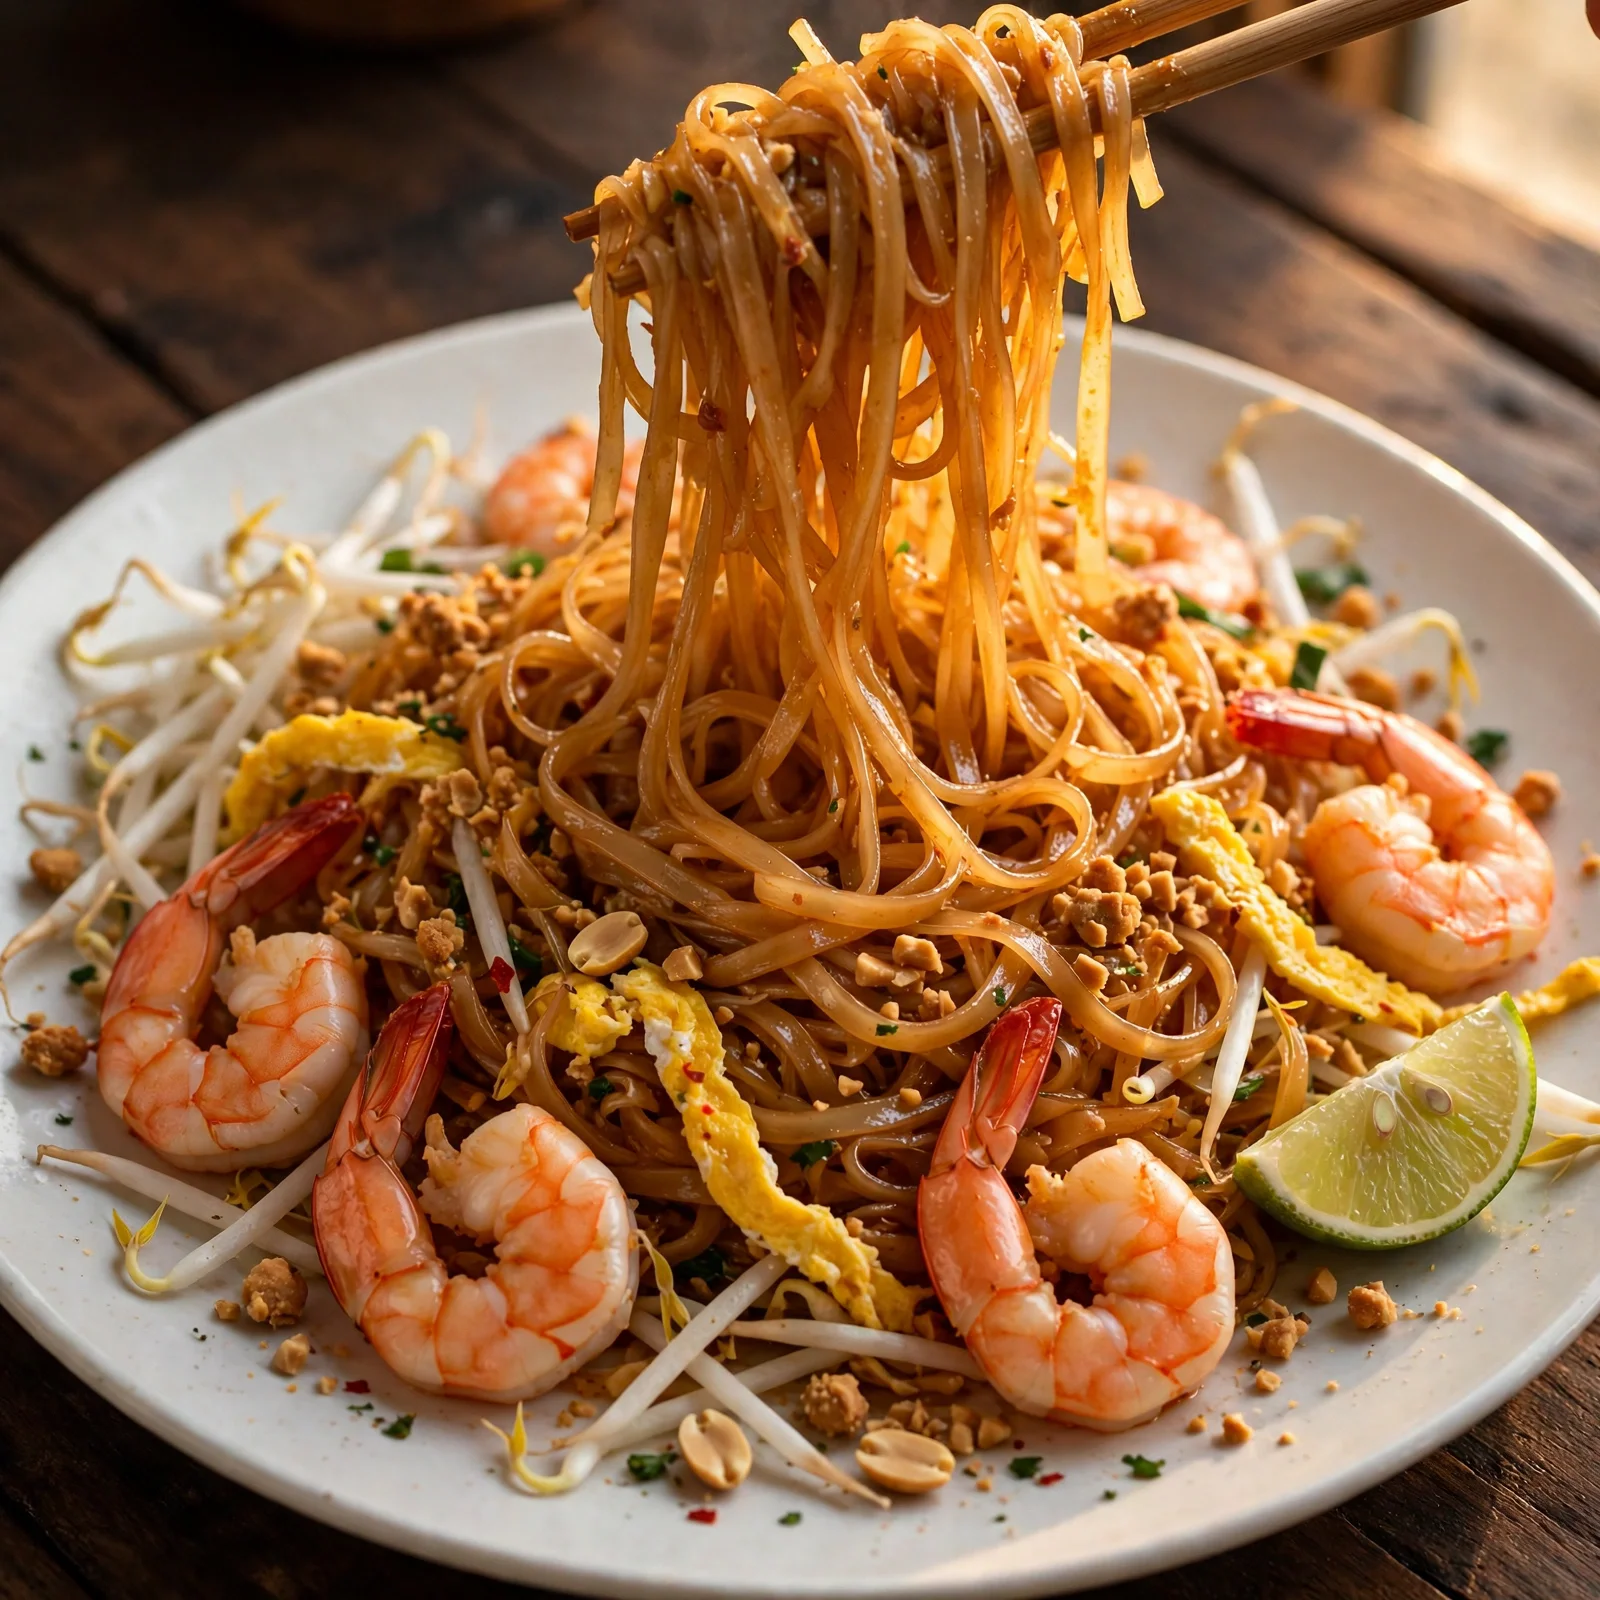
Authentic Pad Thai Recipe — Chewy Noodles, Tangy Sauce, One Wok
The first time you make pad thai at home and it actually tastes like the real thing, you notice what’s different from the versions you’ve tried before. The noodles have chew without sticking together. The sauce coats every strand but doesn’t pool at the bottom. The egg fries into distinct pieces rather than turning scrambled and wet. That combination of texture and balanced flavor, tangy from the tamarind, slightly sweet, a little salty, with a roasted peanut finish, is what makes pad thai one of the most replicated dishes from Thai cooking.
This pad thai recipe builds that flavor from a proper sauce made with tamarind paste, fish sauce, and palm sugar rather than a bottled shortcut that tastes like sweet ketchup. The noodles soak in water rather than boiling, which keeps them from over-softening before they hit the wok. Everything comes together in one pan in about 30 minutes, and the recipe makes 2 to 3 generous servings. Once you’ve made it, the wok technique becomes second nature and you can have pad thai on the table faster than any delivery option.
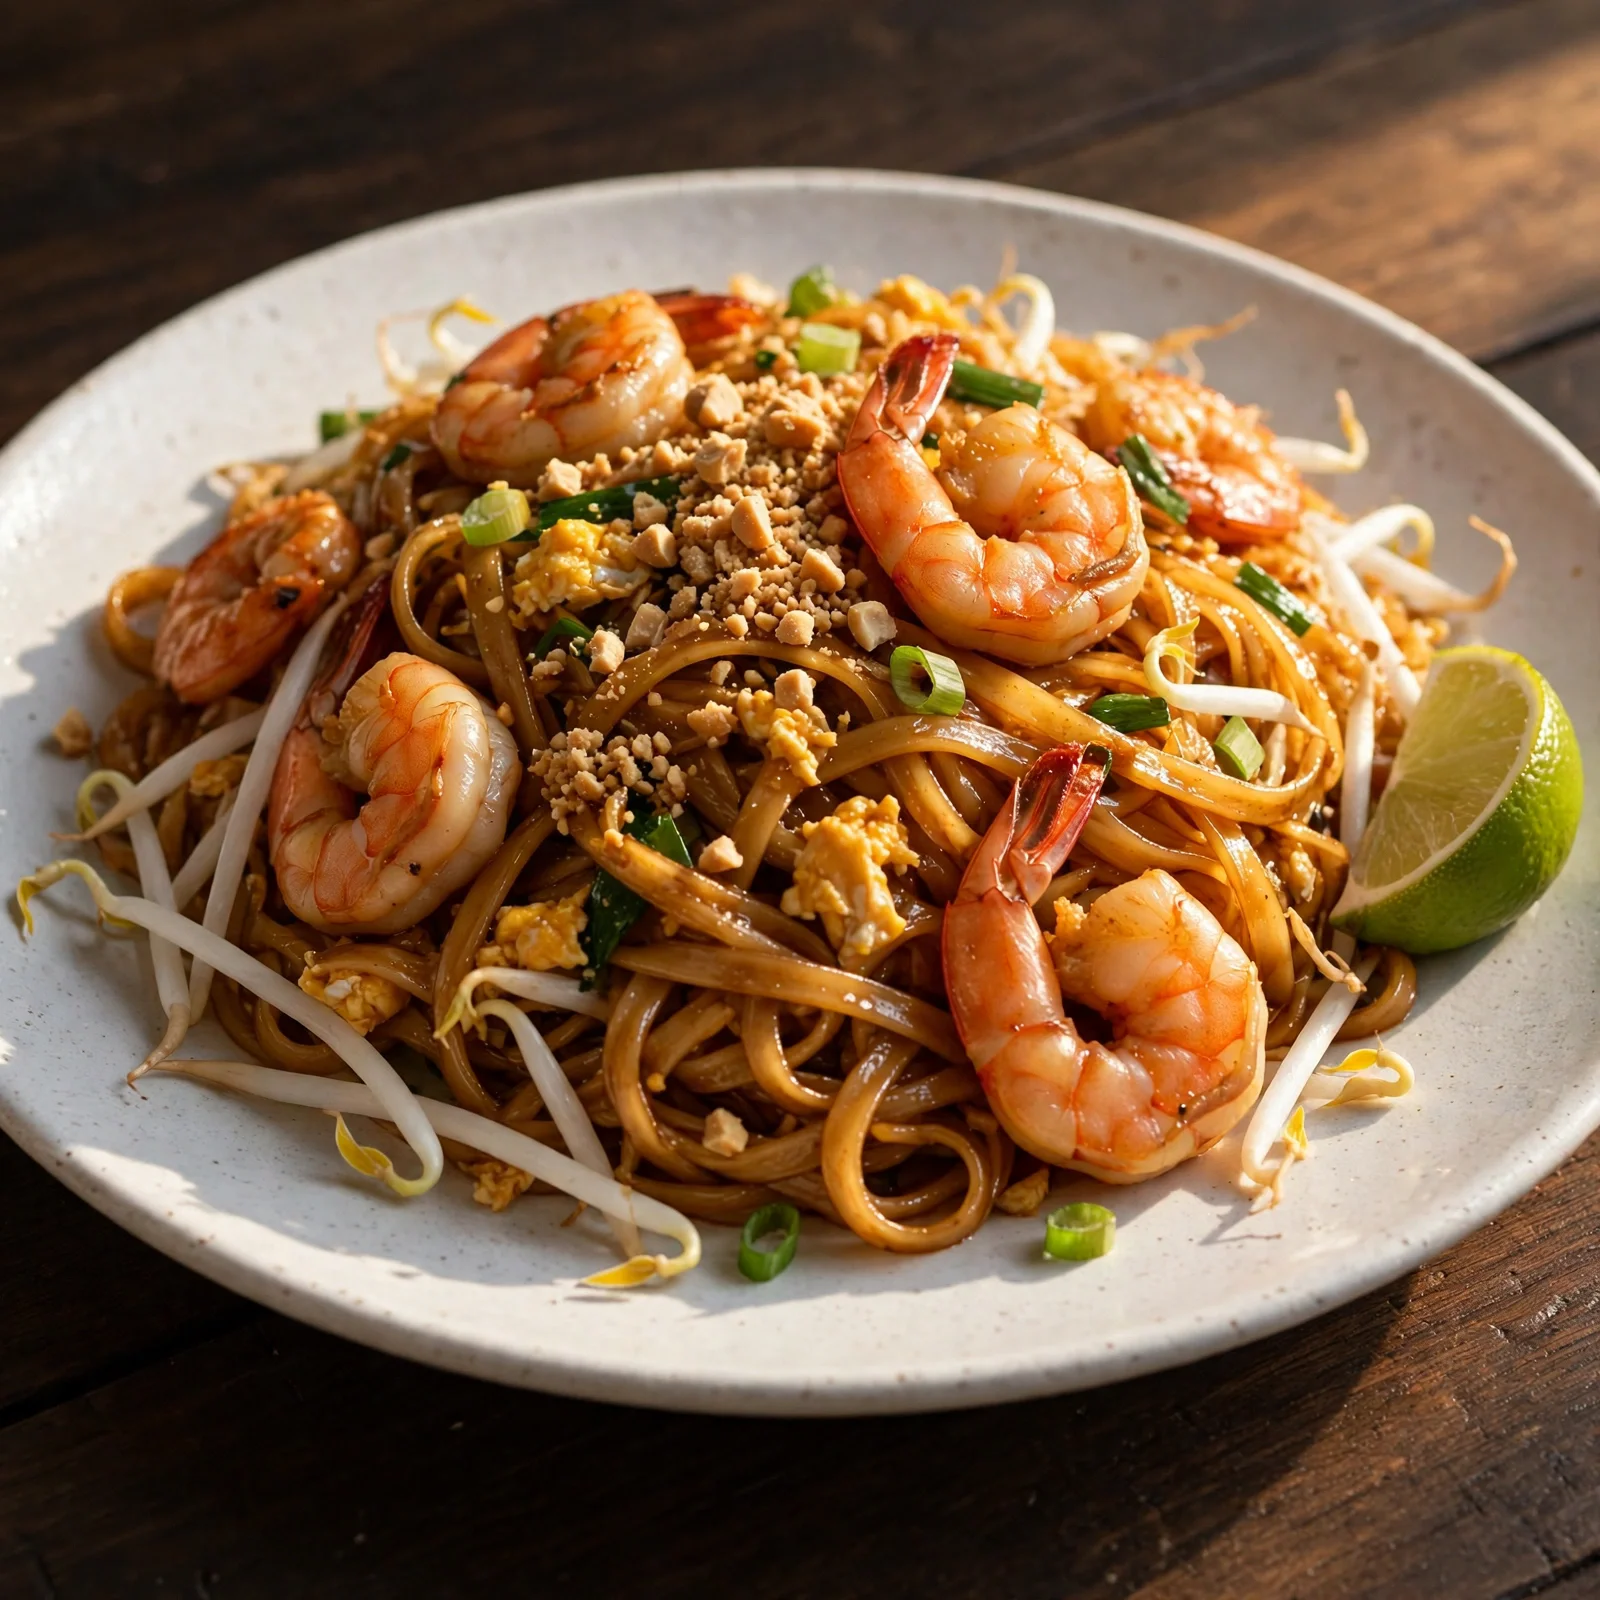
Why You’ll Love This Pad Thai Recipe
- Authentic tamarind sauce, not ketchup. Most home pad thai recipes use ketchup as a shortcut. It produces a dish that’s sweet and red but doesn’t taste like the real thing. This recipe uses tamarind paste for the genuine sourness that defines the sauce, balanced with fish sauce and palm sugar.
- Noodles that are chewy, not mushy. Soaking the rice noodles in room-temperature water rather than boiling them is the difference between noodles that finish cooking perfectly in the hot wok and noodles that are already too soft before they hit the heat.
- Egg fried correctly. Pushing the noodles to the side, adding the egg to the empty part of the pan, and letting it set slightly before breaking it up gives you distinct pieces of cooked egg distributed through the noodles rather than a wet, scrambled coating.
- Ready in 30 minutes. The sauce takes 5 minutes to mix, the noodles soak while you prep the other ingredients, and the actual wok cooking takes about 10 minutes. The timing works even on a weeknight.
- Customizable protein. The base recipe works identically with shrimp, chicken, tofu, or a combination. The sauce and technique don’t change regardless of what protein you choose.
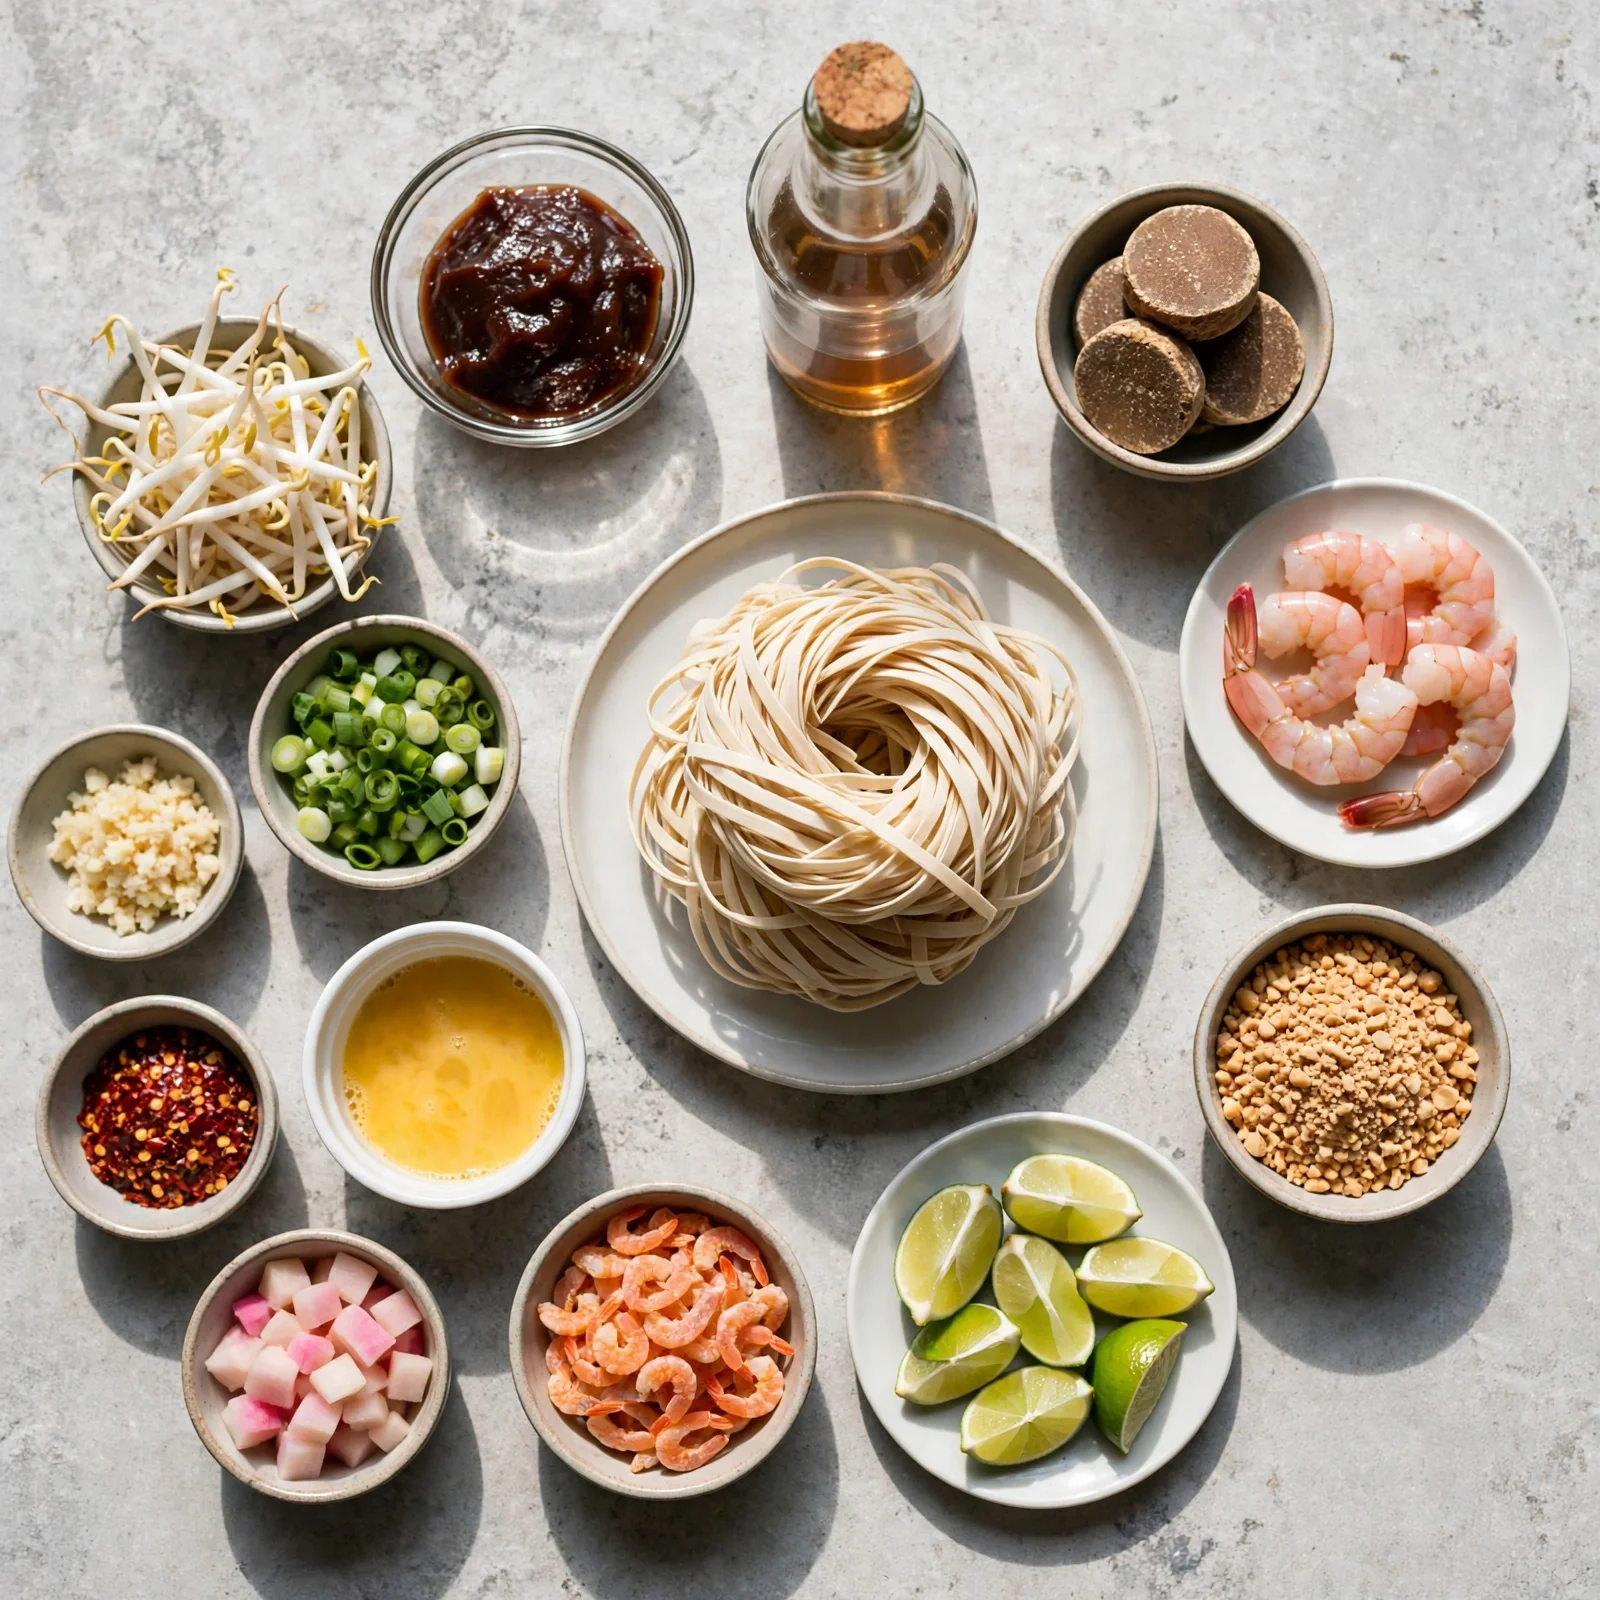
Ingredients You’ll Need
Recipe Timing
| Detail | Info |
|---|---|
| Servings | 2 to 3 |
| Difficulty | Intermediate |
| Course | Main Course |
| Cuisine | Thai |
| Prep Time | 15 minutes |
| Noodle Soak Time | 30 minutes |
| Cook Time | 15 minutes |
| Total Time | 60 minutes |
Use dried flat rice noodles that are 3mm wide, sometimes labeled as “banh pho” noodles or medium rice stick noodles. These are the traditional width for pad thai and absorb the sauce without becoming gluey. Thinner vermicelli noodles cook too fast and clump; wider noodles (5 to 6mm) take longer to cook through in the wok and can end up with a firm center.
For the tamarind, use tamarind paste or tamarind concentrate from a jar, not tamarind pulp that needs soaking and straining. If you use tamarind concentrate (which is thicker and more intensely sour than paste), start with 2 tablespoons and add more to taste. Tamarind paste from a jar typically has a more balanced flavor and is easier to work with.
For the Pad Thai Sauce:
- 3 tbsp tamarind paste — The defining ingredient that gives pad thai its signature sourness. Don’t substitute with lime juice; it’s sharper and doesn’t have the same fruity, rounded acidity. Tamarind is available in most Asian grocery stores and online, and a jar keeps in the fridge for months.
- 3 tbsp fish sauce — Adds the deep, salty, savory backbone. Thai or Vietnamese fish sauce brands work well; the flavor is intense straight from the bottle but mellows and integrates beautifully once it’s cooked into the dish.
- 2 tbsp palm sugar, finely grated, or light brown sugar — Balances the sourness and saltiness. Palm sugar has a faintly caramel-like, less cloying sweetness than white sugar. Light brown sugar is a convenient and close substitute. Don’t use white sugar; it’s sharper and makes the sauce taste one-dimensional.
- 1 tsp oyster sauce (optional) — Adds a faint umami depth. Skip it if you want to keep the sauce simpler or if managing shellfish allergies.
For the Noodles and Protein:
- 200g (7 oz) dried flat rice noodles, 3mm wide — See selection notes above. Soak in room-temperature water for 30 minutes before cooking, not longer. Over-soaked noodles break apart in the wok.
- 200g (7 oz) raw medium shrimp, peeled and deveined, OR 200g boneless, skinless chicken breast or thigh, thinly sliced — Both work with the same timing. Shrimp cooks through in 3 to 4 minutes; chicken thighs need about 5 to 6 minutes and breast needs 4 to 5. Firm tofu, pressed and cubed, is the third option.
- 3 tbsp neutral oil (vegetable, canola, or avocado oil) — For the high-heat cooking. Use an oil with a high smoke point; olive oil burns at wok temperatures.
- 3 cloves garlic, finely minced — Adds aromatic depth. Goes in before the protein to flavor the oil but after the oil is hot enough to sizzle immediately on contact.
- 2 eggs, lightly beaten — Adds richness and texture. The technique for adding them correctly is in Step 5.
For the Toppings and Finish:
- 1.5 cups (150g) fresh bean sprouts — Added near the end so they stay crunchy. Overcooked bean sprouts turn limp and watery; they only need 60 seconds of heat.
- 3 green onions (scallions), cut into 3 cm pieces — The white parts go in with the protein; the green tops go in with the bean sprouts at the end for a fresh note.
- 1/4 cup (35g) roasted peanuts, roughly crushed — Scattered over the finished dish. Buy them pre-roasted and unsalted so you control the salt level. Crush with the flat side of a knife or in a small zip-lock bag with a rolling pin.
- 2 tbsp dried shrimp (optional) — Small dried shrimp found at Asian grocery stores add an intense umami and savory depth that is part of the authentic flavor. They’re optional but worth including if available.
- 2 tbsp preserved or pickled radish, rinsed and roughly chopped (optional) — Another authentic ingredient. Adds a salty, slightly tangy chew that contrasts with the soft noodles. Rinse before using to remove excess salt.
- 2 limes, cut into wedges, for serving
- Dried red chili flakes, for serving
Allergen and Dietary Disclosure
This recipe contains shellfish (shrimp and optional dried shrimp), eggs, fish (fish sauce and optional oyster sauce), and peanuts (tree nut classification varies by country; in many regions peanuts are classified as legumes, but they are one of the most common allergens regardless).
For a shellfish-free version, use chicken or tofu as the protein and skip the dried shrimp. Replace the oyster sauce with hoisin sauce at the same quantity.
For a fish-free version, replace the fish sauce with soy sauce and a small squeeze of lime juice (use 2 tablespoons of soy sauce for every 3 tablespoons of fish sauce). The flavor will be different but still savory and balanced. Skip the dried shrimp and oyster sauce as well.
For a vegan version, use firm pressed tofu as the protein, replace fish sauce with soy sauce as above, skip the eggs or replace with scrambled silken tofu, and skip the dried shrimp and oyster sauce.
For a peanut-free version, replace the crushed peanuts with toasted pumpkin seeds or sunflower seeds for a similar crunch without the allergen.
This recipe has not been prepared in an allergen-free facility. Always verify individual product labels if you are managing a serious allergy.
Equipment Needed
- Wok (14-inch, carbon steel preferred) or large heavy skillet — A wok is the right tool because its curved sides let you push ingredients up the wall and out of direct heat while adding new ingredients to the center. A 12-inch or larger heavy stainless or cast iron skillet works as an alternative; the technique is the same. The most important attribute is the ability to get very hot, which most non-stick pans cannot do safely or effectively.
- Large bowl for soaking noodles — The noodles need room to expand during the 30-minute soak without touching the sides of the bowl, which can cause uneven soaking.
- Small bowl for the sauce — Mix the tamarind paste, fish sauce, palm sugar, and oyster sauce together before cooking starts. Pad thai cooks fast at high heat and there’s no time to measure and pour individual ingredients while the wok is on.
- Wok spatula or large flat spatula — For tossing and pressing the noodles against the hot wok surface. A thin, angled metal spatula reaches under the noodles without tearing them.
- Kitchen tongs — Useful for tossing and portioning the finished noodles into servings.
Step-by-Step Directions
Step 1: Soak the Noodles
Place the dried rice noodles in a large bowl and cover completely with room-temperature water. Let them soak for 25 to 30 minutes until they are pliable and bendable without cracking, but still have a firm, al dente resistance when you bite one. They will look opaque and white rather than translucent. Drain and set aside. Do not let them soak longer than 35 minutes; over-soaked noodles break apart in the hot wok rather than absorbing the sauce as intact strands.

Chef’s Note: The room-temperature soak rather than hot water or boiling is the key to noodles that finish cooking correctly in the wok. Hot water starts the starch gelatinization process before the noodles reach the pan, making them soft before they absorb any sauce. Room-temperature water hydrates them just enough to be flexible without losing their structural integrity.
Step 2: Mix the Sauce
Combine the tamarind paste, fish sauce, palm sugar, and oyster sauce (if using) in a small bowl and stir until the palm sugar has completely dissolved into the liquid. The sauce should taste intensely tangy, salty, and faintly sweet straight from the bowl; it will mellow significantly once it coats the noodles. Taste and adjust: if it’s too sour, add a little more palm sugar; if it’s too sweet, add a few more drops of fish sauce.
Chef’s Note: Pre-mixing the sauce is not a convenience step; it’s a technique step. Pad thai cooks at very high heat in 8 to 10 minutes. There is genuinely no time to measure four separate liquids into the wok while the noodles are already in and beginning to stick. Having the sauce in one bowl means one pour and done.
Step 3: Heat the Wok and Cook the Protein
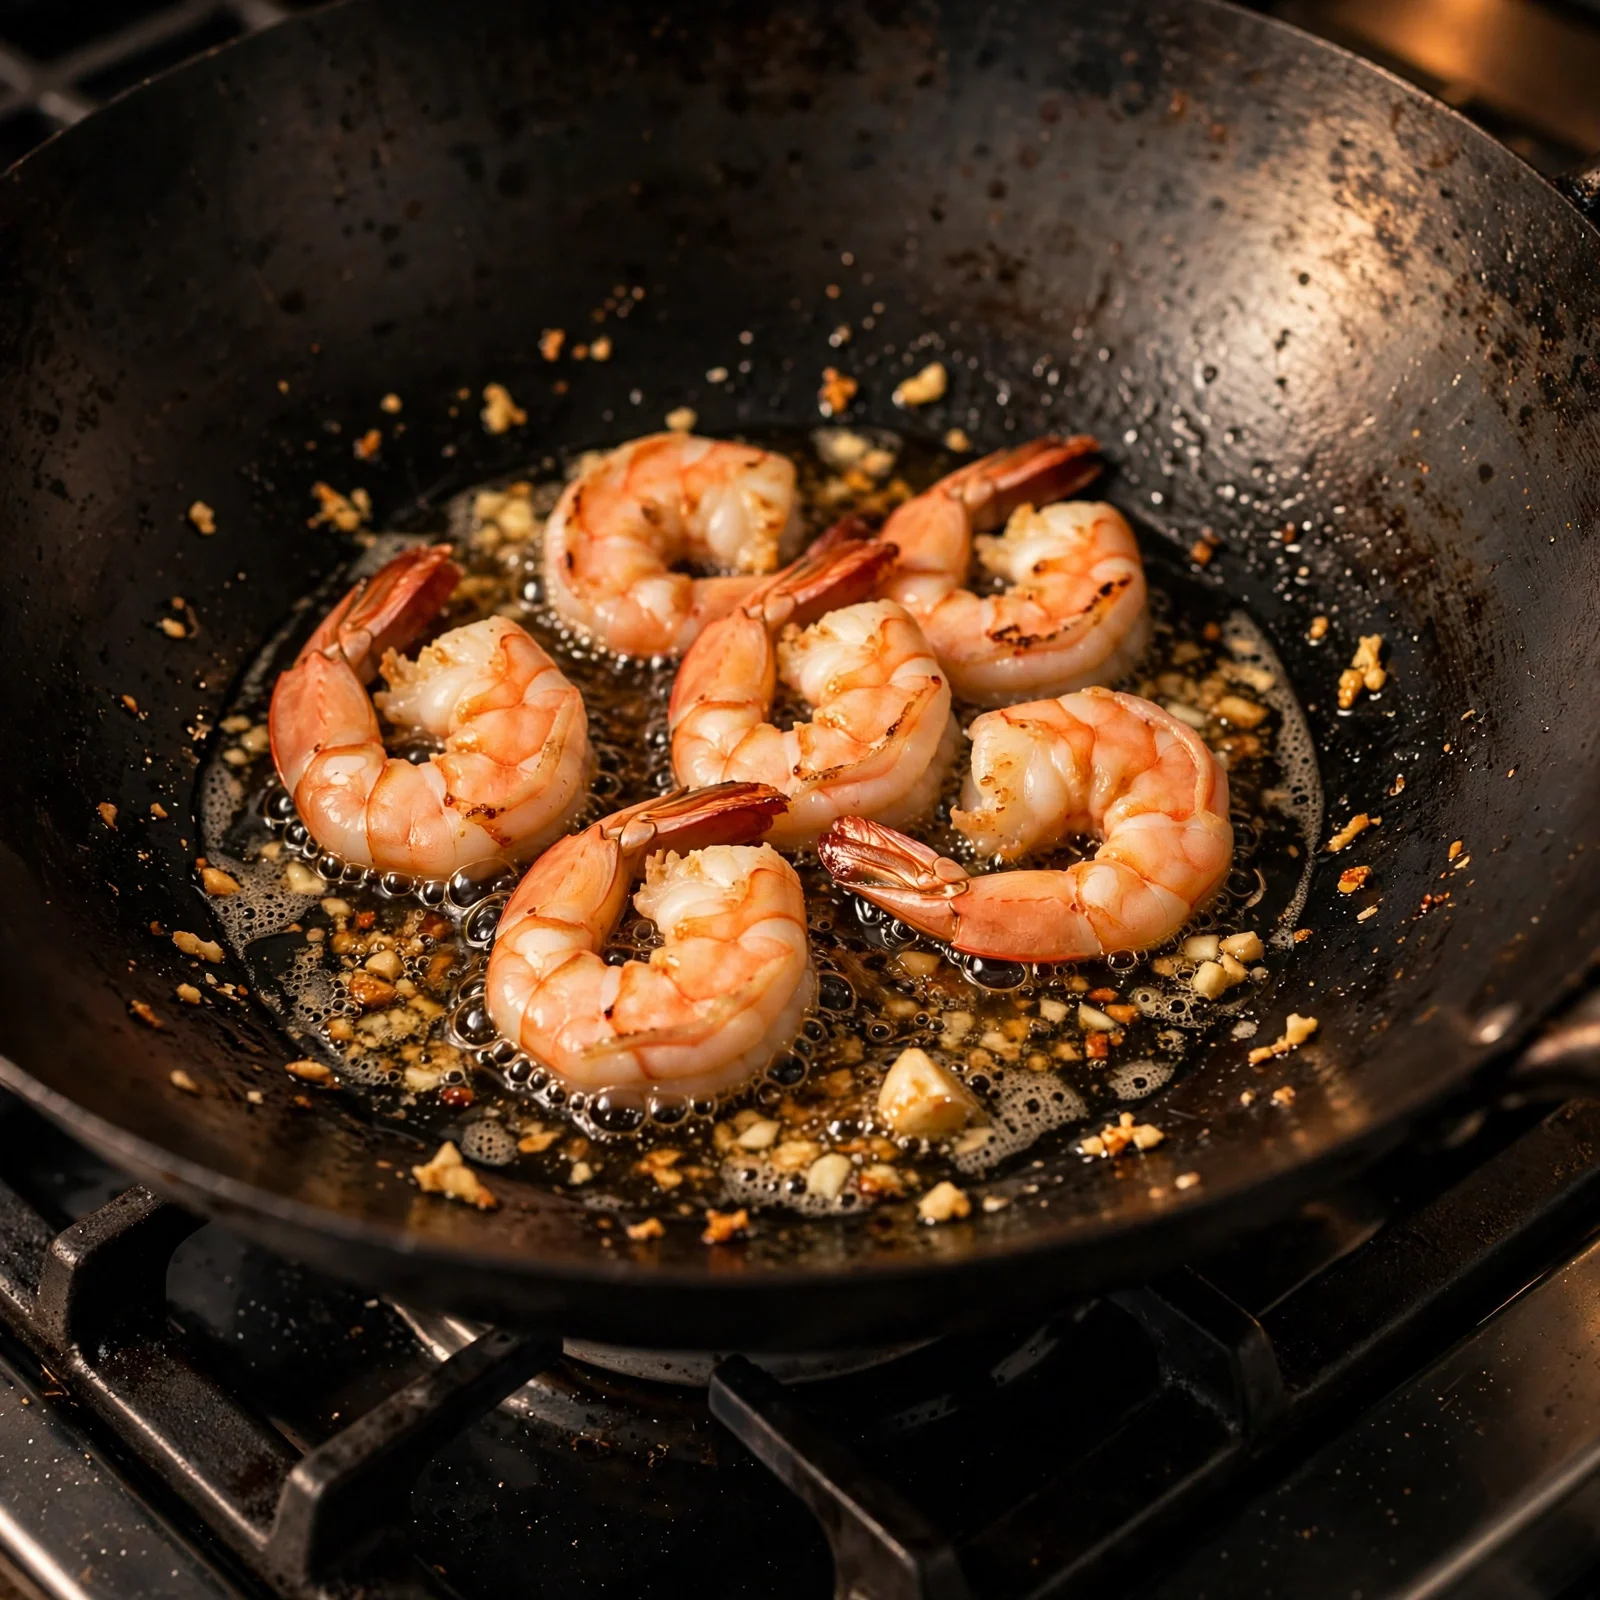
Set your wok or large skillet over the highest heat your burner can produce. When the wok is hot enough that a drop of water vaporizes immediately on contact, add 2 tablespoons of the oil and swirl to coat. Add the garlic and stir for 15 to 20 seconds until fragrant but not yet browned.
Add the shrimp or sliced chicken to the hot wok in a single layer. For shrimp: cook for 90 seconds per side until pink and just opaque, then remove to a plate. For chicken: cook for 4 to 5 minutes, stirring occasionally, until the pieces are cooked through with no pink remaining. Remove to a plate.
Food safety note: Handle raw shrimp and chicken with separate utensils where possible. Shrimp is fully cooked when it curls into a C-shape and turns opaque throughout; an O-shape curl means it’s overcooked. Chicken is done when cut pieces show no pink and juices run clear.
Step 4: Add the Noodles and Sauce
Add the remaining tablespoon of oil to the wok. Add the drained, soaked noodles and pour the entire sauce mixture over them. Using your spatula, toss the noodles continuously for 2 to 3 minutes, pressing them flat against the hot wok surface for a few seconds at a time before flipping and tossing again. This pressing motion is what gives the noodles their characteristic glossy, slightly charred coating and allows them to absorb the sauce evenly. If the noodles look dry or are sticking to the pan before they’re cooked through, add 2 to 3 tablespoons of water to create a brief burst of steam.
Add the dried shrimp and pickled radish at this point if using, folding them through the noodles.
Step 5: Add the Egg
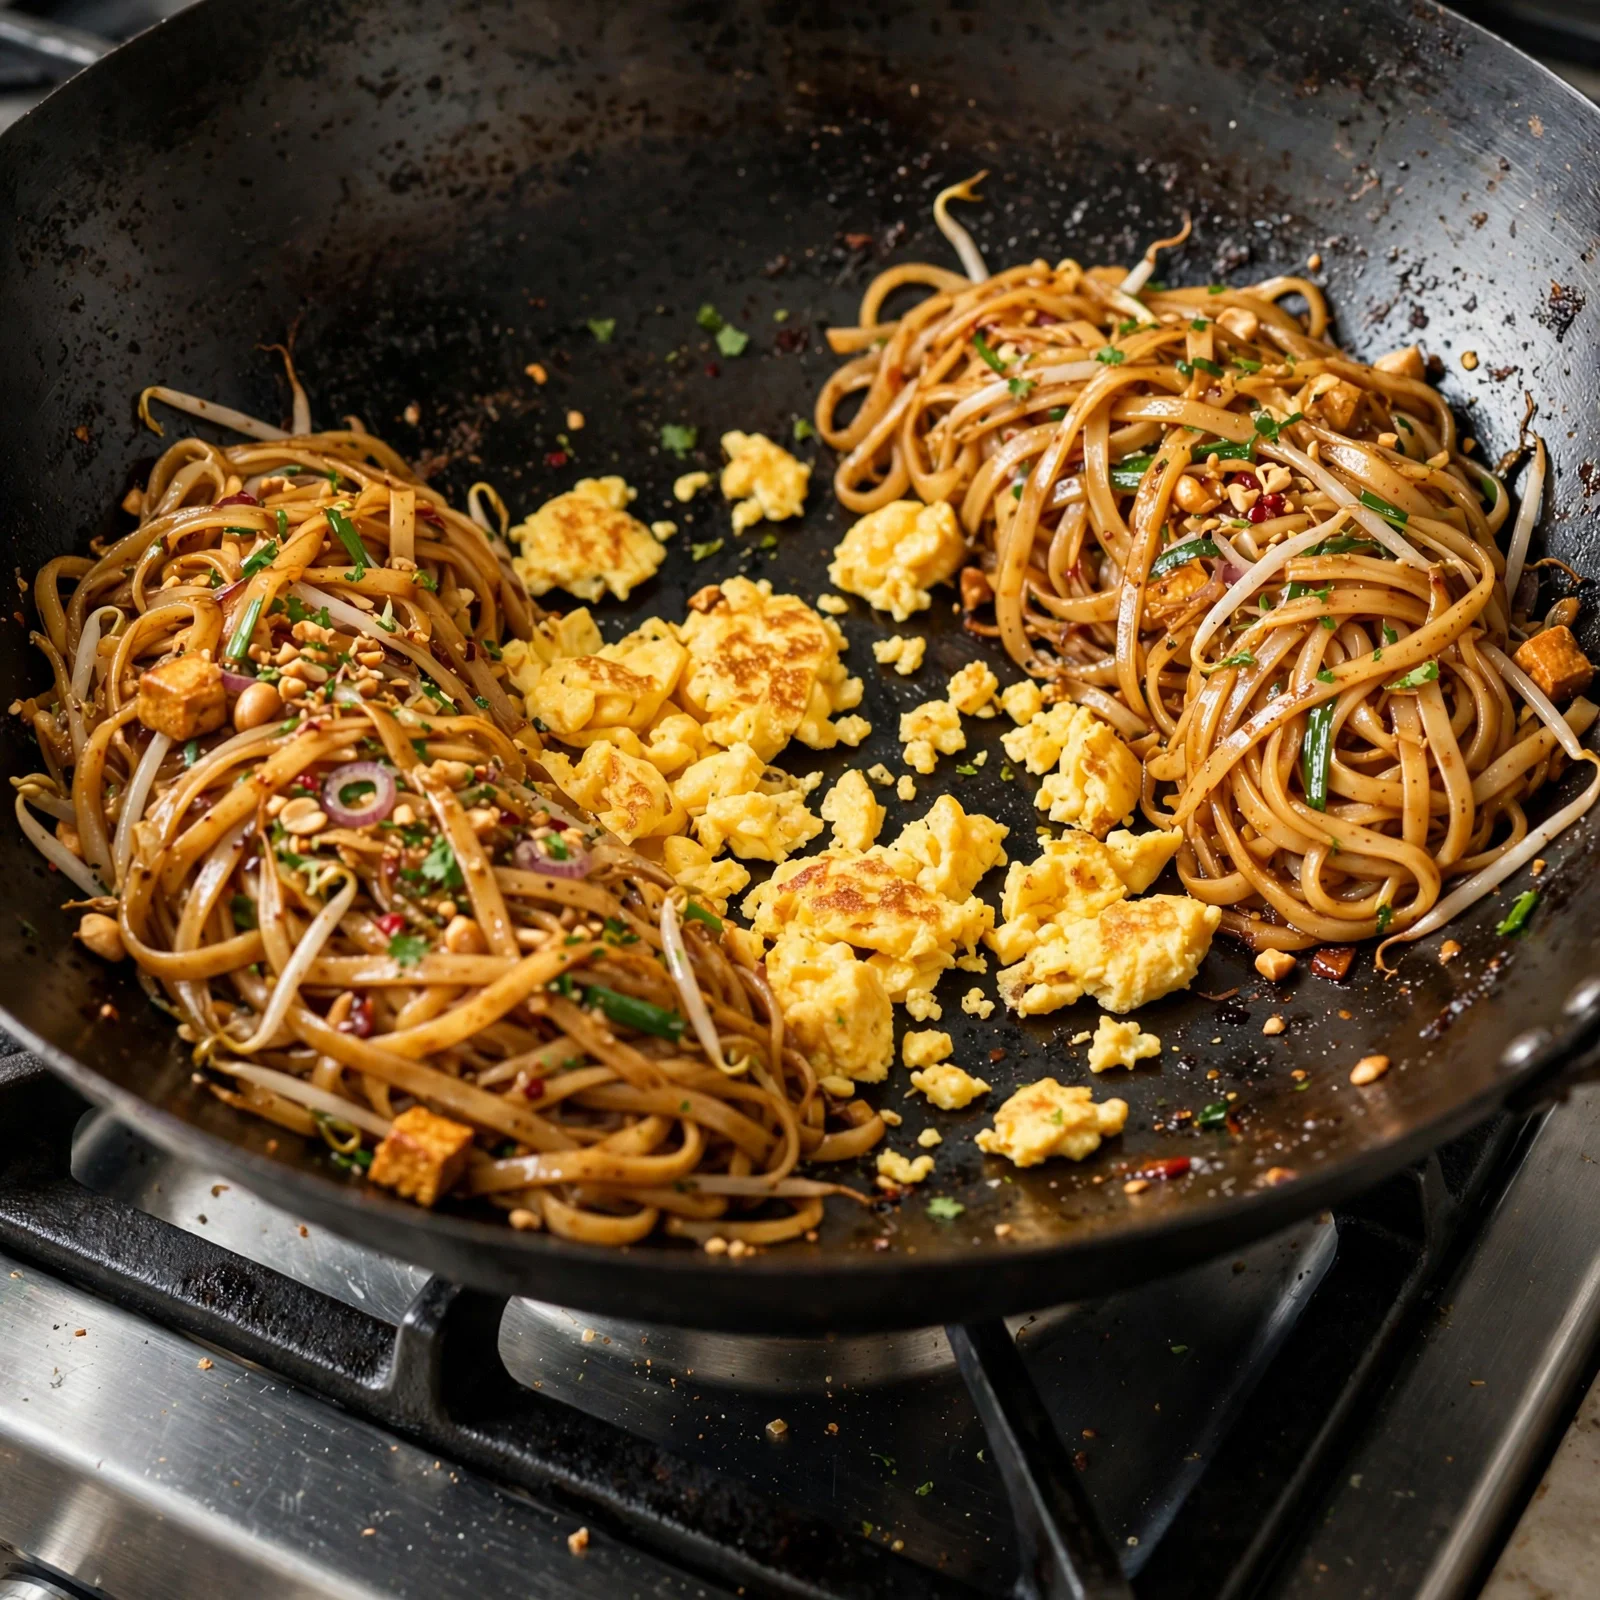
Push the noodles to the outer walls of the wok, creating an empty space in the center. If the center of the wok looks dry, add a small drizzle of oil. Pour the beaten eggs into the empty center and let them cook undisturbed for about 30 seconds until the edges start to set. Break the egg up with the spatula into large, irregular pieces, then toss with the noodles immediately before the egg becomes fully dry. The egg should be just cooked through with small defined chunks, not wet and scrambled-looking.
Chef’s Note: The pushing-aside method for the egg is the technique that keeps pad thai from looking and tasting like egg-fried noodles. The egg needs its own surface contact with the hot wok to set properly before it meets the noodles. Mixed in from the start, it coats everything with a wet film instead of forming distinct pieces.
Step 6: Add Bean Sprouts, Greens, and Protein
Return the cooked shrimp or chicken to the wok. Add the bean sprouts and the green tops of the scallions. Toss everything together over high heat for 60 seconds, just long enough to warm the protein through and take the raw edge off the bean sprouts without making them limp. The white scallion pieces should already be in the wok from Step 3 if you added them with the protein; the green tops go in now for their fresh, bright flavor.
Step 7: Plate and Finish
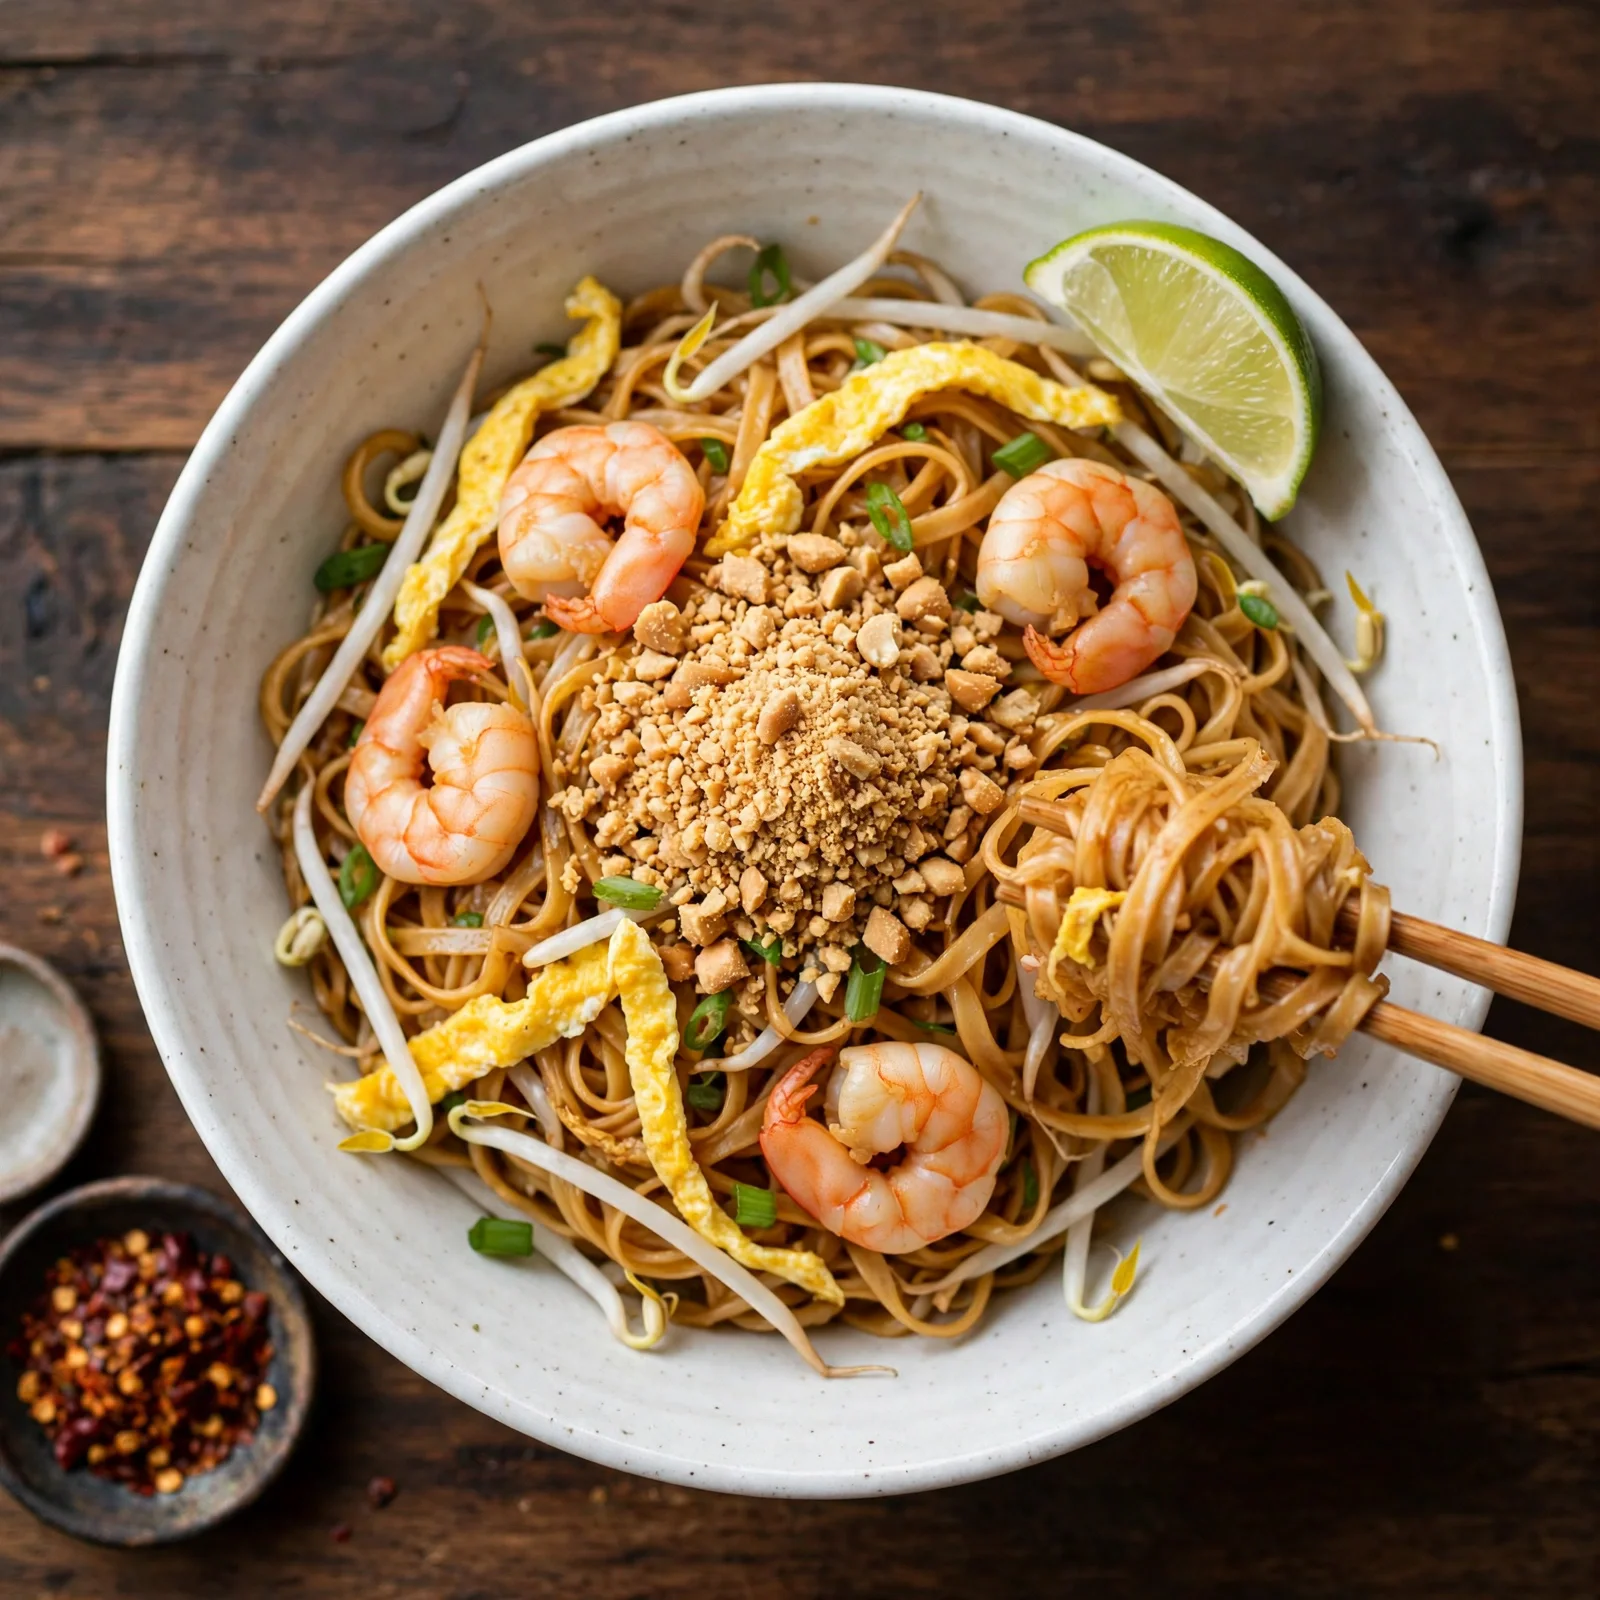
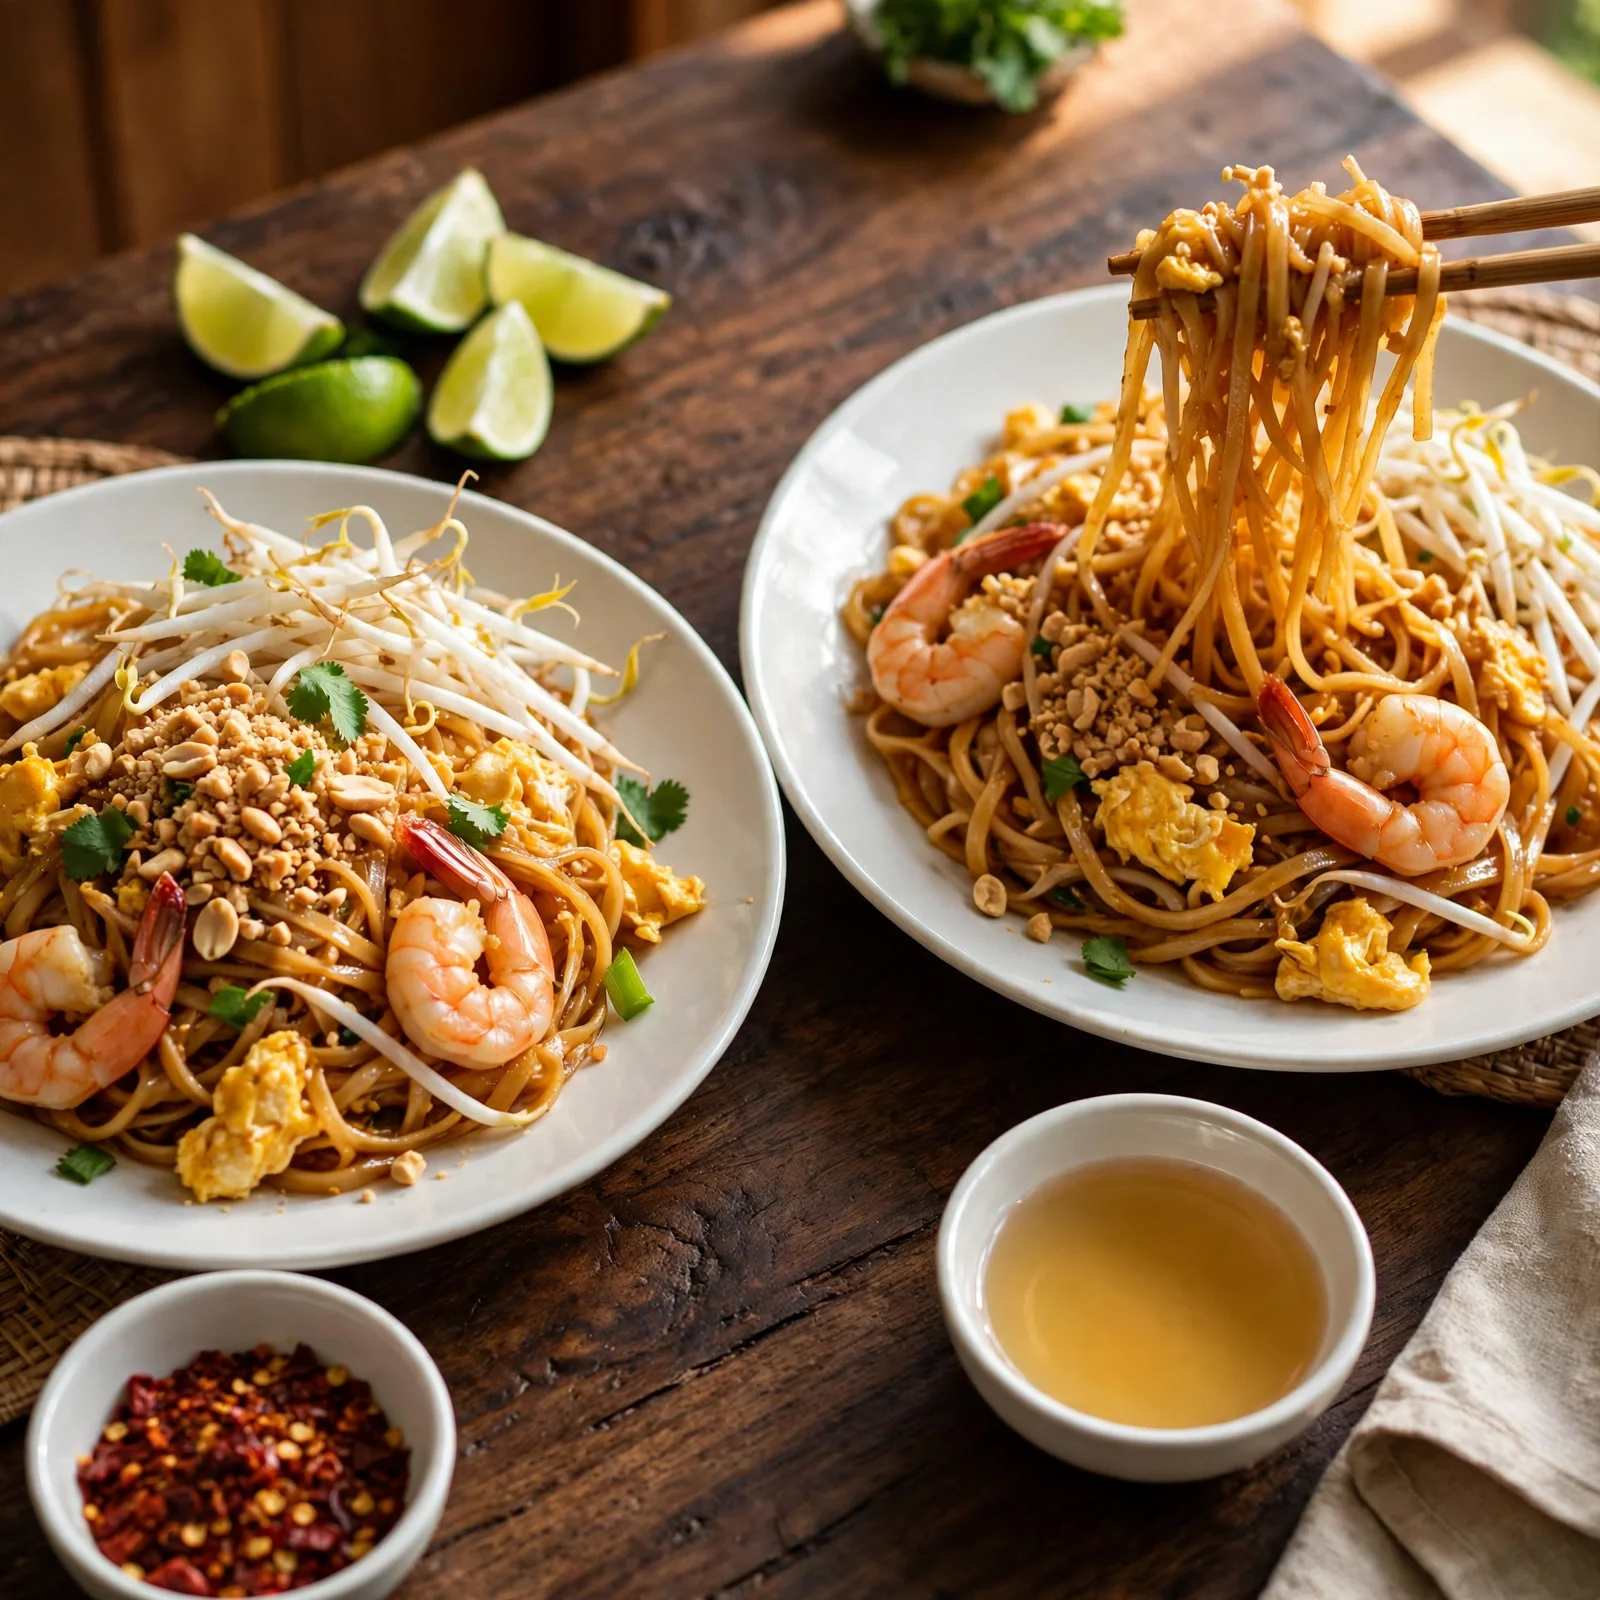
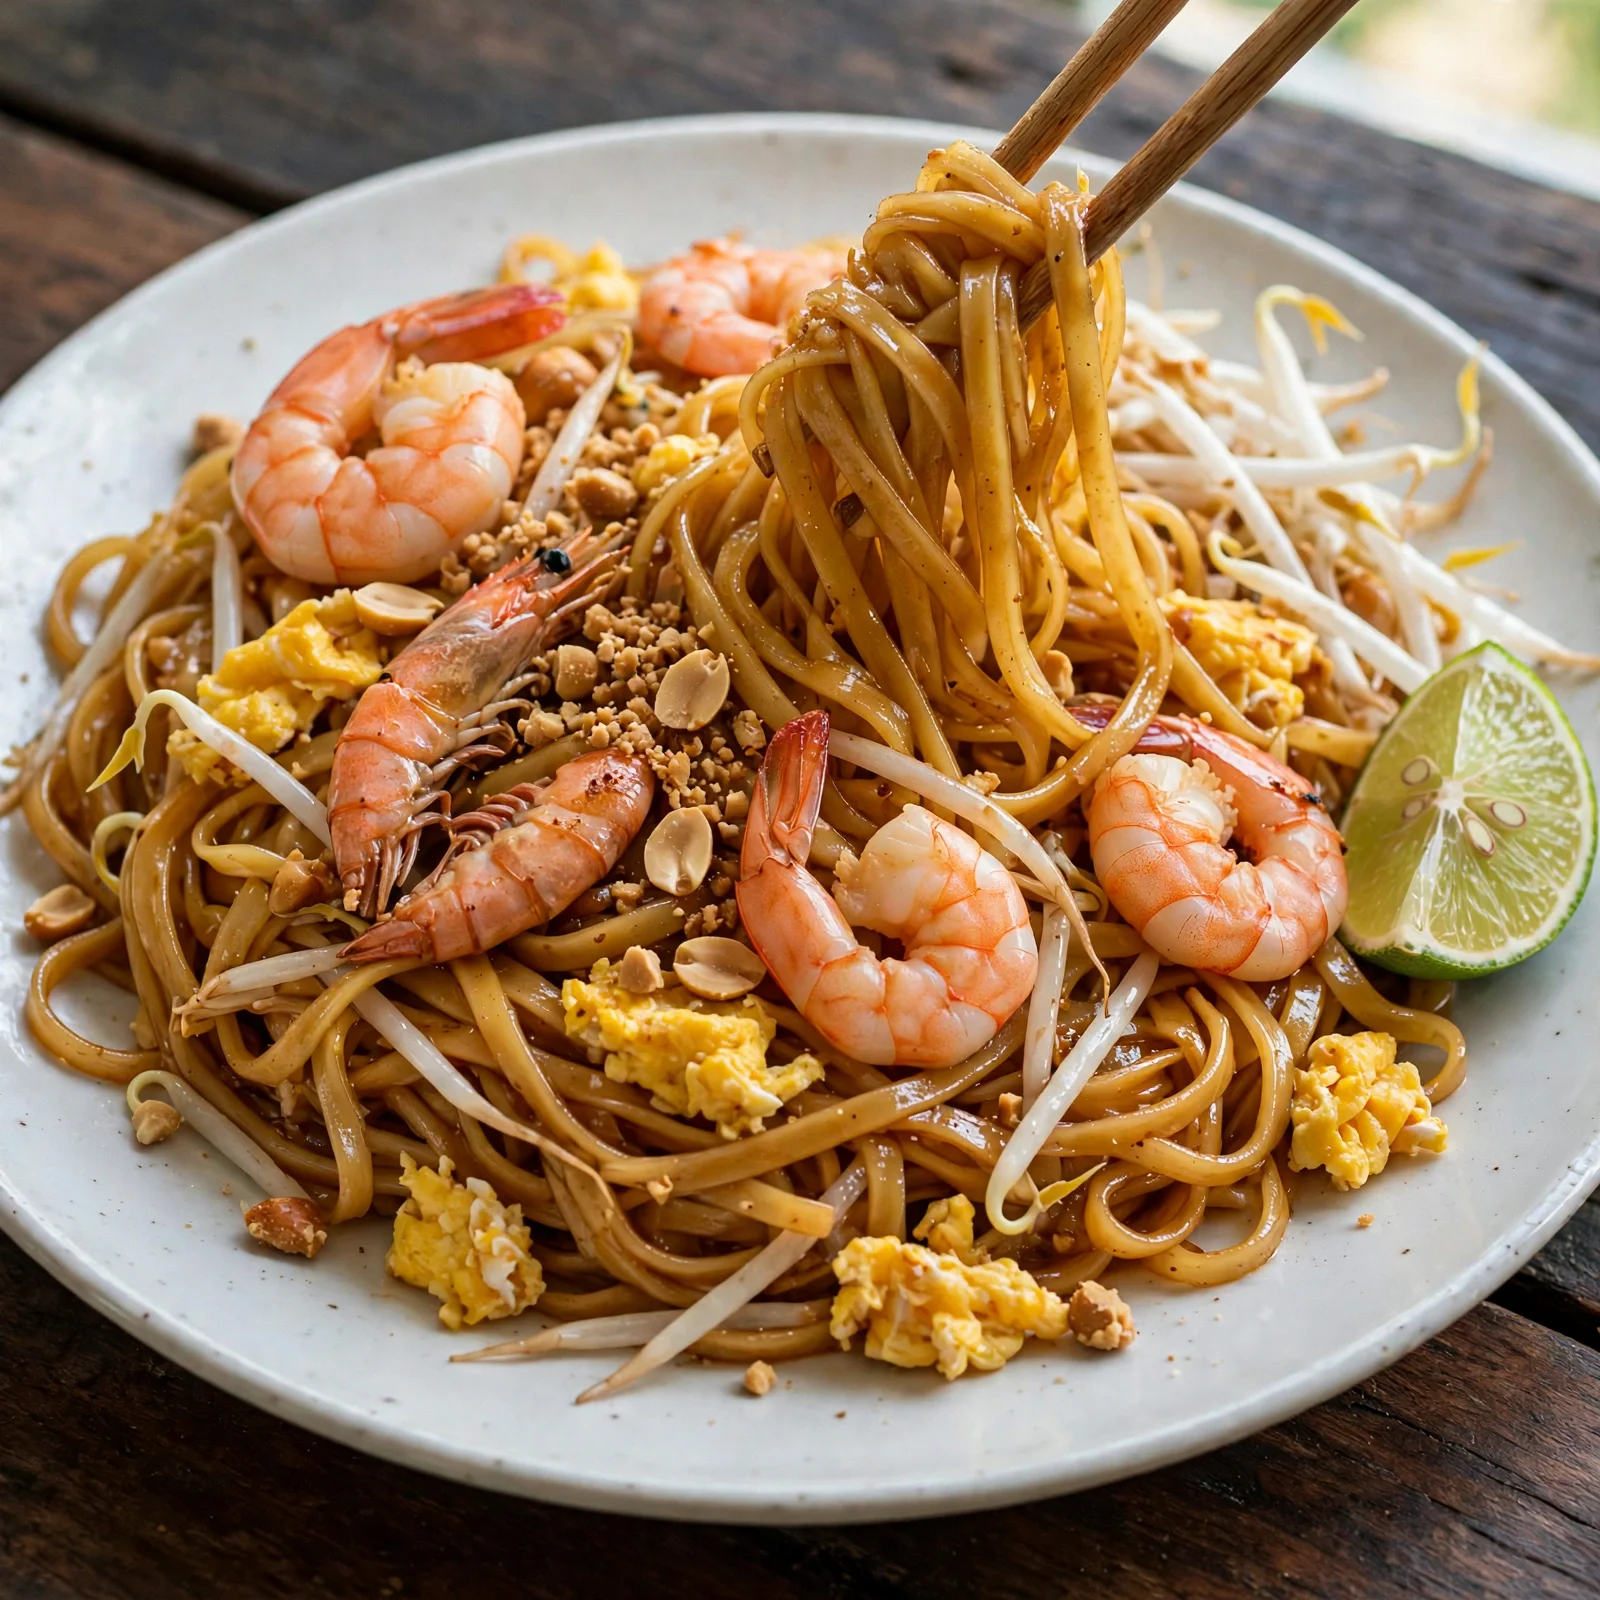
Divide the pad thai between plates or bowls immediately. Scatter the crushed roasted peanuts generously over each portion and place a lime wedge or two beside each serving. Offer dried chili flakes, extra fish sauce, and additional sugar at the table so each person can fine-tune the balance to their preference. Serving condiments alongside is traditional and gives the dish its characteristic personalization.
Common Mistakes and Troubleshooting
| Problem | Cause | Solution |
|---|---|---|
| Noodles are mushy and breaking apart | Soaked in hot water or soaked too long | Always use room-temperature water and soak for exactly 25 to 30 minutes. Check texture at 25 minutes; they should bend without cracking but still have resistance. |
| Noodles clump together in the wok | Wok not hot enough, or noodles weren’t separated before adding | Drain the noodles and separate them with your fingers before adding to the wok. Make sure the wok is genuinely hot before the noodles go in. |
| Sauce tastes flat and ketchup-sweet | Tamarind was skipped in favor of ketchup or lime juice | Use tamarind paste. Ketchup and lime juice are not substitutes for tamarind’s complex, fruity sourness. Make the sauce and taste it before it goes on the noodles. |
| Egg is wet and scrambled-looking | Added to noodles directly instead of to empty wok space | Push noodles to the side, add egg to the center, let it begin to set before breaking it up and folding into the noodles. |
| Wok ingredients all steaming instead of stir-frying | Wok or skillet not hot enough, or too much food in the pan | Cook in batches rather than doubling the recipe in one go. Pad thai is a single-serving wok dish; two or three portions is the maximum for one wok pass. High heat is non-negotiable. |
Variations and Substitutions
Chicken Pad Thai: Use thinly sliced boneless chicken thighs instead of shrimp at the same quantity. Thighs stay moist during the higher heat contact time; breast meat is drier and can toughen slightly at wok temperatures. Brown the chicken pieces for 4 to 5 minutes before removing, then return at Step 6.
Tofu Pad Thai (Vegan): Press a 400g block of extra-firm tofu for 20 minutes to remove excess moisture, then cube it into 2 cm pieces. Pan-fry in 2 tablespoons of oil before the garlic step until golden on all sides, then set aside and return at Step 6. Replace the fish sauce with soy sauce, skip the eggs or use scrambled silken tofu, and skip the dried shrimp. The dish tastes different but the texture and sauce balance hold well.
Spicier Version: Add 1 teaspoon of sambal oelek or 1/2 teaspoon of dried red chili flakes directly to the sauce mixture before cooking. This builds heat into every bite rather than just at the table from condiments.
Mixed Protein Pad Thai: Use half shrimp and half chicken in the same batch. Cook the chicken first until almost done, add the shrimp for the last 2 minutes, then remove both together. Return at Step 6. The combination adds textural variety.
Pad Thai with Extra Vegetables: Add 1/2 cup of thinly sliced red bell pepper and 1 cup of roughly chopped baby bok choy at Step 4 with the noodles. Both cook quickly at high heat and add color, nutrition, and a fresh vegetable element without requiring any changes to the sauce or timing.
Serving Suggestions
- Serve immediately after cooking. Rice noodles absorb sauce and dry out as they sit, and the bean sprouts lose their crunch within 10 to 15 minutes after plating. Pad thai is best eaten the moment it leaves the wok.
- Set out a small tray of traditional condiments: fish sauce, dried chili flakes, granulated sugar, and extra lime wedges. In Thailand these are placed on the table at every pad thai service so each diner adjusts the flavor balance themselves. This is part of the authentic experience.
- Pair with a fresh cucumber salad (sliced cucumber, rice vinegar, a pinch of sugar, fresh mint) on the side. The cool, lightly acidic salad provides a clean break between bites of the rich, saucy noodles.
- Serve alongside a clear Tom Yum-style broth or a simple miso soup for a fuller Thai-inspired meal without competing flavors.
- Garnish the plate with a small handful of extra fresh bean sprouts placed beside the finished noodles rather than cooked in; they add a cold crunch that contrasts the warm noodles in a way cooked sprouts don’t.
Tips for the Best Results
Use the highest heat your burner can produce. Pad thai cooked at medium heat steams the noodles rather than frying them. The high heat is what creates the glossy coating on the noodles, the slight char on the edges of the protein, and the wok hei (breath of the wok) flavor that makes restaurant pad thai taste different from home versions. Don’t be afraid of high heat with a carbon steel wok or cast iron skillet.
Make sauce before turning on the burner. The whole dish cooks in 10 minutes once the wok is hot. You cannot measure, combine, and taste the sauce while simultaneously managing protein in a screaming-hot wok. Mix the sauce completely, taste it, and adjust it before anything goes near heat.
Cook for two to three people maximum per batch. Adding enough noodles for six people to one wok drops the temperature, produces steam, and results in soft, waterlogged noodles. If you’re cooking for a crowd, make two or three batches back to back. Each batch takes about 10 minutes of active wok time.
Press the noodles flat against the wok surface. The flat-pressing motion between tosses is what cooks the noodles evenly and creates the characteristic caramelized, sauce-coated texture. Constant tossing without pressing keeps the noodles from making sufficient contact with the heat to absorb the sauce properly.
Taste the sauce and adjust before it goes in. The balance of sour, salty, and sweet in the sauce is the entire flavor of the dish. A sauce that’s unbalanced before cooking will be unbalanced after, but with concentrated intensity. If the sauce tastes right in the bowl, the finished dish will taste right on the plate.
Storage Tips
Refrigerator
Leftover pad thai keeps in an airtight container in the refrigerator for up to 3 days. The noodles continue absorbing sauce and dry out overnight, so the texture is noticeably different from freshly made. Store the leftover peanuts and bean sprouts separately and add them fresh when reheating for the best texture contrast.
Freezer
Pad thai does not freeze well. The rice noodles become mushy and break apart after freezing and thawing, and the egg loses its texture entirely. The sauce itself can be made in large batches and frozen in ice cube trays for up to 3 months; thaw a cube or two when you want to make a fresh batch quickly.
Reheating
For the best reheated texture, use a skillet or wok over medium-high heat rather than a microwave. Add 2 to 3 tablespoons of water to the pan, add the leftover pad thai, cover for 60 seconds to generate steam, then uncover and toss for another minute until heated through and any moisture has been absorbed back into the noodles. Microwave reheating makes the noodles rubbery; the skillet method comes closest to restoring the original texture.
Make-Ahead Note: The sauce can be made up to 5 days ahead and kept in an airtight jar in the refrigerator. The noodles can be soaked, drained, and kept covered in the fridge for up to 2 hours before cooking. Don’t let soaked noodles sit longer than 2 hours or they become too soft to stir-fry properly.
Nutrition Information
Per serving, based on 3 servings using shrimp. Values are approximate.
| Nutrient | Amount |
|---|---|
| Calories | 520 kcal |
| Protein | 28g |
| Carbohydrates | 62g |
| Fiber | 3g |
| Sugar | 12g |
| Total Fat | 17g |
| Saturated Fat | 2.5g |
| Cholesterol | 205mg |
| Sodium | 1,450mg |
| Potassium | 380mg |
| Calcium | 95mg |
| Iron | 2.6mg |
| Vitamin C | 14mg |
Nutrition values are approximate and may vary based on brands and portion sizes.
Why This Recipe Works
Pad thai’s reputation as a difficult home recipe comes mostly from two misconceptions: that it requires specialty equipment, and that the authentic flavor requires a complex list of hard-to-find ingredients. Neither is fully true, but neither is fully false. The technique is specific, and the tamarind is genuinely non-substitutable. Understanding why each element works the way it does removes the guesswork.
The room-temperature soak for the noodles is the most consequential preparation decision in the recipe. Rice starch begins gelatinizing (becoming soft and sticky) when it contacts water above approximately 60°C (140°F). A cold-water soak hydrates the starch structure without triggering gelatinization; the noodles become flexible but remain structurally intact. When they hit the wok at very high heat, the starch gelatinizes rapidly and evenly, and the sauce absorbs in the same moment. Noodles boiled or soaked in hot water have already gelatinized their outer starch layer before reaching the wok and become mushy during the stir-fry rather than absorbing sauce cleanly.
Tamarind’s flavor is chemically distinct from lime juice or vinegar. It contains tartaric acid (rather than citric or acetic acid) along with malic acid and natural sugars, which produce a fruity, rounded sourness with no sharp edge. Lime juice’s citric acid is brighter and more forward; in a dish that already has fish sauce and palm sugar, lime’s sharpness competes rather than integrates. Tamarind integrates. This is why the dish tastes like pad thai with tamarind and like “citrus noodles” with lime substituted in.
High wok heat is the flavor element that can’t be replicated at lower temperatures. The Maillard reaction (browning) requires surface temperatures above 150°C (300°F) to develop. Most home stove burners at full power produce enough heat for a thin carbon steel or cast iron pan to reach this range, but only if the pan is fully preheated before anything goes in, and only if the pan isn’t overcrowded (which would drop the temperature below the browning threshold). That’s the entire technical case for small batches and maximum burner heat.
The egg technique (pushing noodles aside, letting the egg set, then incorporating) keeps the egg in distinct, textured pieces rather than a coating. When egg is added to wet noodles directly, the steam and moisture from the noodles prevents the egg from setting; instead it coats the noodles as a slick, wet layer. The wok’s exposed center section at very high heat sets the egg surface within 30 seconds, long enough for the proteins to denature and form a structure that survives being broken and tossed.
Frequently Asked Questions
Can I make pad thai ahead of time?
Pad thai is best made fresh and eaten immediately. The noodles continue absorbing sauce after cooking and the bean sprouts lose their crunch quickly. For make-ahead preparation, the sauce can be stored in the refrigerator for up to 5 days, and the noodles can be soaked and drained up to 2 hours before cooking. If you need to serve it slightly later than cooking time, keep it in the wok covered with a lid on very low heat for up to 10 minutes and add a splash of water before serving if it looks dry.
Why does my pad thai turn out mushy?
Mushy pad thai almost always comes from over-soaked noodles or a pan that isn’t hot enough. Soaking dried rice noodles in hot water or leaving them in cold water for more than 35 minutes starts breaking down the starch before they reach the wok. A cold or medium-hot pan doesn’t dry the noodle surface fast enough, and the noodles steam in their own moisture rather than frying. Use room-temperature water, check the noodles at 25 minutes, and make sure your wok is genuinely screaming hot before the noodles go in.
What can I substitute for tamarind paste?
Tamarind is the defining ingredient and there’s no perfect substitute. For a functional approximation, mix 1 tablespoon of lime juice with 1 tablespoon of brown sugar and 1 additional tablespoon of fish sauce. This mimics the sour-sweet-salty profile but lacks the fruity depth of actual tamarind and produces a slightly brighter, less complex sauce. Worcestershire sauce mixed with lime juice is another approximation that’s closer to tamarind’s flavor than lime alone. The result will be good but distinctly different from authentic pad thai.
Why is my pad thai so salty?
The sodium in pad thai comes from multiple sources: fish sauce (very high sodium), soy sauce if used, and any dried shrimp or pickled radish. The calibration happens at the sauce-mixing stage. Taste the sauce before cooking; if it’s already more salty than tangy, reduce the fish sauce and balance with more tamarind and palm sugar. Also check your brand of fish sauce; sodium content varies significantly between brands. Once the dish is plated, a squeeze of fresh lime juice can reduce the perception of saltiness.
Can I use rice vermicelli instead of flat rice noodles?
Vermicelli noodles are thinner (1 to 2mm) and cook much faster in the wok; they can go from perfectly done to overcooked within 60 seconds. They also produce a lighter, less chewy texture than the traditional flat noodles. If using vermicelli, reduce the soak time to 10 to 15 minutes and add them to the wok after the sauce rather than with it, since they need almost no additional cooking time. The finished dish will taste similar but the texture is distinctly different.
How do I stop the noodles from sticking together?
Noodles stick when the wok isn’t hot enough, when there isn’t enough oil, or when the noodles were over-soaked. Ensure the wok is properly heated before adding oil. Make sure you’re using a full 3 tablespoons of oil across the recipe. If the noodles begin sticking and the wok is already hot, add 2 tablespoons of water to the pan; it will sizzle and steam immediately, creating moisture that loosens the noodles without cooling the wok significantly. Toss immediately after adding the water.
Is pad thai gluten-free?
The base recipe is nearly gluten-free: rice noodles, tamarind, palm sugar, and eggs contain no gluten. Fish sauce is traditionally gluten-free, but check your specific brand’s label as some add soy sauce or other flavoring agents. Oyster sauce often contains wheat starch; use a gluten-free oyster sauce or skip it entirely. Soy sauce (in the vegan version) contains wheat unless you use tamari, which is a wheat-free alternative.
Conclusion
Pad thai rewards the cook who understands why the steps happen in the sequence they do. The room-temperature noodle soak, the pre-mixed sauce, the wok heat, the egg pushed to the side: each one is doing something specific that produces the result. Once you’ve made it correctly once and felt how the noodles change texture in the hot wok and watched the sauce absorb in real time, it stops feeling complicated.
The dish takes about 60 minutes including soak time and 10 minutes of actual cooking. That ratio is better than it sounds. A homemade pad thai with proper tamarind sauce and fresh ingredients is better than most restaurant versions and significantly better than any packaged version. It’s a recipe worth learning well.
If you loved this recipe, save it to your Asian dinner recipes Pinterest board so you can find it easily later. For more recipes and daily food inspiration, follow TheCookingVibes on Pinterest.
Pad Thai
Ingredients
Equipment
Method
- Soak dried rice noodles in a large bowl of room-temperature water for 25 to 30 minutes until pliable but still firm. Drain and set aside.
- Combine tamarind paste, fish sauce, palm sugar, and oyster sauce in a small bowl. Stir until the sugar dissolves. Taste and adjust so it is tangy first, then salty, then sweet.
- Heat a wok or large skillet over the highest heat setting for 2 minutes until extremely hot. Add 2 tbsp of the oil and swirl to coat. Add the garlic and stir for 20 seconds. Add the protein and cook: shrimp 90 seconds per side until pink; chicken 5 to 6 minutes until cooked through. Remove to a plate.
- Add the remaining tablespoon of oil to the wok. Add the drained noodles and pour the sauce over them. Toss and press the noodles flat against the wok surface repeatedly for 2 to 3 minutes until the sauce is absorbed and the noodles are glossy. Add dried shrimp and pickled radish if using.
- Push noodles to the outer edges of the wok. Add beaten eggs to the center. Let set for 30 seconds, then break into pieces and toss with the noodles before the egg is fully dry.
- Return the cooked protein to the wok. Add bean sprouts and the green tops of the scallions. Toss over high heat for 1 to 2 minutes until the sprouts soften slightly but stay crisp. Adjust with lime juice or fish sauce.
- Divide between plates. Scatter peanuts over each portion. Serve with lime wedges and chili flakes on the side.
Notes
- Room-temperature water soak only. Hot water makes noodles mushy before they reach the wok.
- Always mix the sauce before turning on the heat; the wok cooking moves too fast to measure ingredients mid-cook.
- Cook for 2 to 3 people maximum per batch. Overcrowding drops the wok temperature and steams rather than fries the noodles.
- Tamarind paste cannot be substituted with lime juice or ketchup without significantly changing the dish’s character.